How to Reduce Noise in Photos?
How do these tiny and randomly scattered speckles appear in digital photographs clicked in low-light conditions? How to fix them?
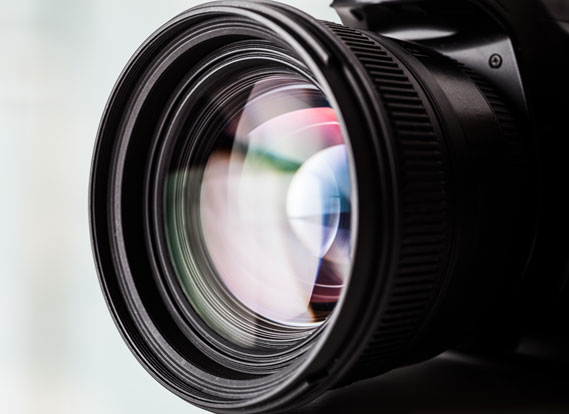
These tiny speckles or grains are noise, which is present on any electronic device that receives or transmits signals. In the case of digital photographs, signals are the light that is received by camera sensors.
Grainy images are the result of noise that is associated with camera sensors, which are responsible for gathering light. Noise is measured as signal to noise ratio (SNR). The lower the SNR, the higher the levels of noise.
When the availability of light is low, the signal dips and so does the SNR, and noise becomes visible.
Although it is impossible to remove grains from the images completely, it can be reduced significantly so that it won’t be visible to eyes.
You can reduce noise in photos by either tweaking the settings of your camera or using a third-party noise corrector such as our product Noise Reducer Pro.
Settings greatly vary with the type of camera that you use. If you click your pictures by using smartphone camera, your liberties are limited to changing ISO settings or turning on/off the HDR. As you cannot significantly reduce noise changing such settings, your only option is using an app like Noise Reducer Pro to reduce noise in photos.
However, in more sophisticated cameras, like DSLRs, there are many permutations and combinations of different settings for getting the best shot of any given scenario.
ISO is the measure of sensitivity of camera sensors towards light. The higher the ISO, the higher the level of noise in the clicks. So this means that by using low ISO number, you can get significantly better photographs with low noise.
Unfortunately, as you lower the sensitivity, the image may appear under-exposed. To counter this and to maintain the same level of exposure (we are not changing the aperture), you need to slow the shutter speed which leads to a longer time taken to freeze a scene but allows camera sensors to gather more light.
To maintain the same level of exposure, if you have lowered ISO to 100 from 200, you have to half the shutter speed (say, from 1/8th of a sec to 1/4th of a sec). In this scenario, the low sensitivity is countered by the more light that is received by sensors as now the camera takes more time to click an image (image getting clicked in 1/4th of a sec rather than 1/8th of a sec).
But there is a catch; as the camera will take more time to freeze a scene, a low shutter speed can introduce the element of blur. So, for clicking any fast moving object, low shutter-speed is not desirable until one intentionally wants to show high-speed motion by using blur.
There is another element which can complement shutter-speed for maintaining the correct exposure, and that is ‘Aperture’. The further one opens the aperture, the more the light received by camera sensors. (f/2.8 allows double the light to enter than f/4.0.)
Aperture is widely used by the photographers to introduce the depth of field in photographs.
Using Noise Reducer Pro
Post-production edits are equally important to give your photos the pixel-perfect quality. You can use Noise Reducer Pro to reduce noise in photos. It is available on Mac App Store and Google Play Store. All of its versions are free for personal use. You just need to import any of the photos you want to reduce noise from and the rest is pretty simple and straightforward.
Noise Reducer Pro is available for free on Mac App Store and Google Play Store. So, get your picture pixel-perfect now with the help of Noise Reducer Pro.


