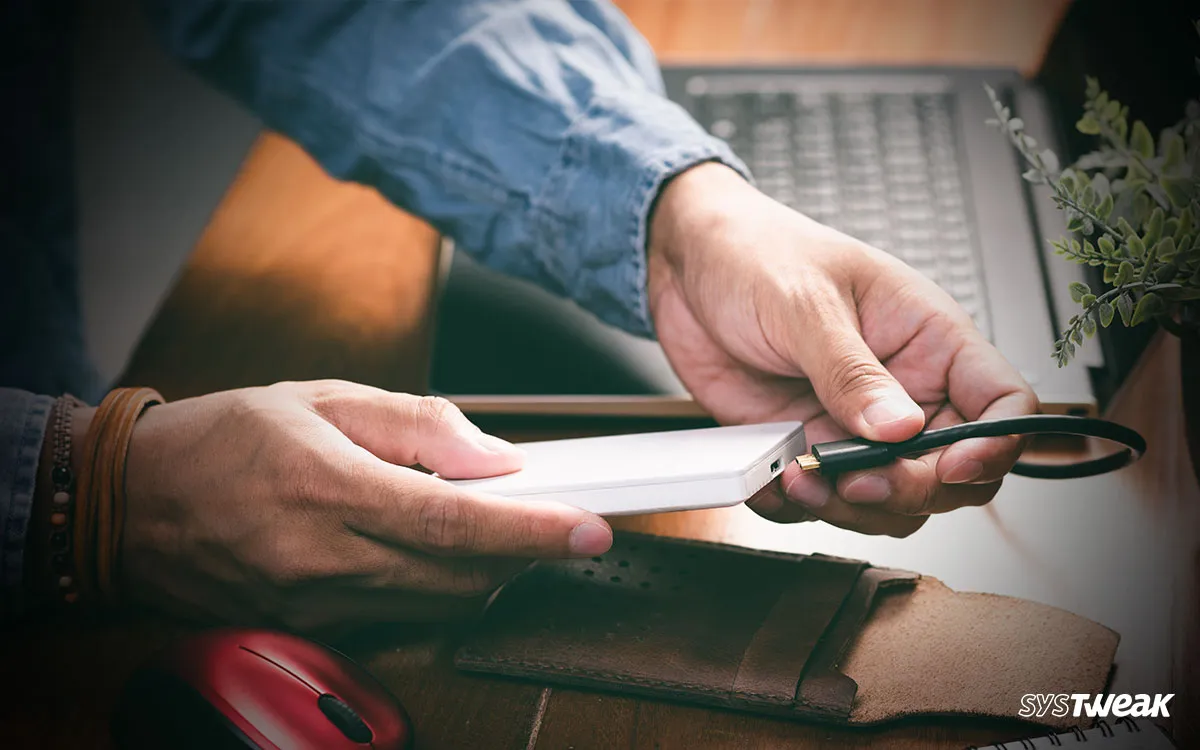
Nowadays, everyone has a smartphone with a good camera, making organizing and managing pictures daunting. This is why to save space on phones; external drives are used. They are easy to carry, reliable, and don’t need internet connectivity. When cleaning duplicate photos and managing photos saved on flash drives, we won’t pay attention.
If you, like most people, have this habit, it’s time to take action and manage the scattered digital photographs. Otherwise, just like our parents and grandparents, you will take care of multiple external hard drives filled with digital pictures. It’s 2022, and there’s nothing that you can’t do. To help you, we’ve curated a list of simple steps that you can use to keep your photo-saving workflow under control.
Read the steps carefully and follow the instructions to manage and save photos on your external hard drive. If you already use a USB for pictures and are sure there are duplicate photos, try Duplicate Photos Fixer Pro to find & clean identical and similar images.


How To Put Pictures on a Flash Drive From Windows
Before you use a USB for picture storage, follow the steps below to manage data and save space on external hard drives.
Solution 1: Use the Folder System
As the first step to organizing photos, use the inbuilt folder system. This will help the navigation of files. Each device has a folder system. Hence, using a file system to manage pictures on an external drive is the best option.
Tip : To ensure your flash drive is compatible with most devices, keeping the format in FAT32 is recommended.
How To Organize Photos by Creating a Folder
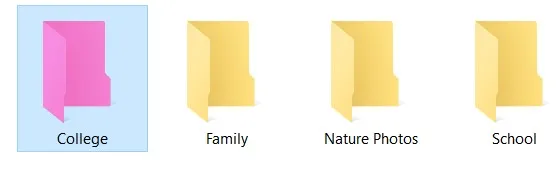
To begin with, create a folder on the flash drive.
- Right-click on the blank space > select New > click the Folder option.
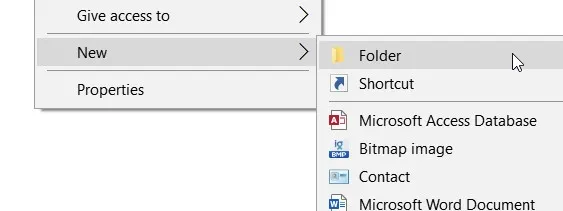
- This will create a new folder on the USB drive.
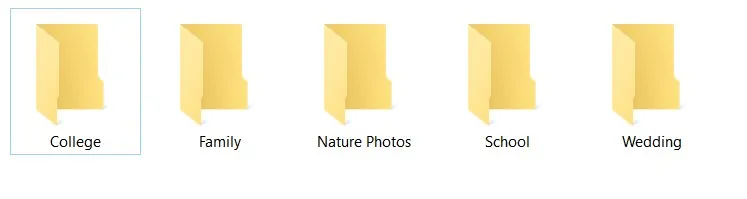
- Give a name to the folder based on occasion/event.
- Move the photos to the appropriate folder.
- Next, improve the organization of the folder by changing the color code and icon. To do so, right-click the newly created folder > select the Properties.
- Click Customise tab > select the Pictures option from under the optimize this folder. This will optimize the folder for saving photographs.
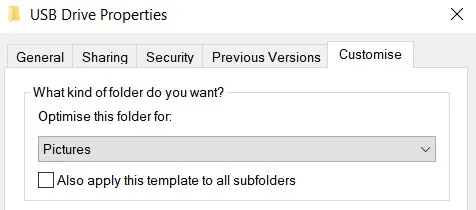
Note : Optimizing a folder for pictures improves the performance of the Photos app.USB Drive Properties
- Next, to make the folder look pretty, you can change the folder icon. To do so, click the Change Icon button and select from the options Windows offer. If you want, you can get more icons from the Internet.
![]()
Note : Windows do not provide the option to color-code folder. Therefore, you will need to use third-party software like Folder Painter.
Once the software is installed, it will add a context menu to the File Explorer. This will provide options to change several folders in different colors. Select an item from the submenu color codes and set the folder.
![]()
Must Read: How To Delete Duplicate Photos on SD Card
Solution 2: Use Metadata
When digital devices like smartphones, DSLRs, etc., are used to click pictures, they record metadata, Exchangeable image file format (EXIF) of photos. You can use this data to organize images on a PC. Read the steps below to learn how to use this data and manage photos, especially on the PC
- Select images to add the metadata. To select multiple photos, press CTRL + and use the mouse to select them.
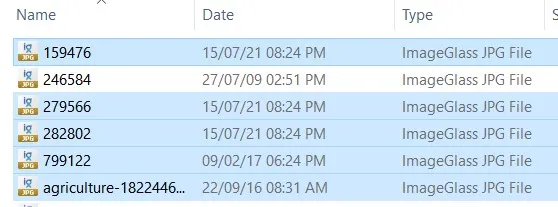
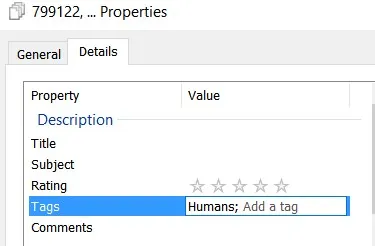
- Right-click on the selected pictures > select Properties > and click the Details tab.
- Check the EXIF metadata and add common values for all the selected photos. Using a semicolon separator, you can add different metadata values.
- Using the same steps, you can add metadata.
Tip – To remove Personally Identifiable Information (PII), you can use the same steps. This will help hide the identity and geo-location saved when you click a photo.
- Once the Metadata is added, you can find the relevant photos on Windows. Right-click on the blank space of the folder > select View > Details.
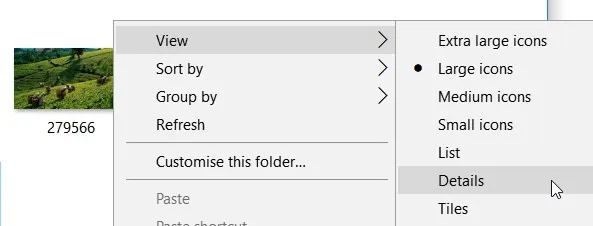
- This will help view the Metadata of each picture.
- The tags will be displayed under a separate column. You can sort it in ascending or descending order by clicking on the header.
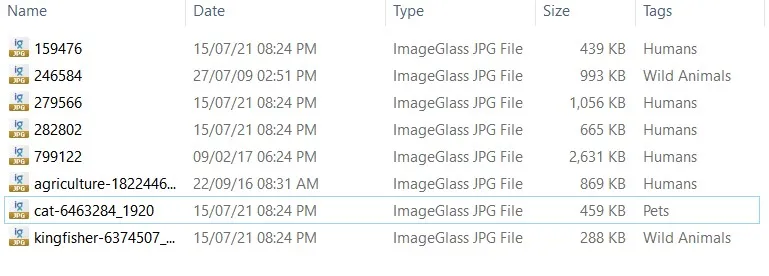
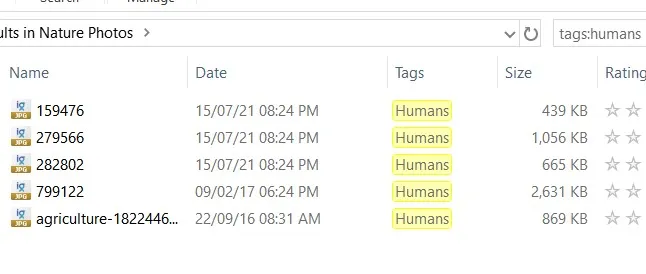
Note: You can use the search bar in File Explorer to find images by Metadata. Type the metadata key and its value to search for the photos. When you use the flash drive, you can see this data.
Solution 3 : Name Your Photos
This sounds too easy, but those who have tried to name hundreds and thousands of photos know how difficult the task can be. Giving each picture a unique name is not easy. However, you can add a number after adding the event’s name or date. This will help identify photographs.
Must Read: How To Delete Duplicate Photos In Google Photos
Solution 4: Use Folders (and Subfolders… and Sub-Subfolders)

It’s up to each individual how they would want to keep the digital images. However, if you create a subfolder within the primary folder, it will be easy to separate unique events, trips, and projects.
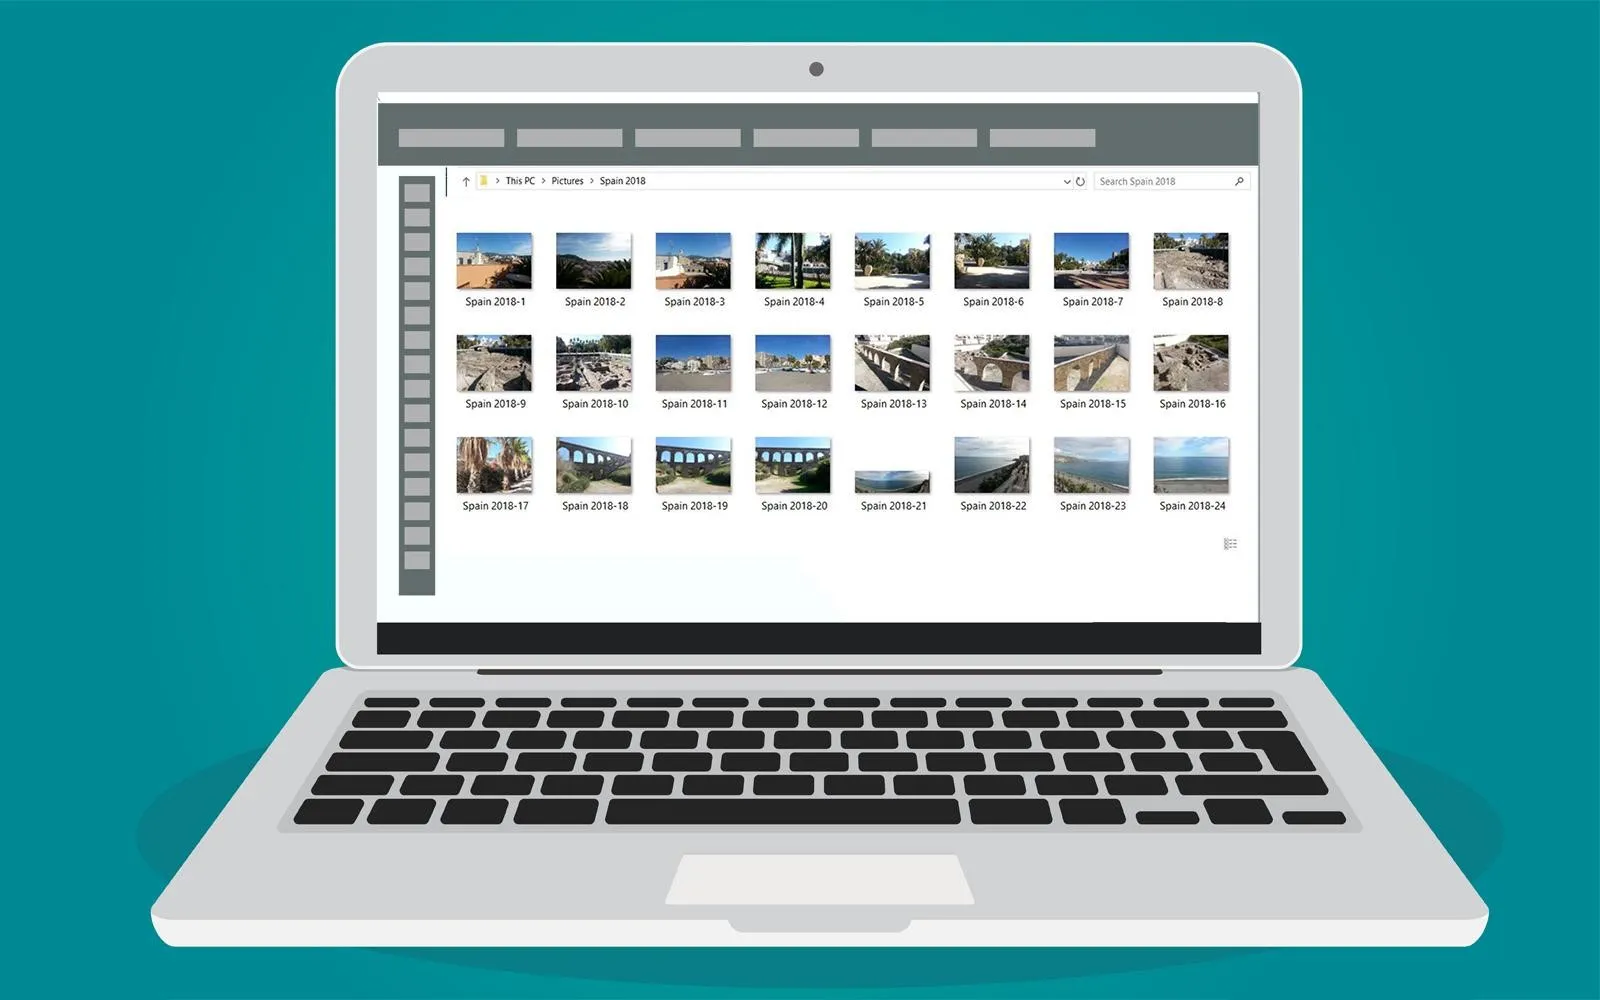
This is an excellent way to customize things. Also, you can make the folder sequence in chronological order or something abstract, as explained via the below image:
Abstractly Organizing pictures

Use the Delete Button When Required
Sometimes even when we know that half of the images we see are identical, we fear using the Delete button because we don’t know which files can be deleted. Therefore, to help you identify duplicate and similar photos, we suggest using third-party software called Duplicate Photos Fixer Pro. With its help, you can identify duplicates saved on a PC, flash drive. To use it, follow the steps below.
Steps to Use Duplicate Photos Fixer Pro & Organize pictures saved on USB
- Download and install Duplicate Photos Fixer Pro.
- Run Duplicate Photos Fixer Pro to detect duplicate photos and manage USB for picture storage.
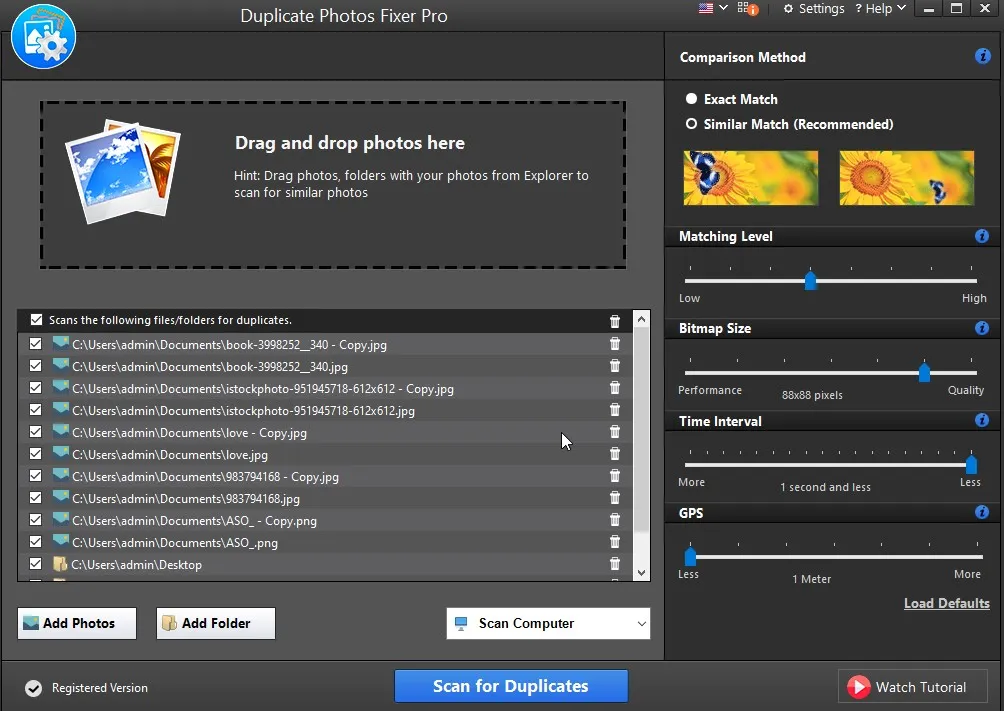
- To add photos click on Add Photos or Add Folder. Alternatively, you can drag and drop pictures.
- Select the Comparison Method and adjust the Matching Level.
- To start scanning, click Scan for Duplicates.
- Wait for the process to finish and review the scan results.
- Compare each picture and select the ones you want to remove. Use the Auto Mark option to select duplicates and leave one copy safe automatically.
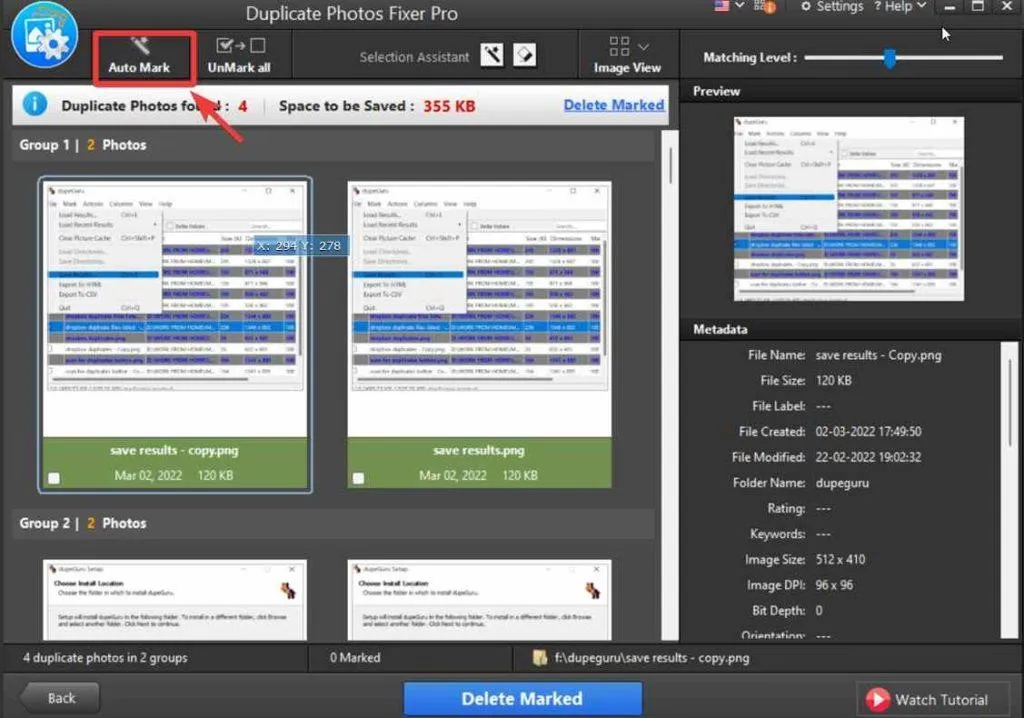
- Next, click the Delete Marked button to remove duplicates and put pictures in the correct order on a USB stick.
You are now ready with organized photos on an external USB drive.
FAQ-Photos on An External USB Drive
How to Put Pictures on a USB stick?
Randomly shifting photos from one device to another is easy. But when we need to save them in an organized manner on USB, using the right tips is recommended. You can take advantage of the solution explained in the post above and manage USB for pictures without wasting space.
In addition, use Duplicate Photos Fixer Pro to keep your Android, Windows, Mac, and iOS devices free from duplicate and similar images. It is a way to identify duplicates based on content rather than name. Moreover, you can save yourself from deleting any important photos. We hope you will benefit from the tips shared and will be able o quickly put pictures on a flash drive from Windows.
Must Read: How To Get Rid Of Duplicate Photos Saved In Different Image Formats


this was very informative. i’m guessing it is different for a macbook? do you have any other articles on using an external hard drive to store pictures. my experience with an exteranl hard drive was not good. as i went back to look for pictures they were not in any sort of order, so from your article i’m guess i have to organize them as i put them on there?
Dear Shannon,
Thank you for writing to us.
Using Duplicate Photos Fixer Pro you can easily organize photos on your Mac also as it is compatible.
You can follow the same set of steps explained in the post.
If you face any issues please let us know. Also, you can contact the support team at support@systweak.com for further assistance.
Thanks and Regards