There’s nothing new in files getting accidentally deleted from your devices. However, when it’s your favorite MP3 song, it can be pretty frustrating. But know what, there’s a way to recover deleted music files from your Windows machine. Try Systweak Photos Recovery and retrieve deleted audio files. Though the product’s name might not sound like one that can help recover deleted songs, trust me this tool does help in retrieving deleted photos, deleted videos, and audio files.
Developed by Systweak, Photos Recovery is an excellent tool to restore deleted media files. Using the tool in no time, you can recover deleted data on your Windows machine. Moreover, the tool also detects USB flash drives. This means, it even helps get back deleted data from the external drive.
In addition to this, to make the recovery of media files maximum it offers different scanning modes and also shows a preview of files. This helps decide which picture/media file to recover.
Here’s how can you recover deleted audio files from your Windows machine?
How to Use Systweak Photos Recovery and recover deleted mp3 songs.
To use Photos Recovery, follow these steps.
Remember, using the trial version of Photos Recovery, you can only see scan results. To recover deleted music files, you will have to use the registered version of Photos Recovery.
Benefits of Using Photos Recovery
- Helps restore deleted images, video, and audio files.
- Unlock locked drive via Bit-Locker within the app.
- Customize scanning formats
- Different scanning modes
- Allows scanning both external and internal storage media
Here’s how to Recover Deleted Songs?
Steps to use Photos Recovery – Recover Audio Files
Note: The welcome screen of Photos Recovery has two tabs Hard Drive and Removable Drive. Click the respective tab. To scan the hard disk, click the Hard Drive tab and select the disk drive. However, for scanning external drives, click the Removable Drive tab.

| If the Removable Drive option is greyed out, it means the drive is not connected. Therefore, check if it is properly connected or not. To avoid facing such a problem, always connect the drive first and then launch the Photos Recovery tool to recover deleted MP3 songs from Windows. |
Recovering Deleted Songs from Hard Disk
Photos Recovery helps recover AAC, M4A, MP3, WAV, WMA, AIFF, AU, CDA, MIDI, RM, RPS, RFL, and RNS audio formats.

To select formats other than the ones selected by default, follow these steps:
1. Download and install Photos Recovery.

2. Launch Photos Recovery.
3. Click the gear icon > Settings > Filter Options from the left pane > checkmark the box next to formats you want to recover using Photos Recovery.
Once the settings are saved, follow the instructions given below to retrieve deleted audio files.
Read Also:- How to Recover Deleted PSD Files
How To Retrieve Deleted Audio Files?
1. Download and install Photos Recovery.
2. Launch Photos Recovery.
3. To scan the hard disk, click the Hard Drive tab and select the disk partition you wish to scan.
To scan the connected external drive, click the Removable Drive tab > choose the driver to scan.

4. After selecting the drive to scan, choose from the given scan type – Quick Scan or Deep Scan.
By default, Photos Recovery runs Quick Scan, but if you are looking for thorough or old results using Deep Scan is recommended.

Quick Scan –Looks for recoverable photos, videos, or audio files permanently deleted using Shift + Delete.
Deep Scan –Helps recover media files lost due to hard disk formatting, corrupt drive, or sudden system shut down. To retrieve deleted songs, Deep Scan performs a systematic sector-wise scan.
5. Now, that the disk and scanning mode is selected, click Start Scan to scan the system for deleted Mp3 songs.
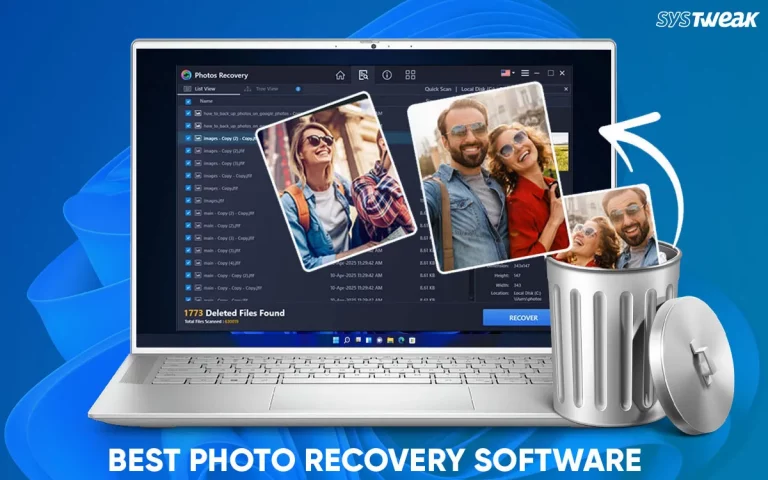
6. Wait for scanning to finish. When done, you will get a screen displaying the total number of deleted media files detected.


7. Review scan results. For better viewing, we suggest using Tree View or use the Search File Name box to look for music files via name.

Note: Tree View is only available when the scanning process is completed.

Note: If you cancel the scan, you will now be able to use the Tree View.
8. Once the desired audio files are selected, click the Recover button. Select the location to restore the mp3 files. The disk from which you are restoring music files and saving on, should not be the same. Doing so will reduce the chances of data recovery.

Note: If you mistakenly select the same location to restore audio files, Photos Recovery will show a warning message.

9. Wait for Photos Recovery to finish the recovery process.

To stop the deleted files recovery process, click Stop Recovery.
10. Once the deleted songs are recovered, you will see a summary of the action performed.
- Total Files Found
- Total Files Selected
- Total Files Recovered
- Recovered File Size
- Recovered at – Location where files are restored

This is how using Photos Recovery, the best audio file recovery tool, you can restore Mp3 files. You can use the same tool to restore video and images.
Must Read:- How to Recover Deleted DNG Files
Bonus Tip
Recover Music Files Recycle Bin
By default when you press the Delete key the selected file is moved to Recycle Bin and it stays there for 30 days. After this time, the audio file is automatically deleted. If the Mp3 file, you are looking for is recently deleted, before using a third-party tool to recover audio files, we suggest checking the Recycle Bin.
If you are lucky, you can find it in the Recycle Bin. Here’s how you can restore the audio files from there.
1. Double click Recycle Bin icon present on the desktop.
2. Look for deleted songs.
3. Use the Search File field to save time and easily look for the music file.

4. Once you have it, right-click > Restore
5. This will put back the selected song file to its original location.
Wrap Up
To avoid permanent file removal Windows, as a precautionary measure moves them to the Recycle Bin. But then the deleted files cannot be kept there forever. Hence, a tab of 30 days is there. When a file goes missing the first thing you should do is look in the Recycle Bin. When it is not found there, without any delay and using the system use a recovery tool like Photos Recovery. This will help get back deleted media files easily.
Read This:- How to Recover Photos After a Data Loss
We hope, through this post we were able to answer how to recover deleted songs. To retrieve deleted audio files, you can use Photos Recovery. This recovery tool works flawlessly on Windows PC, so give it a try and see how it works. Also, share your feedback with us in the comments section.