
Do you see a yellow mark next to PCI Serial Port when you open Device Manager?

Yes, you’ve landed on the right page. This post will discuss how to fix Peripheral Component Interconnect (PCI) serial port driver issues. Peripheral Component Interconnect is used to connect monitors and printers. When it goes missing, you might face problems reading output devices. Since it is an industry-standard bus for attaching peripheral devices to a computer, you need to update them.
Here we will discuss how to update PCI and download a PCI serial port driver. You can have the latest and updated drivers using either method.
Why Do The PCI Serial Port Drivers Issue Occur On Windows?
In order to troubleshoot any issue within the computer, you must first understand the reason why the error occurred in the first place. There are many possible reasons as to why the PCI Serial Port Drivers issue occurs on Windows. We have listed the most common ones.
- The chipset drivers are missing, outdated, or corrupted.
- The PCI Serial Port belongs to the Intel Management Engine Interface (IMEI). If this driver is not installed, then you might see a yellow warning icon appear in Device Manager.
- Windows Update/Upgrade can remove specific drivers and replace them with generic ones.
- Windows may miss OEM-specific PCI components, including the serial port controller.
- BIOS updates or resets can cause the PCI serial port driver to malfunction.
In simpler words, Windows knows the port exists, but it just doesn’t know who it belongs to.
Best Ways to Fix PCI Serial Port Drivers Issues on Windows 10/11

Method 1: Manually Updating the PCI Serial Port driver
This method requires you to know the device and operating system details. Also, an element of risk is involved with this method. Since you will be doing everything independently, your system might be unbootable if you install an incorrect driver. Therefore, double-check each detail before initiating a PCI Serial Port driver download from the website.
1. Right-click the start menu > select Device Manager

2. Look for Other devices.
3. Double-click to expand it > right-click PCI Serial Port > Update driver.

4. This will open a new window here. Click Search automatically for drivers.

5. Wait for Windows to detect if any updates are available.
6. If any are available, they will be downloaded automatically.
7. Restart the PC to apply changes and see if the PCI Serial Port issue is resolved.
Note : There might be instances when Microsoft fails to show driver updates. In such cases, you can check for the driver update by visiting the official website or can try using a driver updating utility Advanced Driver Updater.
Method 2: Auto-Download & Update of PCI Serial Port driver – Recommended
Developed by Systweak, Advanced Driver Updater is one of the best driver updating tools. This utility automatically recognizes your system and finds the correct driver for your PC. You don’t need to know the system or device details to use it. Also, you don’t have to worry about installing incorrect driver updates.
Moreover, you can update drivers, and schedule driver updates with a few clicks. Advanced Driver Updater offers both Free and Pro versions. Using the free version, you have to update one driver simultaneously, while the registered version allows updating all outdated drivers simultaneously.
To use Advanced Driver Updater, follow these steps:
1. Download and install Advanced Driver Updater

2. Run the driver updating tool

3. Click Start Scan now to scan the system for outdated drivers
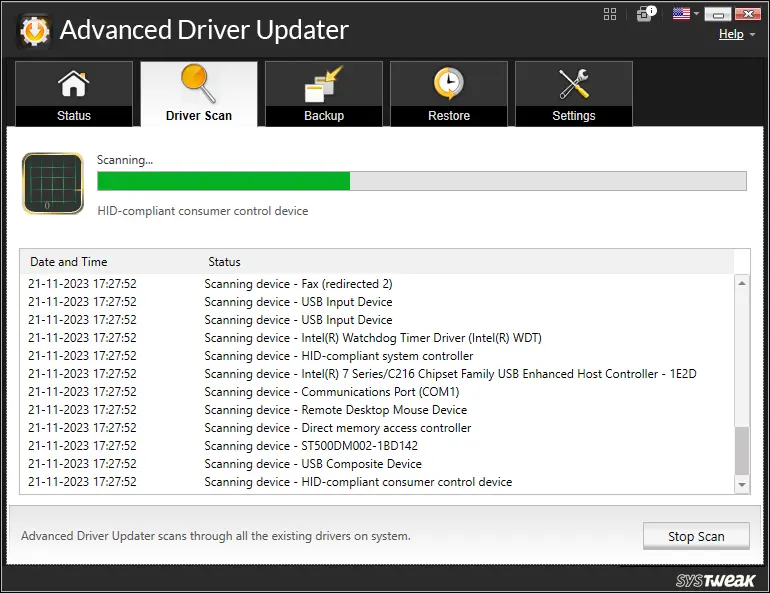
4. Wait for the scan to finish
5. When done, review the scan results. If using the Free version, click Update Driver next to PCI driver. However, if you use a paid version, you can click Update All to update all outdated drivers.

6. Restart the PC to apply changes
Now check the system; the PCI driver should now be working.
Method 3: Download Drivers From Manufacturer’s Website
The PCI Serial Port is usually part of your system’s chipset. You can download the entire chipset driver from the OEM website instead of a PCI Serial Port driver download. Here are the steps.
1. Press Win + X → Device Manager
2. Expand Other devices
3. Note devices like PCI Serial Port or Unknown device
4. Visit your PC or motherboard manufacturer’s website.
5. Enter the model number of the PC, and you will find all the available resources for your computer.
6. Locate the Chipset driver and click on the Download button.
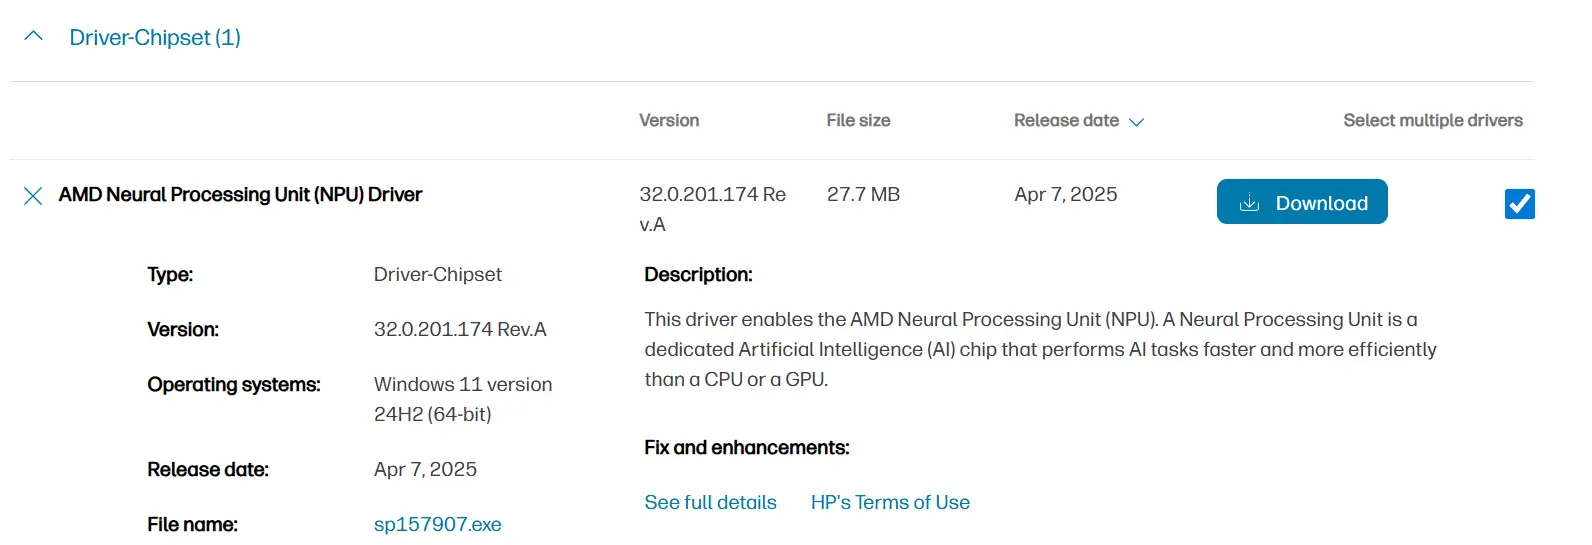
7. Download and install the Chipset driver
8. Restart Windows
Method 4: Install Intel Management Engine Interface (IMEI)
On many Intel systems, the PCI Serial Port is controlled by the Intel Management Engine. Here are the steps to install IMEI.
1. Go to your system manufacturer’s driver page.
2. Download Intel Management Engine Interface.
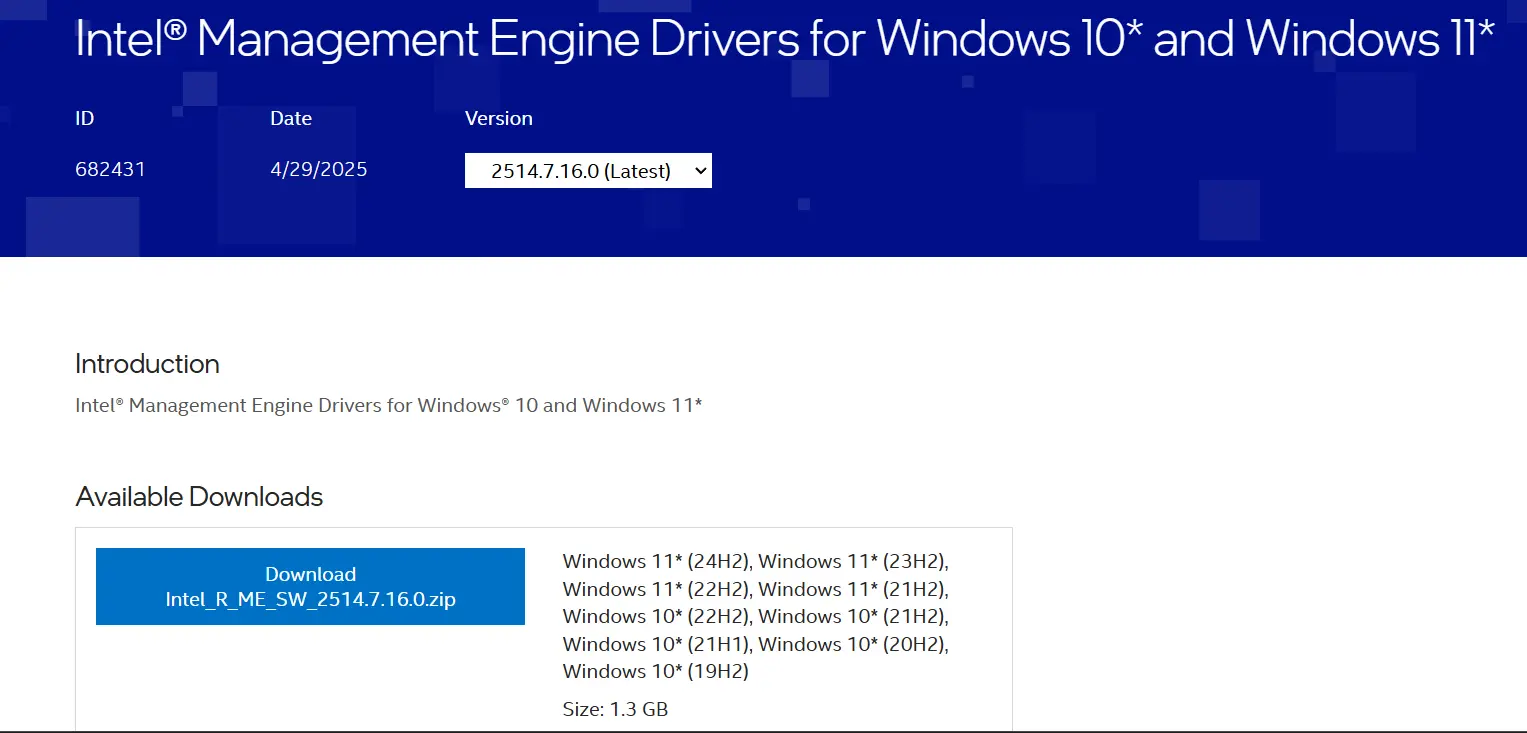
3. Install the drivers by double-clicking the downloaded file and following the onscreen instructions.
4. Reboot the PC.
Method 5: Update Windows
Windows provides regular updates to its users, which may contain security patches, bug fixes, new features, driver updates, and more. Experts suggest that updating Windows is very necessary for optimal running of the PC. Here is what you need to do to facilitate a PCI Serial Port driver download on your PC.
1. Press Win + I to open the Settings box.
2. Click on the Windows Update tab in the left panel.

3. Now, on the right side, click on the Check For Updates button.
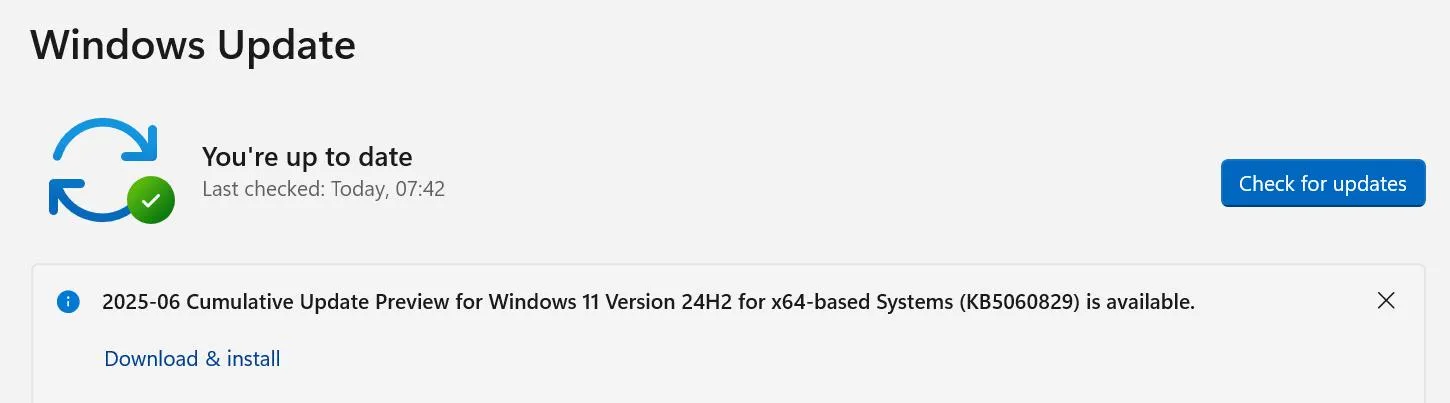
4. Download and Install all the updates available.
5. Next, click on Advanced Options in the right section of the Settings box.

6. Click on Optional Updates.

7. Locate Driver Updates and other Misc updates. Select all of them and click on the Download & Install button.
8. Wait for all the updates to complete and restart your PC.
Method 6: Activate The Hardware And Devices Troubleshooter.
The next step is a simple one where you have to run an in-built troubleshooter to identify and fix hardware issues within your PC. Here are the steps you need to follow –
1. Press Win + R to open the RUN box.
2. Copy and paste the following command and press the Enter key.
msdt.exe -id DeviceDiagnostic

3. A new box will open here. Click the Advanced link.

4. Ensure that the “Apply Repairs Automatically” box has been checked.
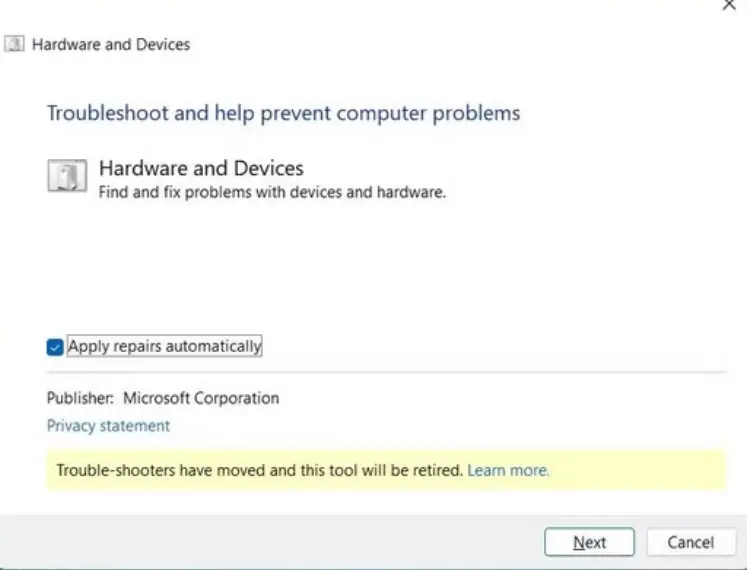
5. Click on the Next button and follow the onscreen instructions.
6. Restart your PC after the scan and repair process is complete.
Method 7: Check BIOS Settings
The final option to fix the PCI Serial Port issues is to check if the PCI setting has been disabled in the BIOS. You can enter the BIOS and enable it by following these steps.
1. Reboot your PC and enter the BIOS environment by tapping on the Del, F10, F12, F2, etc. The key is specific to your PC manufacturer.
2. Locate the Advanced or Peripheral Devices option.
3. You need to search for settings that are labelled as Serial Port, COM Port, or PCI Configuration.
4. Enable these settings, save changes and exit BIOS to reboot your PC.
Editor Tips On PCI Serial Port Driver Issues
- Always create a system restore point before troubleshooting and making changes on your PC.
- Do not perform the steps under any method if you are unsure or unclear about them. Consult a PC technician instead.
- Do not download drivers from third-party websites or torrents ad they may contain malware. Use the manufacturer’s website for the PCI Serial Port driver downloads on your PC.
PCI Serial Port Driver Issues Fixed on Windows 10 PC
Though the PCI driver problem might look minor, it does create a huge mess. When PCI serial port driver issues occur, everything seems to halt. Either you are unable to connect the hardware or access the connected one. In such cases, the best way to update PCI serial port driver in Windows 10 is to use Device Manager or Advanced Driver Updater.
If you are looking for our recommendation, we suggest using Advanced Driver Updater, as there is no risk involved, and the complete process is automated. Moreover, it comes with a 60-day money-back guarantee and is backed by a trained technical support team.
We hope you like the information we shared and were able to update PCI serial port driver Windows 10.
For any product-related queries, you can contact support@systweak.com.
Frequently Asked Questions
1. Why do we need a PCI Serial Port Driver on Windows 11/10 PC?
Ans. The PCI serial port driver helps bridge the gap between the Windows OS and the serial port hardware. Any device that is connected to this port will only function properly if the appropriate PCI driver is installed.
2. Why does the PCI Serial Port stop working?
Ans. One of the main reasons for the PCI serial port to cease working is due to incompatible, corrupted, or outdated drivers. Other reasons could include misconfigured BIOS settings, Windows Updates replacing drivers or hardware faults.
3. Is it possible to disable the PCI serial port in the BIOS?
Ans. You can enable and disable PCI serial ports from the BIOS settings. But if you disable the PCI port, then you will not be able to connect any hardware via that port until it is enabled again.
4. Why is a yellow exclamation mark next to the PCI serial port?
Ans. The yellow exclamation mark indicates that the driver is outdated, corrupted, missing or incompatible with the hardware installed on the PC.
Recommended-
How to Fix PCI Modem Drivers Problems
How to Download & Update Realtek PCIe GbE Family Controller Driver


You have to re-install the COM1 AND LPT1 drivers and the problem goes away.
Select the option to locate the file already on your computer. The select “com1 & lpt1” they will instatll and the error will go away.
It’s nice to already own the solution.
The files are already on your computer.