
Have you recently updated your PC to Windows 11 and lost control over your VPN? Or Is your VPN client not working well with the latest updates? Well, you aren’t alone!
Many users have faced the same issue. While some of those who used a free client upgraded to a much better VPN, Systweak VPN, a few wanted to make their previous client work.
If you are also of the same thought and the inbuilt VPN client in Windows 11 is glitching, this post might have the solution for you.
Many of our regular readers came forward to share how updating to Windows 11 has caused a degraded experience in using VPN. Well, for all of them and others in the queue waiting for the perfect fix, we have listed 5 things you can try to solve windows 11 VPN not working and make your VPN work again!
5 Things You Can Do to Fix VPN Issues on Windows 11
1. Reinstall Your WAN Miniport Network Adapters
The most common problem causing the Windows 11 VPN to malfunction lies in the WAN Miniport network adapters. Reinstalling them might help restore the VPN connectivity properly. Here’s how you do it –
- Press Windows + R to open the run search box.
- In run search, type the command devmgmt.msc and hit enter.
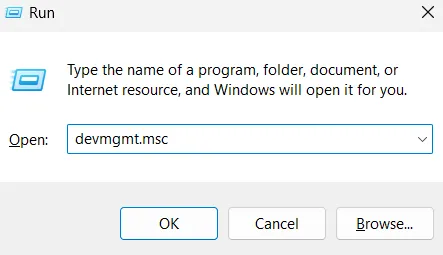
- This will open Device Manager on your screen.
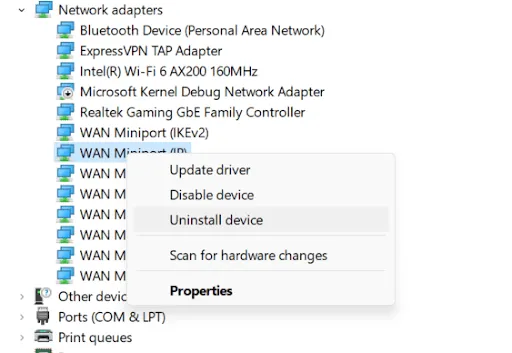
- Look for WAN Miniport Network Adapters in the Device Manager.
- Right-click on them and select Uninstall device option to remove them.
- Once you have uninstalled the adapter. Go to the Device Manager’s top menu bar and click Action.
- In Action, you can find the option to Scan for hardware changes
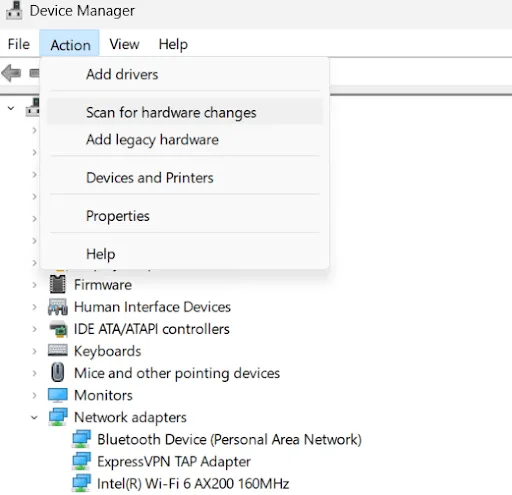
- Since the WAN adapter is internal hardware, the scan will automatically reinstall the missing driver you just removed.
After the entire process ends, restart your PC and try using the VPN again.
2. Clear Prior DNS Records from Cache (Flush DNS)
The DNS cache often turns into the reason behind VPN not connecting on Windows 11. To overcome this issue, the best you can do is flush the DNS cache. Here’s how you do it –
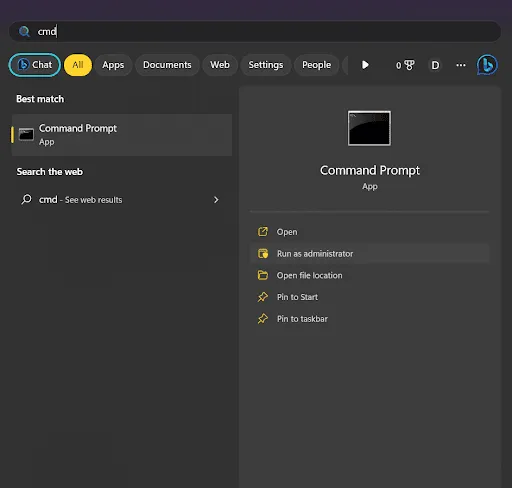
- Press Windows + S Keys on your keyboard
- In the search option, type cmd
- Select the best search result and click Run as administrator to run the Command Prompt as administrator.
- In the command prompt, use the following commands one after the other –
ipconfig /release
ipconfig /flushdns
ipconfig /renew
netsh int ip reset
netsh winsock reset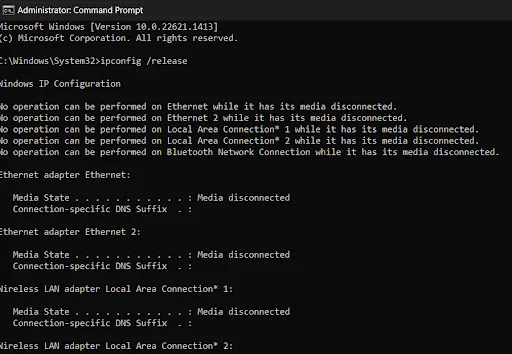
- After executing all the commands successfully, close the command prompt.
Restart your PC for the DNS flush to execute. Once the PC boots up completely, try using the VPN.
3. Check the Proxy Settings of Your PC
On Windows 11, both VPN and Proxy settings are available. When proxy settings are turned on, the VPN sometimes faces an issue. All you have to do is check if the proxy network is being used instead of the VPN. If your system is using a proxy, turn it off.
- Press Windows + I on your keyboard to jump to settings
- Click Network & Internet option.
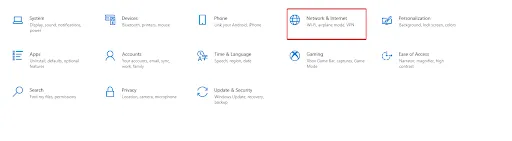
- In Network & Internet settings, in the left pane, you can find a separate tile for proxy settings.
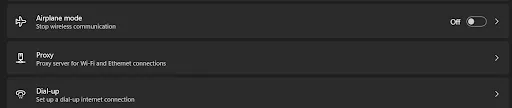
- In the setup, look for Manual proxy settings.

- Open the setup and check whether the server is off or not.
- If it is on, toggle it off.
VPN & Proxy servers are often termed similar applications but have different approaches. There are multiple differences between VPN and Proxy servers, so before you use them, learn about them.
4. Modify Windows Firewall Settings & Allow VPN
Another issue causing the VPN to not function properly on your Windows 11 PC is the advanced version of the firewall that it uses. In Windows 11, security has become quite impressive. The internal firewall is super safe; hence only some things can pass through it.
You might require the use of a VPN on your firewall. It is also possible that you might have to turn it off for a bit. Here’s what you have to do –
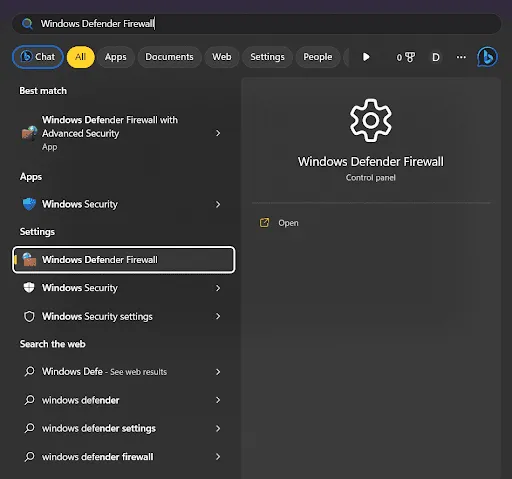
- Press Windows + S and type Windows Defender Firewall in the Windows search bar.
- Click on the exact matching result.
- In the opened window, you can find multiple options in the left panel.
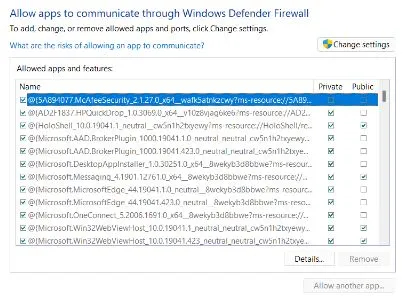
- First, focus on the Allow an app or feature through the firewall section and check if your VPN is on the list.
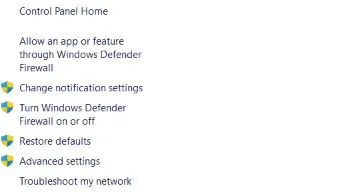
- If not, add it there by clicking on the change settings option (Admin privileges Required)
- If that doesn’t work, take a step back and navigate to the same page.
- This time, click on Turn Windows Defender Firewall on or off.
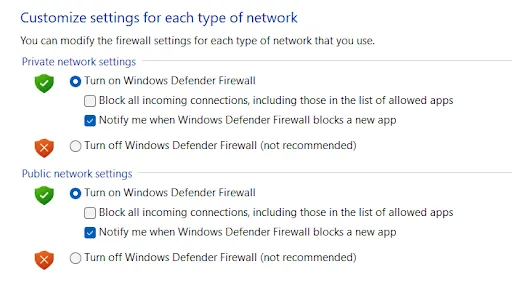
- Simply turn it off from there.
Note : As the screenshot says, it is not recommended to turn the firewall off as it might hamper your security. However, it is a process that can help use the VPN, so any associated risks are completely the users responsibility.
5. Try Using a Better VPN Client
If all the above steps seem like a lot of work and trouble, you can try Systweka VPN. It is a third-party VPN that is tested, safe, secure, and easy to use. You do not have to worry about setting it
up or anything else. Simply install and use.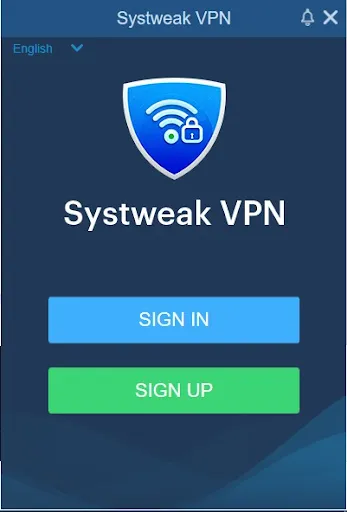 The Systweak VPN offers some amazing features such as –
- Military-grade encryption
- Unlimited bandwidth
- Easy to use Kill Switch
- Reliable & Fast Servers
- Content Access Across the Globe.
Using the tool is also simple as all you need to do is download it from the link given, signup and click on connect! Using a better VPN client eliminates the hassle and smooths the entire journey.

Facing VPN Issues on Windows 11? Not Anymore!
Try these 5 fixes, and you will surely get your VPN issue sorted. If following the above mentioned methods is too much work, go with the 5th alternative in the list, Systweak VPN. It is a top-class VPN client with high-speed servers for a seamless experience. You can try it out by installing the client on your PC for free. Simply download the VPN and install it today.
Regarding your Windows 11 VPN issues, you can always troubleshoot them using the ways mentioned above. Let us know if there are any other problems you have encountered in any of Microsoft’s latest releases. Follow us on social media for more such interesting reads.
That’s all for this post.
Recommended :
How can a VPN Help You Overcome Network Congestion
Advantages & Disadvantages of Using a VPN – YOU CANNOT MISS THIS
How to know If Your VPN is Hacked
How to Fix VPN Server May Be Unreachable Error


Thanks this solve my problem!