
Learn how to record a screen with sound and capture screenshots during video recording.
Over the past few years, video content has become one of the most popular mediums of communication. From social media to billboards to text messages, videos can be seen everywhere. Twenty-seven times more likely, people get attracted to video than static images. Due to this, people are looking for ways to record screens & show off the new features, make impactful presentations, record gameplay, etc.
Therefore, understanding the need of the hour, in this post, we will explain the best practices that you can use to record video screens.
| Advanced Screen Recorder | Xbox Game Bar | Powerpoint | Screencastify – Web Tool | |
|---|---|---|---|---|
| Free To Use | No | Yes | No | Yes |
| Recording limitations | No | Cannot record Windows Explorer | No | No |
| Record Multiple Apps | Yes | No | Yes | Yes |
| Watermark, Annotations, Pen tool, etc | Yes | No | No | Yes |
3 Best Ways to Screen Record on Windows 11, 10
Before we get into details, there’s something I would like to tell you. The Xbox Game Bar offered by Windows 11 & 10 to record screen only works within a single application. This means, that if you want to record a single video where switching from one window to another is involved, you cannot record it in a single video. Instead, you will have to capture multiple videos and merge them. Moreover, if you want to show them how to do anything in the Windows 11 UI, such as using the Start menu, you can’t.
If this comes as a surprise to you, don’t worry; we have got you covered.
To record video with multiple screens or to capture single screen, full screen, or active window we suggest using Advanced Screen Recorder. This best free (limited functionality) screen recording software, helps record the screen the way you want. The tool allows you to record video with audio, record via webcam or as a webcam overlay, add personalized watermark, and more.
To learn more about the tool and how to use Advanced Screen Recorder, click here.

Notably, it offers two types of trial versions.
Premium Trial Version
- Allows recording video without time limit and no watermark
- HD recording
Free Screen Recorder Version
10-minute recording limit with a watermark on videos.

Why Should You Choose Advanced Screen Recorder?
|
Read Also- How to Take Selective Screenshot in Windows 11
Best Ways to Screen Record on Windows 11, 10, 8.1, 8, 7
Advanced Method 1 : Record Screen Using Advanced Screen Recorder
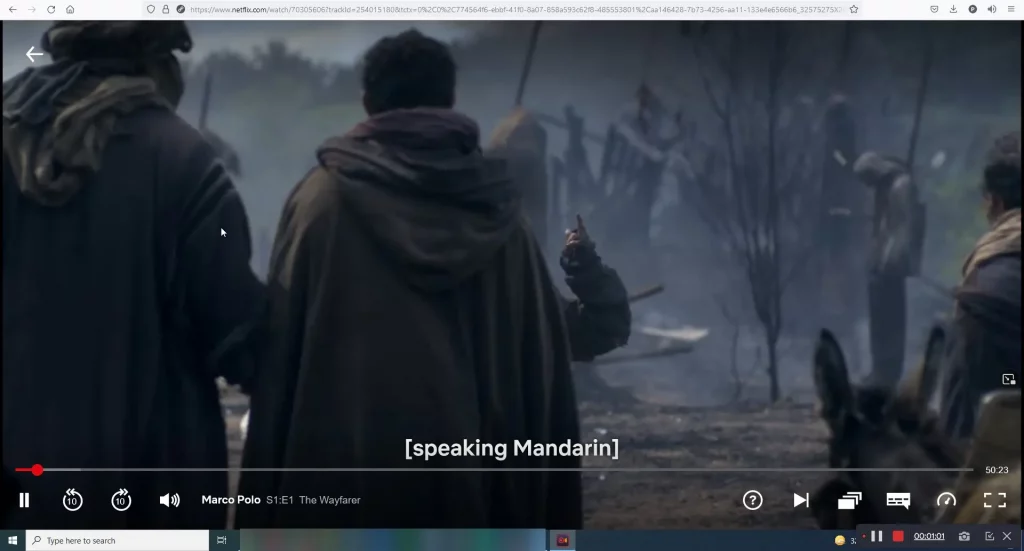
Disclaimer: Recording and/or sharing Streaming Video from any service may violate the terms of your agreement. Please refer to the Terms of Use before using this service.
To record streaming content, presentations, webinars, and more follow these steps.
1. Download and install Advanced Screen Recorder.
2. Launch screen recorder Windows.
 3. Play the video you wish to record and click the Advanced Screen Recorder. If you cannot see the Advanced Screen Recorder in the Taskbar, look for it in the System Tray,> right-click > launch Advanced Screen Recorder.
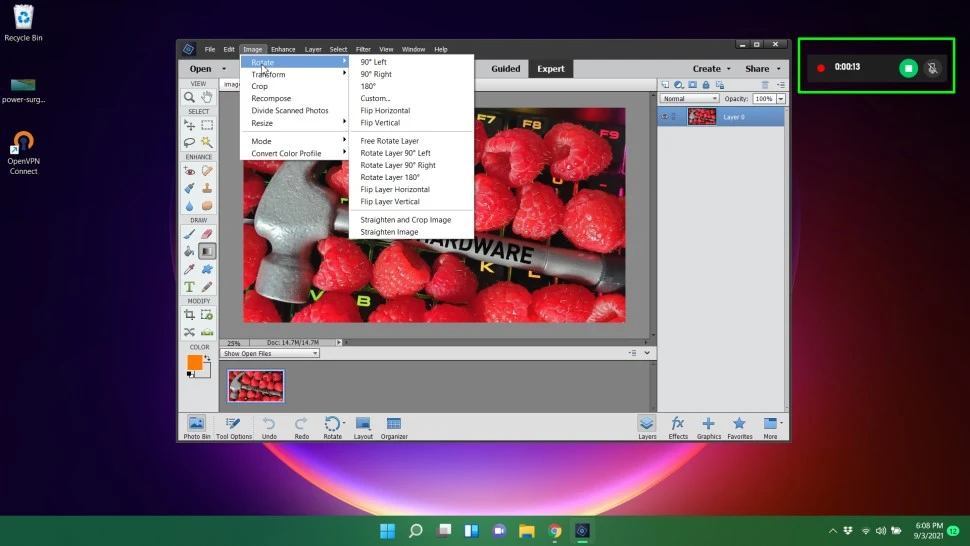
4. Next, before clicking the Record button select the region or screen you wish to record. By default, it records the full screen with system audio.
Full Screen-captures the full screen
Select Region– records selected area of the screen
Select Window– select the specific window to record
Webcam– record the video when using the webcam
5. When done, click the red stop button you can see in the system tray. This will automatically save the streaming content, presentation, webinar, or whatever you were recording.
Must Read- How to take Screenshot Without Watermark – Windows 11, 10
How to see the Recorded Video?
To see the recorded screen, launch Advanced Screen Recorder. Click Quick Settings > under the Recordings section divided into the Video and Screenshot section; you will see the video recorded by the screen recorder software.

To play the video, click the Play icon. In addition to this, you can open the directory where the recorded video is saved, by clicking the Folder icon.
You can also delete the video by clicking the Trash icon.
To view captured screenshots click the Screenshot tab and click the Photos icon.
This is how you view the recorded screen.
Furthermore, Advanced Screen Recorder the best screen recording tool allows recording screen overlay, gameplay, and video using the webcam.
To learn more about how to record using the Webcam, follow these steps.
How to Record Video When using a Webcam?
Advanced Screen Recorder not only records desktop windows, but it can also record Webcam.
To record Webcam, follow the steps below:
1. Launch Advanced Screen Recorder
2. Click the Webcam icon present on the home screen.
3. This will start Webcam screen recording.
4. To make changes to the overlay screen before recording click the three stacked lines.
5. Select Settings > Webcam from the left pane check to mark the box next to Record Webcam overlay while recording and customize settings.

6. When done, close the Setting window.
7. Let the recording finish; click the red button to stop recording.
That’s it; using these simple steps, you can record Webcam also.
If you have any questions about the tool or how to use it, you can email the support team at support@tweaking.in. They will assist you and will help resolve all the queries.
Method 2 : Screen Record with Xbox Game Bar
The Xbox Game Bar, which is included in both Windows 11 and Windows 10, enables screen recording. In addition to capturing MP4 films, it has features such as rapid access to Xbox chat and an overview of CPU and GPU activities.
To use it follow these steps:
Note : Game Bar allows recording one application at a time.
1. Launch the app you wish to record.
2. To start recording the screen, click Windows Key + Alt + R. You will now see a small recording widget with a recording timer and a button to pause or stop recording. Also, by pressing Windows Key + G, you can launch Game Bar and use the capture widget.
3. Record the actions you perform on the app and record audio using your microphone.
4. To stop recording, press Windows Key + Alt + or hit the stop button on the widget. The recorder MP4 file is saved under your Videos/Captures folder.
Read This- Why Use a Screen Capturing Tool In Windows 11,10
Configuring Xbox Gamebar Screen Recording
For most people, the default Game Bar settings work just fine. However, if you want to change them, follow these steps:
1. Press Windows + I
2. This will open Windows Settings
3. Click Gaming from the left pane followed by the Captures option present on the right side.
4. Change the settings as per your requirement. Remember though you will find the word “game,” written the settings will apply to all apps, be it game or not.
- Record what happened: automatically creates a 30-second buffer for recorded content.
- Max recording length: The amount of time after which recording will automatically shut off.
- Capture audio when recording a game: This option, by default, records sounds from your mic and excludes background sounds.
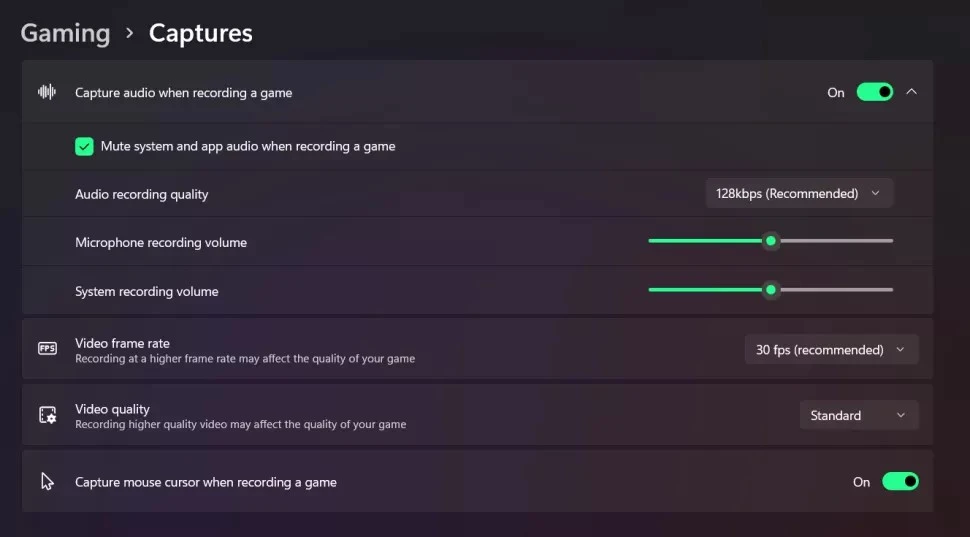
- Video frame rate: defaults to 30 fps, which can be changed to 60 fps.
- Video quality: choose standard or high.
- Capture the mouse cursor when recording a game
Method 3: Record using PowerPoint
In addition to the above steps using PowerPoint, you can record your screen. To use it, follow these steps.
Step 1: Launch the PowerPoint app and open a new file.

Step 2: Click the Insert menu > select the screen recording button.
Step 3: This will grey out the screen, and you will see a toolbar.
Step 4: Select the region you want to record and click on the red button to start recording.

Step 5: When done, press Windows key + shift + Q to end the recording.

Step 6: Save the recording by right-clicking the PowerPoint slide> choose Save Media from the list.

Step 7: Select the destination to save the video recording, and that’s it.
Check This- How to Take Scrolling Screenshot in Windows 11, 10
Add Method 4 – Use a Web-Based Screen Recorder
Another method to record your screen is to use a web-based screen recorder. We recommend using Screencastify, which allows users to record PC screens with audio and publish output to YouTube. This free screen recorder does not have ads and will enable users to save the recordings to Google Drive.
Here are the steps to use this Chrome extension.
- Visit the Chrome Web Store and search for Screencastify.
- Click on the Add To Chrome Button.

- Click on the Extension icon next to the address bar and click on Screencastify.
- You will have to sign in using your Google account.

- Next grant access to your Google Drive to store your work.

Further, you will have to grant permission to access Mic and Webcam.

- Next, you will be able to see a tutorial to record the screen. Follow the steps and then click on the Record button.
- Once the screen capture process has started, you can use a Pen tool, Eraser tool, apply Stickers, etc.
- Click on the End Recording button and the video will be saved to your Google Drive.
Wrap Up –
To wrap up, you can use any of the four methods described above to record your screen. However, if you ask us then we recommend Advanced Screen Recorder due to the number of features it contains. This app is suited for professionals who generate content for YouTube and other streaming websites. But if you are looking for a temporary solution to record an error or so then you can use the Xbox game bar or the Screencastify Chrome extension.
FAQs
1. Can I record both system audio and microphone sounds at the same time?
Yes, most screen recorders (like Advanced Screen Recorder) allow capturing both internal system audio and microphone input. Ensure both options are enabled in settings.
2. Why is there no sound in my screen recording?
Most screen recorder apps provide the option within their settings to allow the user to choose the sound source between system audio or external microphone. If using the Xbox Game Bar, ensure “Capture Audio When Recording” is turned on in the Game Bar settings.
3. How long can you screen record on Windows 11?
If you wish to record the screen on Windows 11, then you can either use the built-in Xbox game bar or a third-party tool like Advanced Screen Recorder which allows users to have more commands and options when it comes to capturing the screen and recording audio as well. There is no limit on the length of the video, you wish to record on your screen but rather depends on the space available on your hard drive.
4. Can Windows screen recording be detected?
When you are using the default option within Google Meet or Zoom to record the meeting, then all the participants will know that this meeting is being recorded. However, while using Advanced Screen Recorder, the Windows 11 screen recording cannot be detected by others.
5. Does the Windows screen recorder record sound?
Yes, the built-in Xbox game bar and the Advanced Screen Recorder application, both record sound provided you have a microphone attached.
6. Which is the best software for screen recording on a PC?
Advanced Screen Recorder is the best software that allows users to record the screen with audio when attending online seminars, zoom meetings, gameplays, webinars, and even YouTube live streaming.


One thought on “How to Screen Record with Sound in Windows 11, 10”