The Google ecosystem for cloud documentation has taken over the entire corporate and student realm. Gone are the days when users were stuck with MS Office for their documents, sheets, and presentations. Today, a user can access Google Docs, Google Sheets, and Google Slides from anywhere on any device.
If we talk specifically about Slides, it has made presenting ideas and editing presentations easier on the go. You can log in to your account and access the Slides quickly. While the number of Slides users is increasing daily, several new users do not know how to use it to its full potential.
For instance, you can record and share your presentations as a video on MS PowerPoint. So, is that also possible on Google Slides? More importantly, can one record audio on Google Slides is the primary concern of many users.
Today, in this post, we will share how to record audio on Google Slides. Without further ado, let’s begin!
Can You Record Audio on Google Slides
Currently, no direct or inbuilt methods exist to record audio on Google Slides. You do have the option to add audio to the slides. However, that is quite a headache, considering you must manually record the voiceover that syncs with each slide. This is also why users use this feature to add background music rather than narration.
Now, two things can be done here on how to record a Google Slides presentation with audio –
- if you require to create a presentation with dedicated audio or a voice-over, you can record it manually and then add it to the slides.
- You can use a screen recorder tool to create a complete video presentation from your Google Slides.
No matter which option you choose, you will require decent screen recording software to get the job done. Why a screen recorder? With its help, you can manually record an audio track while rehearsing your presentation, and it will create audio in the exact sequence. More importantly, if you aim to create a video, the screen recorder is the best way to focus on the slide with selective region recording and external audio.
But now the question that might bug you is which screen recorder to choose. Well, Advanced Screen Recorder is quite a good choice, considering it offers an all-in-one utility experience.
Wondering how to record a Google Slides presentation with audio? Let’s find out!
How To Record A Google Slides Presentation With Audio?
Method 1 – Record Audio for Google Slides With Advanced Screen Recorder
To record a voiceover for your Google Slides, you first need an audio recording application on your computer. Remember that Google Slides does not have an internal recording system, and hence, you will have to turn to an external application.
Advanced Screen Recorder is one of the most preferred applications for recording audio and video. The application runs in the background, allowing you to take time according to your slides. This means you can start the recording and present your slides like nobody’s watching. Once you have presented and taken your time, simply stop the recording, and you will have an exact voiceover file that matches your presentation time.
Here’s how it works –
Step 1 – Download the Advanced Screen Recorder on your computer.

Step 2 – On launching the application, you may find an interface similar to the following image.

Step 3 – From the application, you can simply click on Audio to move towards the audio recording. Keep in mind that it surely is a screen recorder but has many features that you can explore to record audio, webcam video, specific windows, etc.

Step 4 – In the Audio recording interface, click on the Record button, which will ask you to choose your recording device and audio source. If you have connected an external microphone, mention the same. Also, if you want no notifications or anything to disturb your voiceover, change your system sound option to none.

Step 5 – Click on Start recording and minimize your recording tool.
Once you are done recording, simply bring up the Advanced Screen Recorder and stop recording. The tool also has built-in options to trim the audio, so you can easily trim out the initial and final few seconds to make the audio crisp and fitting.
You also have an option to record the entire Google Slides presentation with the screen recorder. That way, you can create a video file to help you send and share it better. You can also use it on the go since videos can be played on any device while you need access to PowerPoint or the internet to open a presentation.
Method 2 – Record Audio for Google Slides With An Online Tool
If you are looking for an alternate way to add and record audio to Google Slides, then you can use an online tool to do so. Here are the steps –
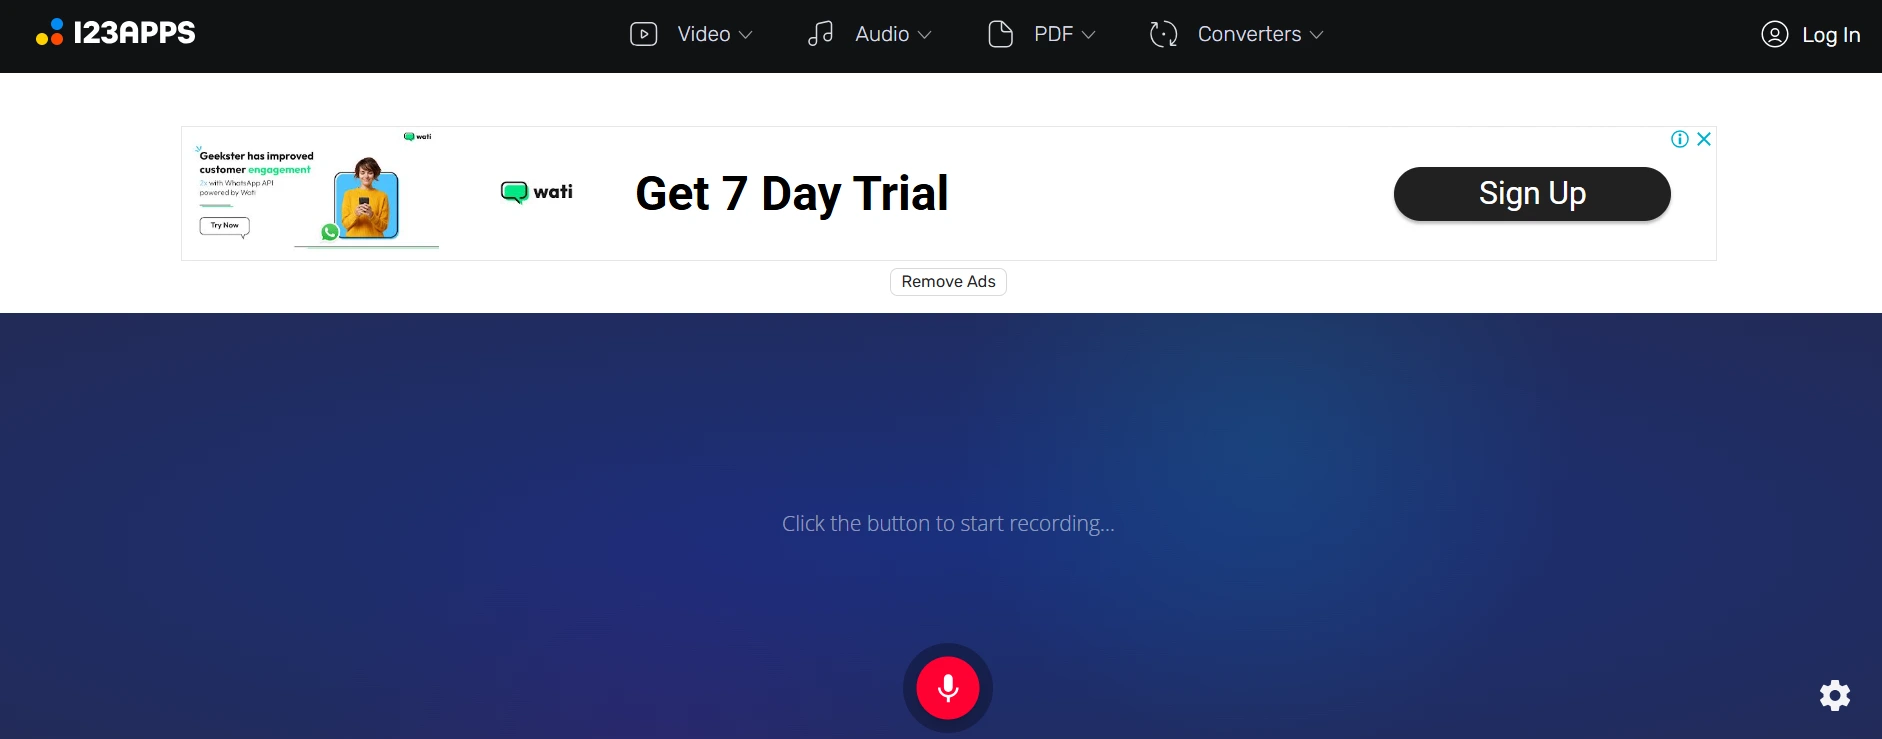
Step 1 – Navigate to the Online Voice Recorder website.
Step 2 – Click on the Red circular button to start recording.
Step 3 – Accept the permissions on the webpage. We recommend that you click on Allow This Time.

Step 4 – The recording will start. You will see a button to stop the recording or pause it.
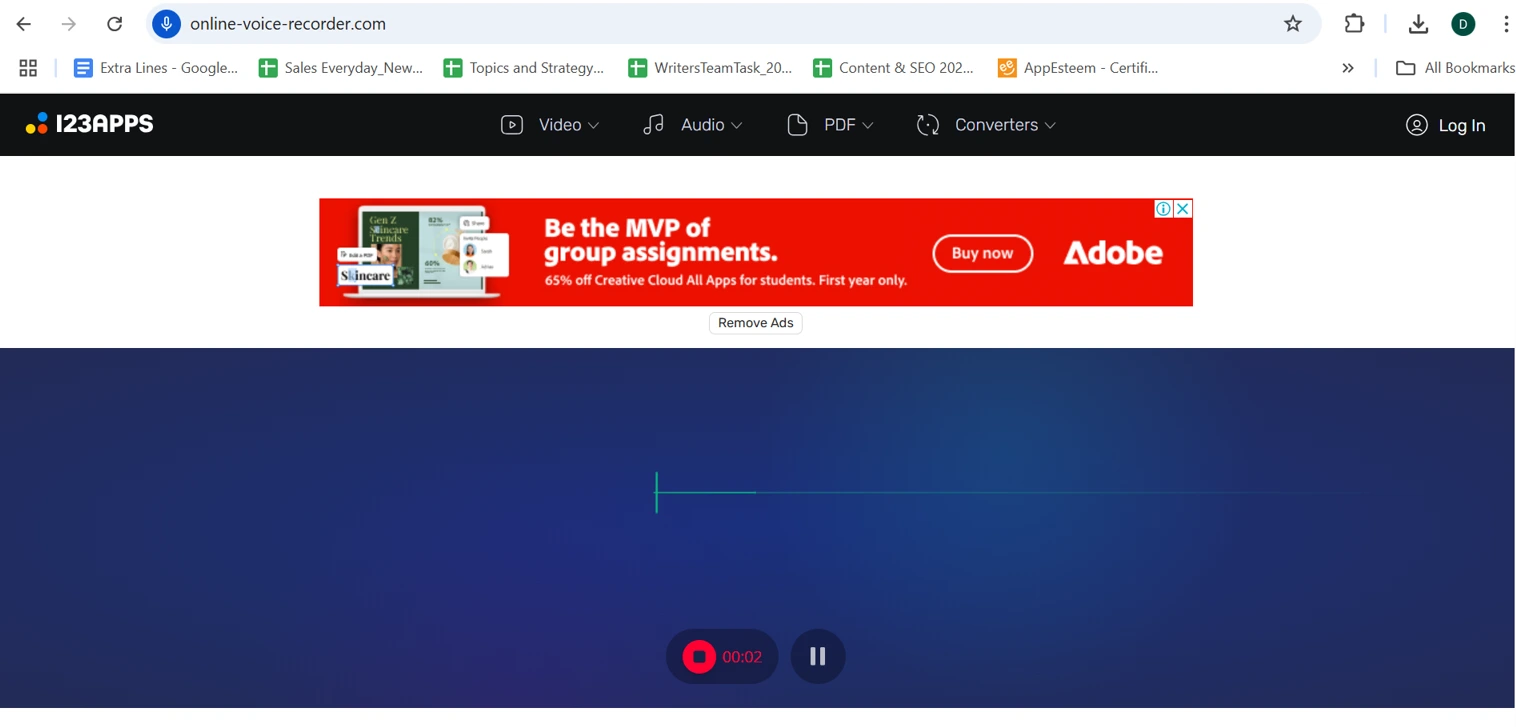 Step 5 – After you stop the recording, you will get an option to play the recorded content to check.

Step 6 – If you are satisfied with the recorded content, then you can click on the Save button in the bottom-right corner.

Step 7 – The audio file will be saved in your default download folder.
The online methods do not guarantee the privacy and security of the audio file. Also, while using it, we found that the quality of the recorded file was not good, and the voice recorded was low. We recommend that you use a professional tool like Advanced Screen Recorder to record audio and video files.
How to Add Audio to Your Google Slides Presentation
Once you have created an audio file for your presentation, it only takes a few steps to add it to the documents.
Step 1 – Upload your created audio to Google Drive associated with your Slides account.

Step 2 – After you have uploaded, head to Slides and click on Insert to find the option to add Audio.

Step 3 – Click on Audio, and you will be taken to select the audio. Click on Google Drive to browse your saved audio file.

Step 4 – Choose the file and click on Insert. Your file will now appear in the slide.

Yes, it is that simple!
We hope you know how to record audio and add it to your Google Slides presentation. You can make it all happen with Advanced Screen Recorder in just a few clicks. Download the tool today and make it happen! Good luck.
Editor’s Note – Why Choose Advanced Screen Recorder?
Advanced Screen Recorder is a complete screen recording app with multiple features that are unique and collectively present under one user interface. There are many options that you can avail yourself of while recording your screen with audio. Let us take a look at a few of them.
- Records videos in 4K recording quality in many formats like .mp4 and FLV.
- Users can record the entire screen, a portion of the screen, or a selected window only.
- The videos recorded can contain audio or be recorded without any audio.
- While recording your screen, you can add a watermark to protect your content.
- This app allows users to record footage from a webcam as well as embed the webcam as an overlay on the screen.
- You can record audio from the system or use a mic to provide voice-over and save it as a separate audio file.
- The Advanced Screen Recorder allows users to Auto-stop & Auto-Split their recorded videos based on time and size.
With so many features and more, we have chosen this software to provide solutions to issues like recording audio on Google Slides and other screen recorder issues.
Are You Able To Record Audio On Google Slides?
We hope you now know how to record a Google Slides presentation with audio. You can make it all happen with Advanced Screen Recorder in just a few clicks. Download the tool today and make it happen! Good luck.
Do share your thoughts and queries in the Comments section below, and we shall gladly provide solutions to resolve them.
FAQs – Record And Add Audio On Google Slides
How do you record your voice on Google Slides?
It is possible to record your voice on Google Slides by recording your voice using a third-party application and then adding the audio file to the Google Slides presentation.
Can you make audio on Google Slides?
Yes, you can insert any supported audio file format on Google Slides using the Insert > Audio option. The commonly supported file formats include MP3 and WAV.
How to record a Google Slides presentation with audio and video?
To record a Google Slides presentation with audio and video, you need to use a screen recorder tool like Advanced Screen Recorder. This tool also allows users to record the presentation displayed on the screen with a small overlay of webcam and voice over if required.
Read Also :
How to Record Skype Calls Free on Windows PC
Record Yourself Presenting a PowerPoint – Why & How