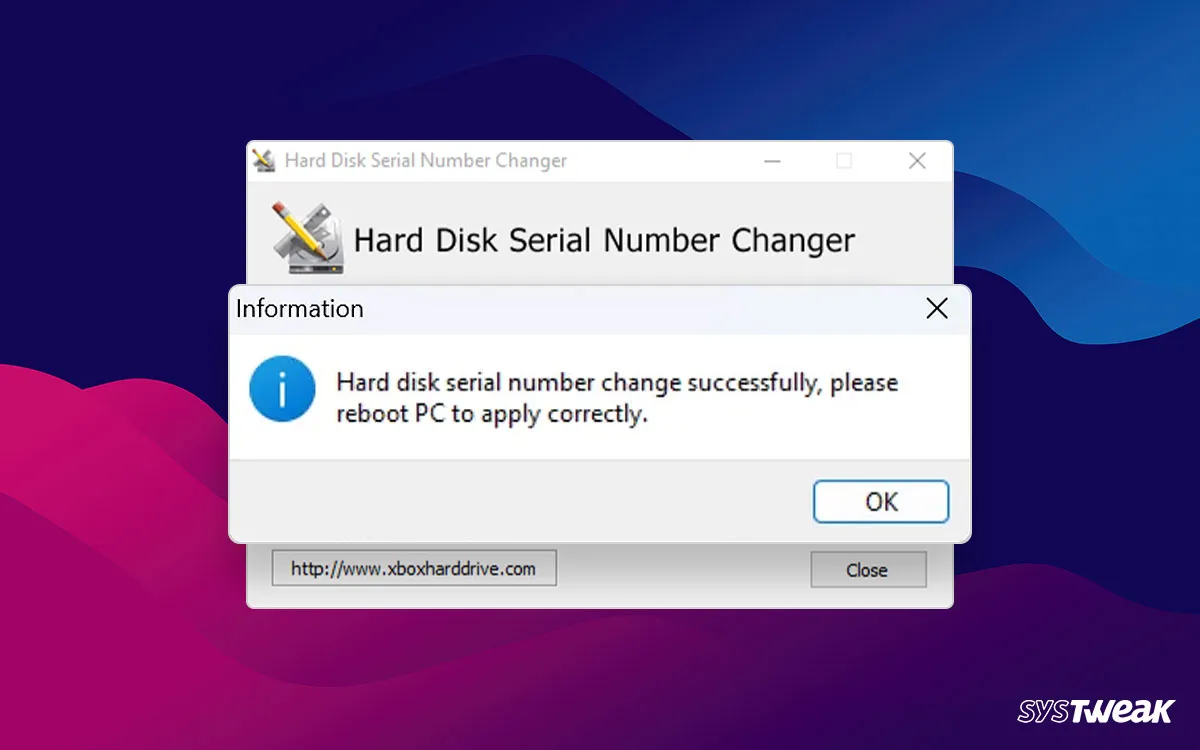
Hard Disk Serial Number Changer is a tool to change the serial ID of the volume in use. It is used by those who want to remove any bans enforced on the PC by anti-cheat systems. The tool is widely used for changing the serial number of the volume, and it is a common practice among professional users. Though the tool is easy to use, it often bothers users due to a few functionalities.
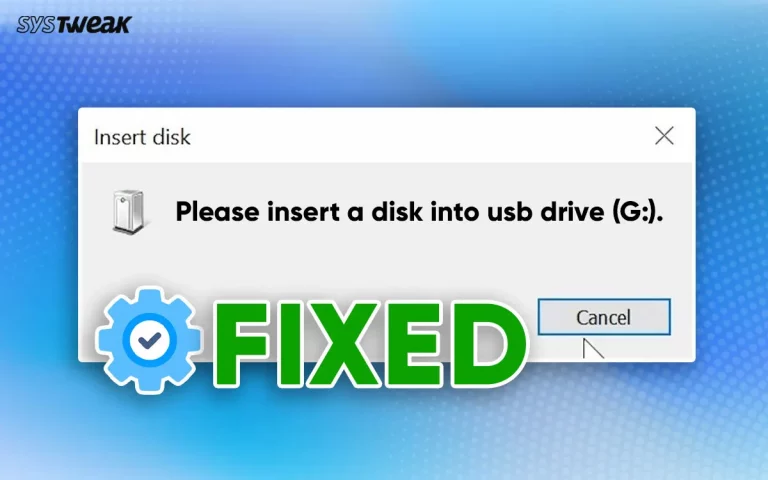
If you have also encountered the error “Unable to write to this disk” while trying to change the serial number, you have reached the perfect place. By the end of this post, you will know how to fix the Hard Disk Serial Changer application errors. Without further ado, let’s jump straight to it!
How to Fix Unable to Write to this Disk in Drive Error on Windows
The error appears due to the tool’s incompatibility or the disk errors present on your system. Some of the known reasons that cause the issue are –
- PC-App incompatibility
- Missing permissions to support the process
- Antivirus program triggering a red-flag
- Disk errors and issues
The easiest way to resolve the unable-to-write-on-the-disk issue is to work on these two aspects. Check out the fixes below as they will help you do the same.
Fix 1 – Open the Serial Changer App as Administrator
Step 1 – Navigate to the executable file of the Hard Disk Serial Number Changer application.
Step 2 – Select and right-click on the app to find the context menu.
Step 3 – In the context menu, you may find the option to run as administrator. Click on it.
Using the administrator privileges may solve the permissions issue, resolving the error on your PC. Most applications do not get all the permissions, especially third-party apps like these. Changing the permissions might help.
Fix 2 – Change the Compatibility Mode
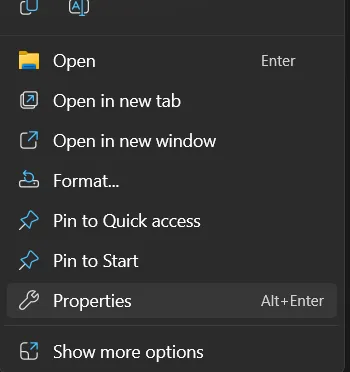
Step 1 – Select the application and right-click on it to open the context menu.
Step 2 – In the context menu, click on Properties.
Step 3 – In the Properties window, navigate to the compatibility tab.

Step 4 – In the Compatibility tab, spot the compatibility mode section.
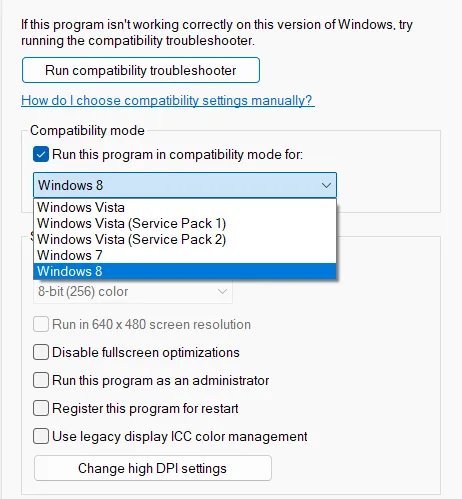
Step 5 – Enable the compatibility by clicking on Run this program in compatibility mode and then select Windows 7 from the dropdown menu.
If the administrator permissions did not support the application, the issue may lie in the compatibility. Using these steps, you can run the app as it is compatible.
Read Also: How to Access a Disk that is Write Protected
Fix 3 – Try Downloading the Application Again (From a Reliable Source)
Since Hard Disk Serial Number Changer is a standalone application, it is possible that the exe. file you are using is not compatible with your operating system. Hence, it is advised that you try to download the application again and then try running it. You should ensure that you are downloading the application from a reliable source.
Fix 4 – Check Disk For Errors
Step 1 – Open the Windows Explorer and select the disk you want to check.
Step 2 – Right-click on it to find the Properties option. Click on it to open.
Step 3 – In Properties, go to the Tools tab, and you may find two tools.
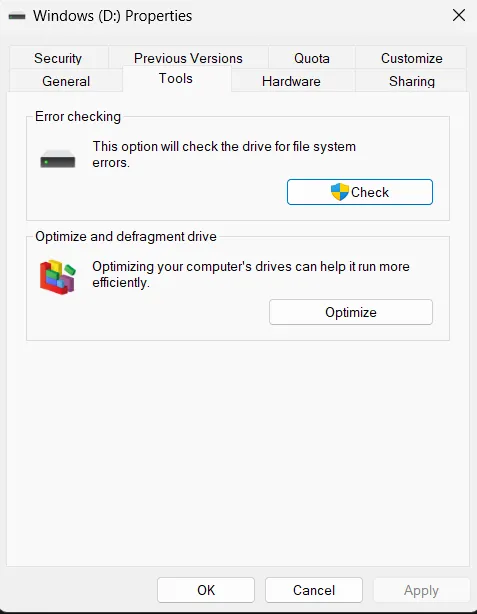
Step 4 – Click on Check to start the error checking of your disks.
Step 5 – Follow the instructions on-screen to get things done smoothly.
There are chances that the disk you want to change the serial number of has fragmentation-related issues. You must ensure that your disk is OK and ready to be used. To check your disks, follow these steps and get rid of any issues. If these fixes don’t help, you can opt for the Disk tools module offered by Advanced System Optimizer.
Fix 5 – Format the Disk Using NTFS
Step 1 – Press Win+X to bring up the Quick Access menu.
Step 2 – In the Quick Access menu, click on Disk Management
Step 3 – In Disk Management, select the partition you face an issue with and right-click on it to find the options.
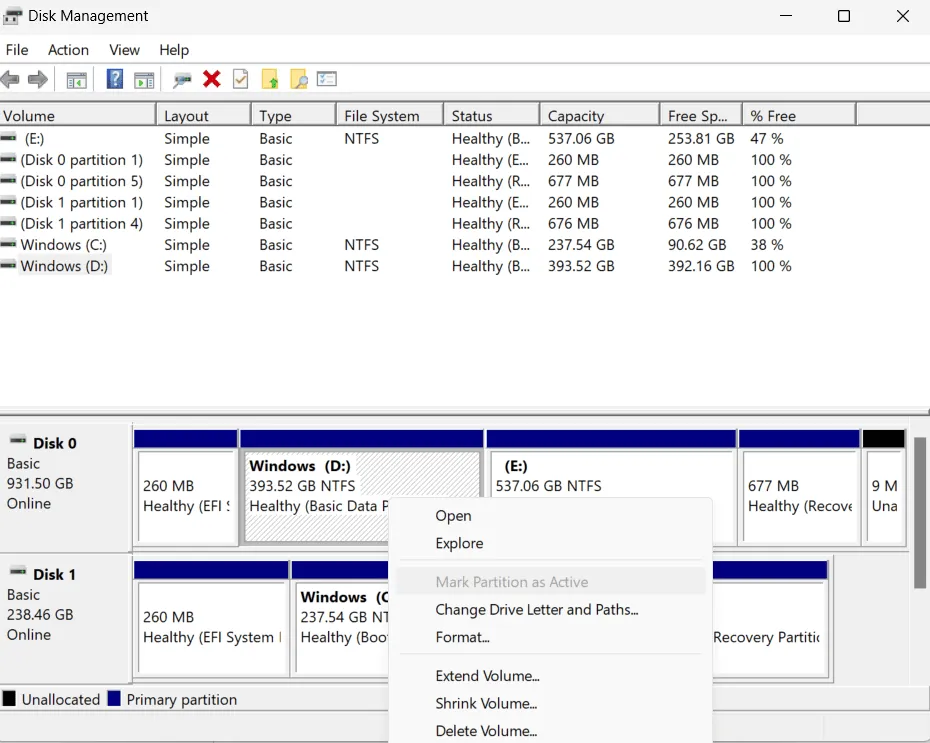
Step 4 – Make sure the File System is set to NTFS and run a quick format.
After you have formatted the drive, try launching the application, and you may find that the unable to write to this disk error is no longer there. This way, you will have easily removed the issues and made it easier to fix the problem.
What Can You Do If You Lose Crucial Data While Fixing the Error
Now, performing operations on your disk is often risky, considering it brings a lot of issues related to data loss. If you, too, are worried about the same, then do not worry, as we have a solution for that, too. You can try using the Advanced File Recovery tool to recover files you may have lost.
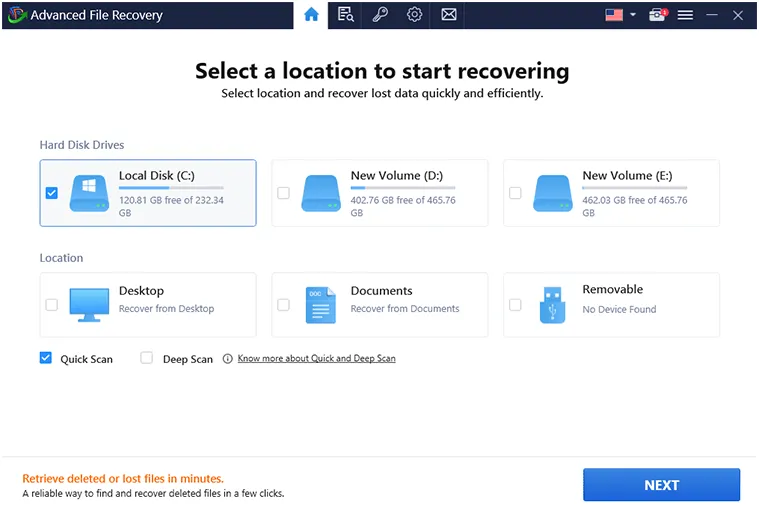
This works with all sorts of files, and the best part is that you can even recover files from crashed/formatted drives. All you have to do is download the app, select the type of file you want to recover, and run a scan. Instantly, you may get a result to preview the file that you are recovering.

The application’s ease of use makes it super easy to use and recover files. Download the Advanced File Recovery today and try the fixes without any fear!
That said, after trying all the fixes and recovering the data lost, you will have successfully escaped the inability to write to this disk error in the Hard Disk Serial Number Changer application. If you have any other concerns, please leave a comment. Additionally, we suggest restarting your PC and updating it to ensure it is not just a glitch.
Thanks for reading. Good luck!
Next Read: Best (Free/Paid) Data Recovery Software for Windows