Write-protected flash drives are the best way to carry private data without worrying about it falling into the wrong hands. Any sort of sensitive data can be carried easily using the same. However, this convenience often becomes a nightmare for users when they accidentally lock the drive. That is because recovering data from a write-protected flash drive is difficult.
But difficult never means impossible. In this post, let us understand how things work when you want to recover data from a write-protected flash drive. What can be the potential barriers in the process, and what is the ultimate solution?
So, without further ado, let’s get started!
Retrieving Data From a Write-Protected Flash Drive – What to Do?
Making a drive write-protected means ensuring changes cannot be made to the files on the drive. If you mistakenly protected the file and locked yourself out, things may get difficult as you no longer have writing access to your drive. It is like locking yourself out of a room and leaving the key inside.
In the case of the metaphor, the only way to get in is to break the locks. Similarly, you might need to remove the drive’s write protection to access the files.
3 Ways to Access the Write Protected Drive
Method 1 – Check for a Physical Lock on the Drive
If you are using an SD card or a Flash drive, you must check for physical locks on the same. You can find a tiny slider on an SD card that locks that drive. If the drive is locked, the contents are unavailable and the drive is often not detected or appears as locked when detected.
Look for these physical locks if you do not remember locking your flash drive manually and have encountered the write-protected issue on your PC.
Method 2 – Check the Write Permission Settings
Step 1 – Go to the drive in question and right-click on it to find Properties.
Step 2 – Open properties, and you may find multiple tabs. Click on the Security tab to continue.

Step 3 – In the Security tab, you may find a table named Permissions.
Step 4 – Scroll down to check if the permissions are allowed.

Step 5 – If not, click on the Edit button and change the permissions for the user. Ensure you use the user name that you are currently using.
After getting the permission and setting the changes, you should now be able to access the write-protected drive. In case this does not work, we advise you to move to a more advanced set of fixes given below.
Method 3 – Use the Command Prompt to Remove Write Protection
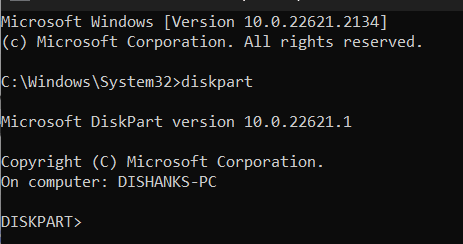
Step 1 – Go to the Start Menu and look up the command prompt on your PC.
Step 2 – Launch the same with administrator privileges.

Step 3 – In the command prompt, use the command – diskpart.
Step 4 – After hitting enter on the above command, you can now use the following 3 commands one after the other –
List Disk – This will list all the available disks.
Select Disk # – this will allow you to select the disk you want to operate on. The # denotes the number of disks you want to use. The number can be confirmed by identifying your drive from the list disk command.
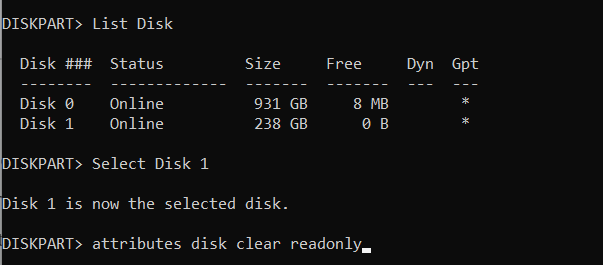
attributes disk clear readonly – This is the operation statement, which means the command will clear the attributes of the selected drive and switch it to read-only.
After making the changes, try opening the drive again, and you should find that the disk access is now open to you.
Other than these, you also have a method that evolves your registries. If you do not have enough information on working with these registries, we do not recommend using the method. However, if you believe you can make it work, here’s how you can do it.
Advanced Method – Disable Write Protection Using the Registry Editor
Step 1 – Press Win+R to open the run search and use the command regedit to open the registry editor.

Step 2 – After opening the Registry Editor, use the address bar and navigate to –
Computer\HKEY_LOCAL_MACHINE\SYSTEM\CurrentControlSet\Control

Step 3 – You may find the Write Protect value once you have navigated to the shared path. Double click on it and change the value from 1 to 0 and you have successfully made the change.
If you cannot find the Write protect value, simply right-click and create a new DWORD 32-bit value and rename it WriteProtected.

Move on to your drive to check whether the issue is resolved. Remember that you should change the registry file related to write protection only, as making random changes might kill your drive forever.
Recover Deleted File From a Write Protected Flash Drive
One of the biggest concerns of users while dealing with write-protected flash drives is what will happen if their data is lost in altering the write permissions.
The concern is genuine and understandable, as many users have shared how they lost their data in the pursuit of recovering data from a write-protected flash drive.
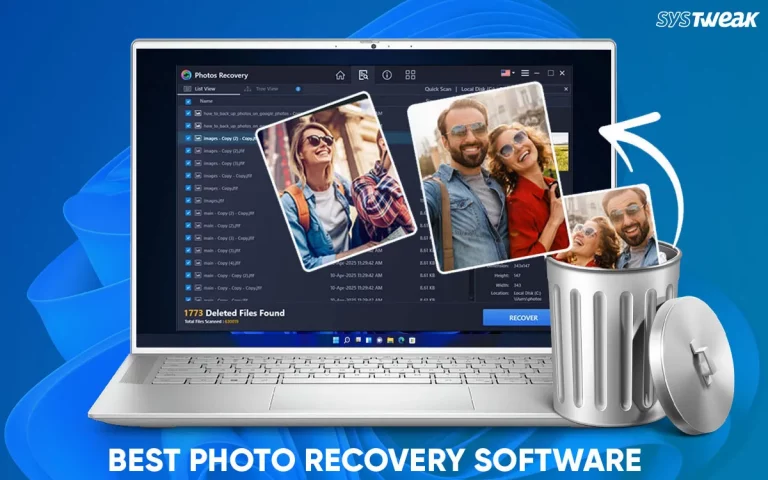
We might have the best solution if you are also worried about the same or have lost data. Advanced File Recovery tool. The tool can help you easily recover lost files and deleted contents of a write-protected drive.
Here are the steps that will help you –
Step 1 – Download and install the Advanced File Recovery tool using the link below.

Step 2 – After opening the application, select the Removable Disk from which you want to recover files.

Step 3 – The tool later asks you to specify the file type you want to recover. If multiple files are on the drive in different formats, use Scan All Data and click Start Scan.
Step 4 – Let the Scan Run. Once completed, you get the list of files available for recovery.

Step 5 – Go through the list and mark the files you want to recover.
Step 6 – After marking the files, select a folder to recover the files in. It is advised that you do not use the same drive.
Step 7 – Initiate the recovery process and wait for it to finish.
Once the process ends, you can head to the folder you selected for recovery and find all your files ready to use. The tool uses a library of functionalities developed by experts to ensure that all your files are recovered without any issues.
Accessing/Recovering Data From Protected Flash Drives Made Easy!
Removing the write protection is the ultimate way to recover files on any drive because even if you lose data while trying to remove the write protection, it can be easily recovered using Advanced File Recovery. Download the app today and recover data from a write-protected flash drive easily!
That will be all for this post. Thanks for reading. Good Luck!
Recommended :
Best Ways to Recover Deleted Sticky Notes [100% Working]
How to Recover Files Lost During System Restore?