Are you facing connection issues with the Dell docking station on your laptop or desktop?
If true for you, this troubleshooting guide will help resolve the issue.
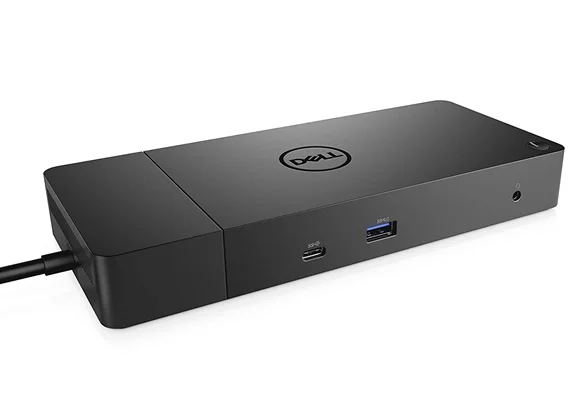
What is a Docking Station?
A docking station is a hub of external ports often missing from a laptop due to its mobile nature. It adds a lot of usability and flexibility to a laptop. Brands like Dell, HP, etc., make dedicated docking stations for laptops so that every user who needs a PC’s mainstream ports can get them even on the laptops. However, the incidents of Dell docking stations not working, not powering on, Dell laptops not recognizing the docking station, not functioning properly, and Dell docking station blinking 3 times and turning off have been reported.
If you are stuck in similar situations like this, the guide is here to help you.
Ways to Fix Dell WD19 Docking Station Not Working
Here are simple ways to fix docking station issues like – Dell laptop not recognizing the docking station, Dell WD19 not powering on, Dell docking station not detecting monitor, and similar issues. Just walk through these fixes and find the trick that works just right for you.
Fix 1 – Check the Integrity of the Docking Station
If your Dell docking station has stopped working, there is a significant chance of hardware failure. Therefore, before fixing it using your laptop, ensure you have a working docking station.
Now how can you be sure that your docking station is working fine? Well, there are a few steps you can take –
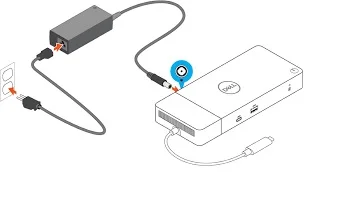
Check 1 –Look for the power light after connecting the docking station to your PC. If the light is still off, there can be an issue with the power supply used in the dock. You should contact the service center for the same.
Check 2 – Use the original chord to connect the docking station to your laptop. Sometimes, the error lies in the connection and cable too. If you have replaced the cable by chance, ensure you have the original one.
Check 3 –Try out the docking station on a different laptop. If the docking station works fine on a separate laptop, you know whether the problem lies in the docking station or your laptop.
Fix 2 – Try Resetting the Docking Station
Once you have checked the integrity and there’s nothing wrong with your laptop or the device, try to reset the docking station. Resetting the docking station is simple. All you have to do is –
- Remove the docking station from your laptop.
- After removal, wait 15 seconds for the docking station to lose power completely.
- Connect the device again.
- Go to Device Manager on your Laptop. Press Windows + X to find the Device Manager option.
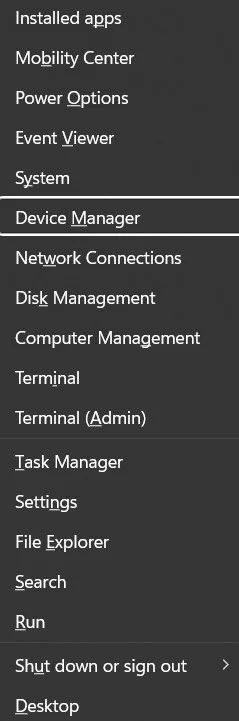
- Double-click Universal Serial Bus controllers in the Device Manager to find Dell WD 19 docking station.
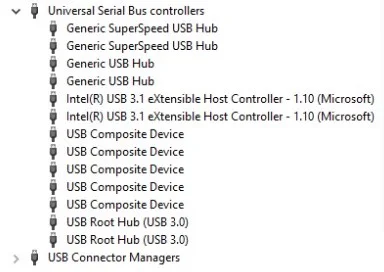
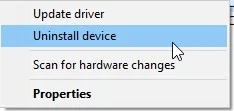
- Right-click the device name and select Uninstall device. This way, your laptop will have no pre-installed drivers that might have malfunctioned.
- Now plug in the device again to install the USB drivers.
This should reset the Dell docking station and rectify the non-working situation. If you cannot make it work after you have reset the device, move on to the following technique.
Fix 3 – Update the Drivers for the Docking Station
When the installed drivers for your docking station are outdated, you face a problem. Since you still face the problem even after reinstalling the driver, there is a solid chance that the driver will require an update.
Updating your docking station drivers can be both easy and hectic, depending on what way you choose for it. There are two easy ways to approach the task, the manual way and the automated way. The manual way goes as follows –
- Open the d Device Manager using the Windows + X shortcut (as shown in the previous section.)
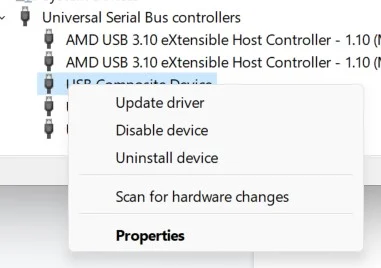
- Go to find the device. It might be listed as an unknown device if it is connected to the Thunderbolt port.

- Right-click on the device and select Update drivers.
- This will give you access to Windows Driver Updater.
- There are two options to update the driver manually. You can let Windows look for driver updates or update the driver using the setup file.
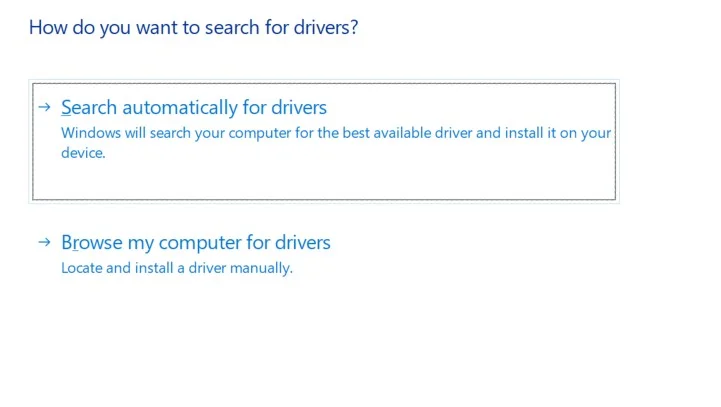
- Choose the desired option and follow the instructions to update the drivers manually.
On the other hand, Advanced Driver Updater is a dedicated tool for updating all sorts of drivers. It offers an automatic solution. All you have to do is –
- Download and install the application on your laptop.

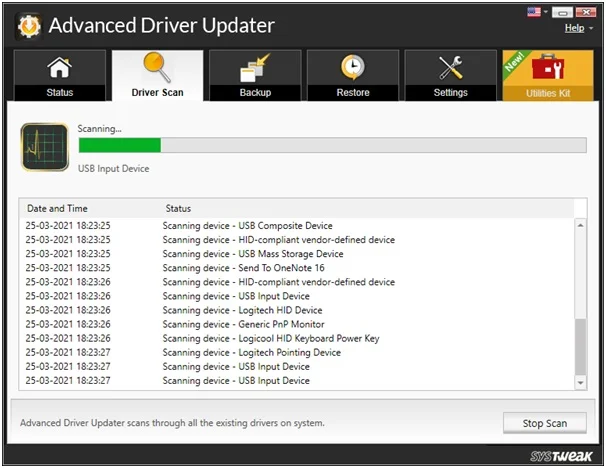
- Run the application and instantly search for missing drivers by clicking on the ‘Start Scan Now.

- This will initiate a scan for all the outdated drivers.
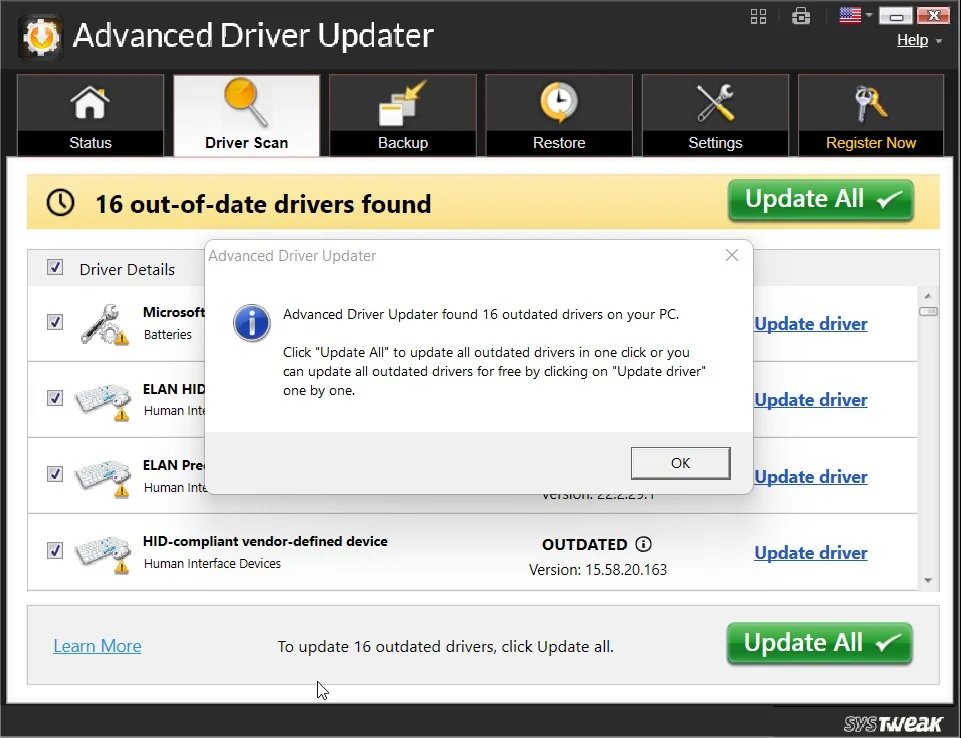
- Once the software is done scanning, you can click ‘Update All’ and wait for it to finish.
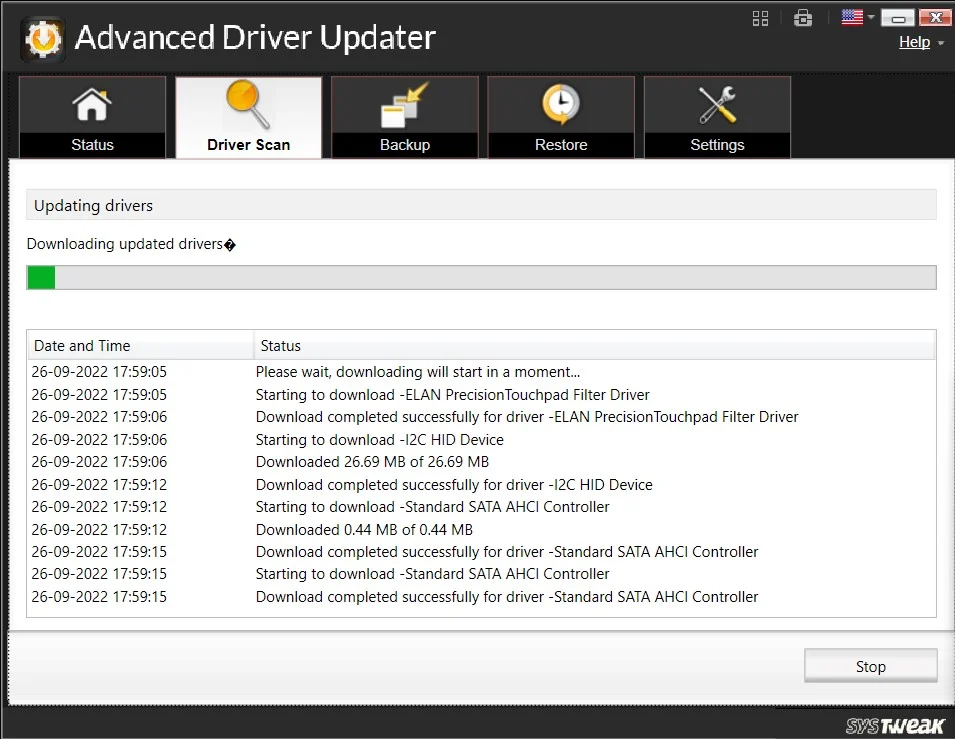
- Restart the PC once the process is complete. Try reconnecting the docking station, and it should work properly.
That is how easily the Advanced Driver Updater updates your outdated device drivers.
Fix 4 – Update BIOS on your Dell Laptop
The latest version of BIOS is necessary to support the latest devices you connect. Devices like Dell docking stations work integrally with the laptop; thus, having the latest BIOS version is necessary.
Here’s how you can install the latest BIOS version.
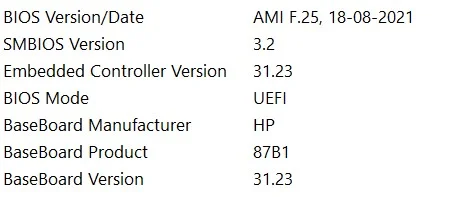
- Open the Windows Start menu and search for msinfo. This will take you to system information.

- In the system information, look for BIOS information such as version number, mode, etc.
- Once you have the date, open CMD to find the serial number for the same, you can open CMD using the start menu.
- Use the Command – wmic bios to get serialnumber in the command prompt, which will fetch the serial number.
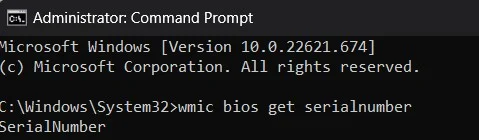
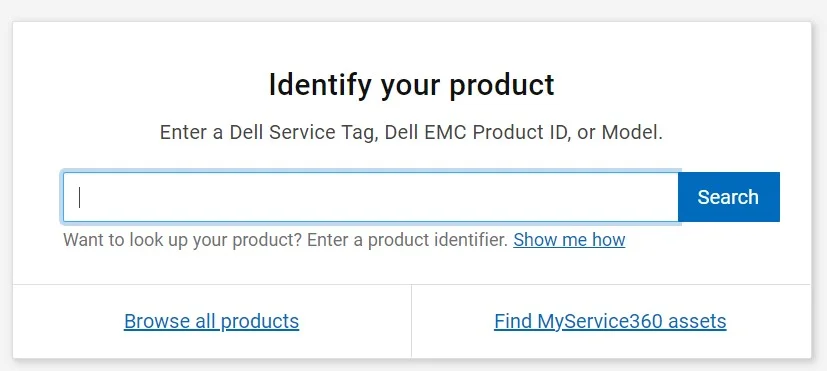
- You can find the serial number mentioned here. Now simply log on to the official website of Dell to download the latest BIOS version.
- Identify your device by using the required information in the search box available on the website.
- From the available downloadables, find the BIOS and check if a better version is available. If yes, download it instantly.
Note : Please ensure that you only download the BIOS from the official website, as playing around with the BIOS settings can be hazardous to your computer.
Once you have downloaded the file, double-click on it and follow the installation instructions.
Parting Words-
Once the drivers and BIOS are updated on the laptop, the Dell docking station should run smoothly. In case none of those mentioned above techniques could fix your problem, you should consider replacing your product or getting help from the service center.
We hope the blog helps you troubleshoot your Dell docking station not working error. Good luck!
Recommended-
Fixed – No DP Signal From Your Device Dell Monitor
How to Download and Update Dell Monitor Driver
How To Resolve Dell Wireless Keyboard & Mouse Not Working Problem
How To Update Dell Bluetooth Driver – Windows 11,10,8,7


