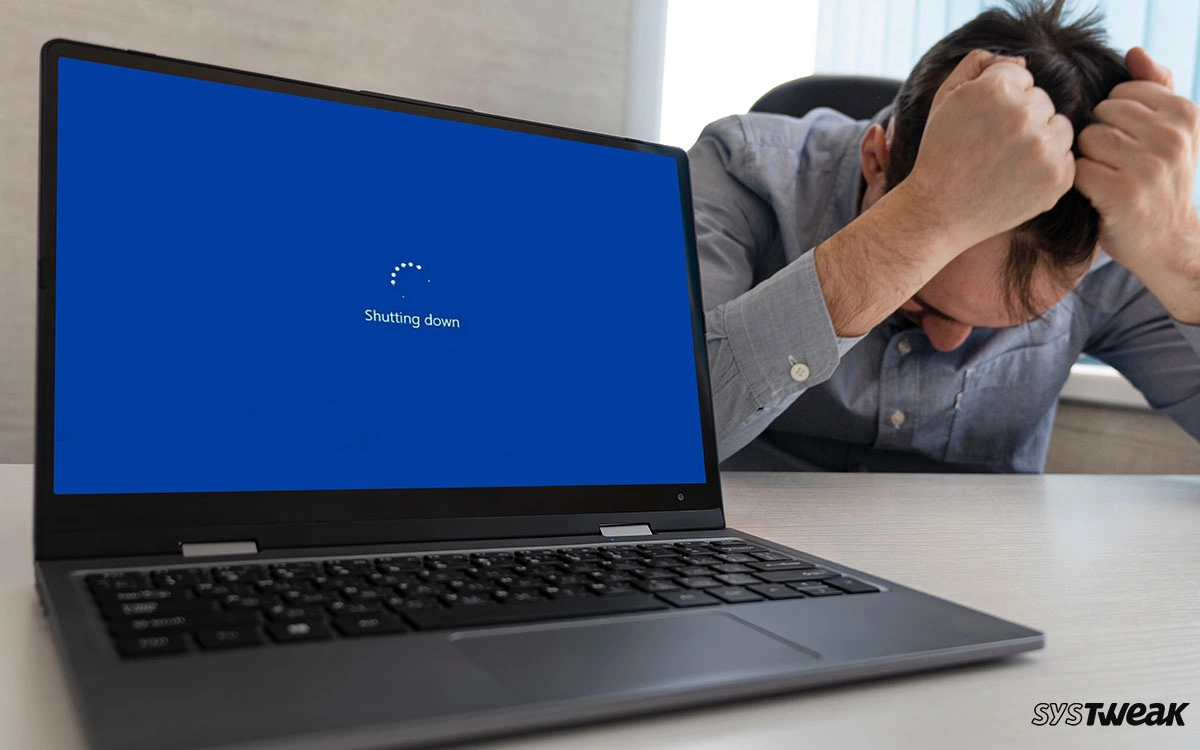
Are you trying to get a task done, but the PC turns off out of nowhere? It can be frustrating to experience the situation. However, what’s more frustrating is not knowing why it is happening. Usually, when something like this happens, it is blamed on common problems like overheating. However, what should you do when the PC turns off randomly without overheating?
You see when a CPU is working above its capacity, it is bound to emit a lot of heat, and to ensure that it does not overheat or damage itself, power cutoff mechanisms are set in place. Hence, it is understandable when the PC turns off due to overheating. However, things go out of control when the issues appear, even when the PC is not overheating.
So why does it happen? More importantly, what can be done to fix the issue? Well, that is what we are going to discuss in this post! Keep reading if you have also encountered a situation where your computer shuts off but the power button light stays on.
What causes the PC to turn off randomly (with no warning) and not Overheat
It can be extremely frustrating. However, it is crucial to identify what is causing it to turn off. When the most common issue of random shutdowns (overheating) is out of the way, a few other things might be causing the issue. These are –
- OS/System Files Error
- Outdated Drivers
- Software Glitches
- Issues with Power Supply
- Hardware Problems
- Overclocking Your PC
- Viruses & Malware Attacks
Not all these issues work individually, but they contribute. The issues can also be identified while using the PC, and the performance is affected. You can try to use your PC at its peak performance, and you may see multiple glitches that appear out of nowhere. Fortunately, several fixes will assist you in fixing the issue and stop your PC from shutting down randomly. Check out the next section to find your solution.
Ways to Fix PC Turns Off Randomly Not Overheating Issue
Fix 1 – Turn Off Fast Boot
Step 1 – Open the start menu and search for Control Panel.
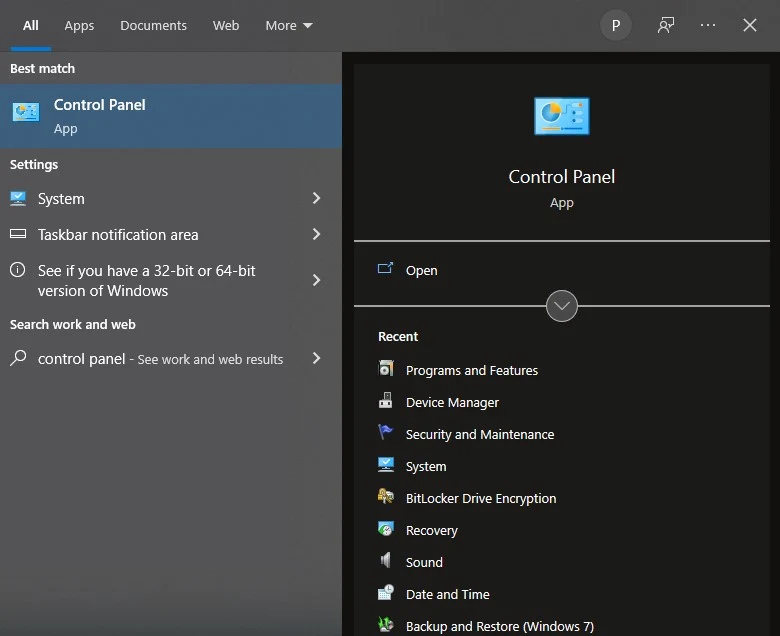
Step 2 – After opening the Control Panel, change the view to small icons.
Step 3 – In the available options, look for Power Options.

Step 4 – Click the “Choose What Power Buttons Do” option from the left pane.
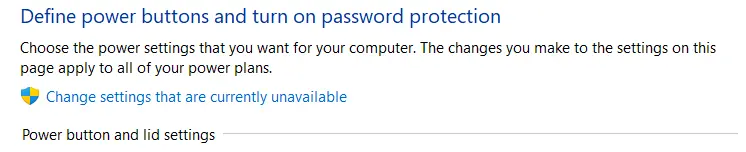
Step 5 – After opening the options, click ” Change the currently unavailable options.”
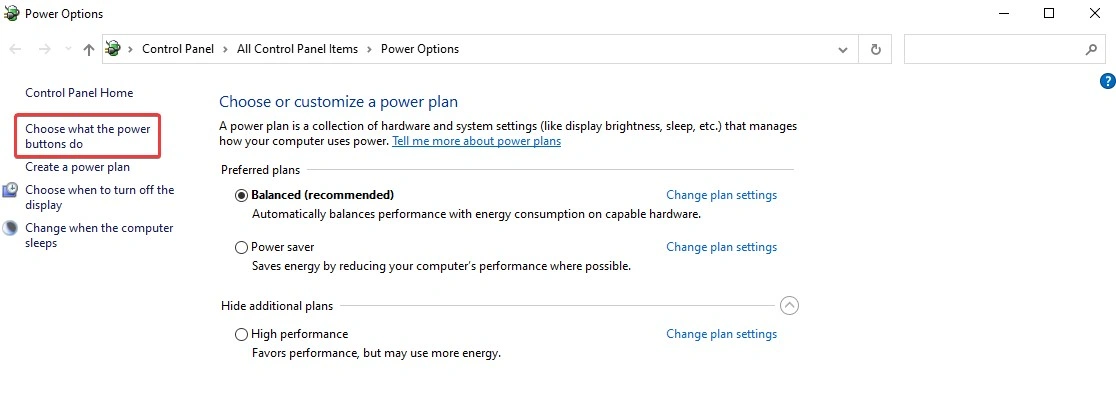
Step 6 – From the options below, uncheck the Fast Boot option.
Step 7 – Save the changes and exit.
After you have turned off the fast boot on your computer, you may encounter a slow boot time; however, this is worth it as the random shutdowns can be easily prevented through these steps. If the issue persists, try other fixes as well!
Fix 2 – Check Your PC for Malware & Virus
Step 1 – In the start menu, search for Windows Security.

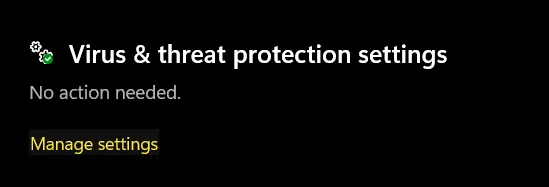
Step 2 – Open the security wizard to find all the current security options.
Step 3 – Click on Virus and Threats to find the overview of security on your PC.
Step 4 – Click on the Quick Scan button to initiate a search for suspicious files.
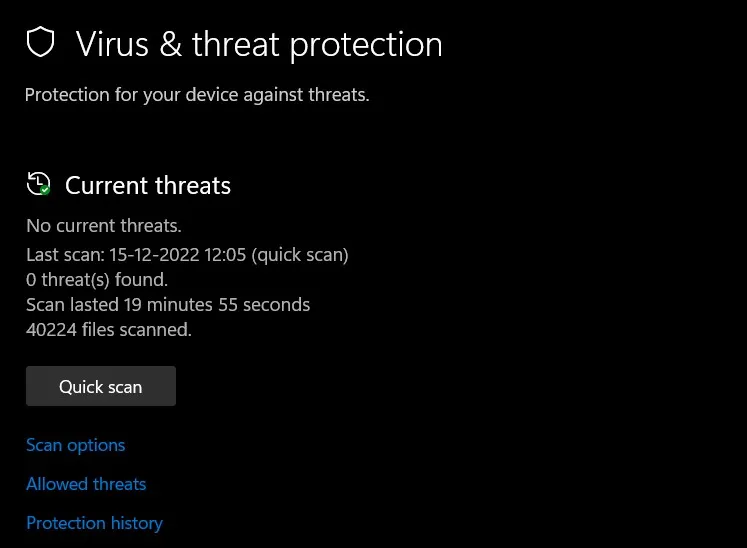
Step 5 – After you have run a scan, ensure that no infectious files are present on the PC.
You can also find the antivirus software you use in the Windows Security options. Hence, make sure you run a scan using your licensed antivirus software as well.
Read Also: Fix – Computer Stuck on Restarting
Fix 3 – Check for Hardware Errors & Faulty Connections
Step 1 – Check your power cable for nicks and cuts. Ensure that it is intact and in good condition.
Step 2 – Check the cables’ connectivity with the power source and CPU. The connection should be perfect on both ends.
Step 3 – Ensure you use the necessary power supply and source. Power your PC with the required voltage for an uninterrupted experience.
Step 4 – After you are done with preliminary checks, you can open your PC cabinet or back panel if you have a laptop. (Only if your skills allow you to)
Step 5 – Check all the internal connections, such as your RAM placement, GPU cables, Power supply connections, etc.
Step 6 – Ensure that your PSU is plugged in properly.
Step 7 – If the PC is shutting down after you insert a flash drive or connect a peripheral device, remove it instantly.
After checking all the connections, you may be able to identify the loophole in your PC’s power and why it keeps randomly shutting down. Needless to say, you can always reach out to a professional to get the hardware checked.
Fix 4 – Check System Files For Errors
Step 1 – From the Start Menu, navigate to Command Prompt.
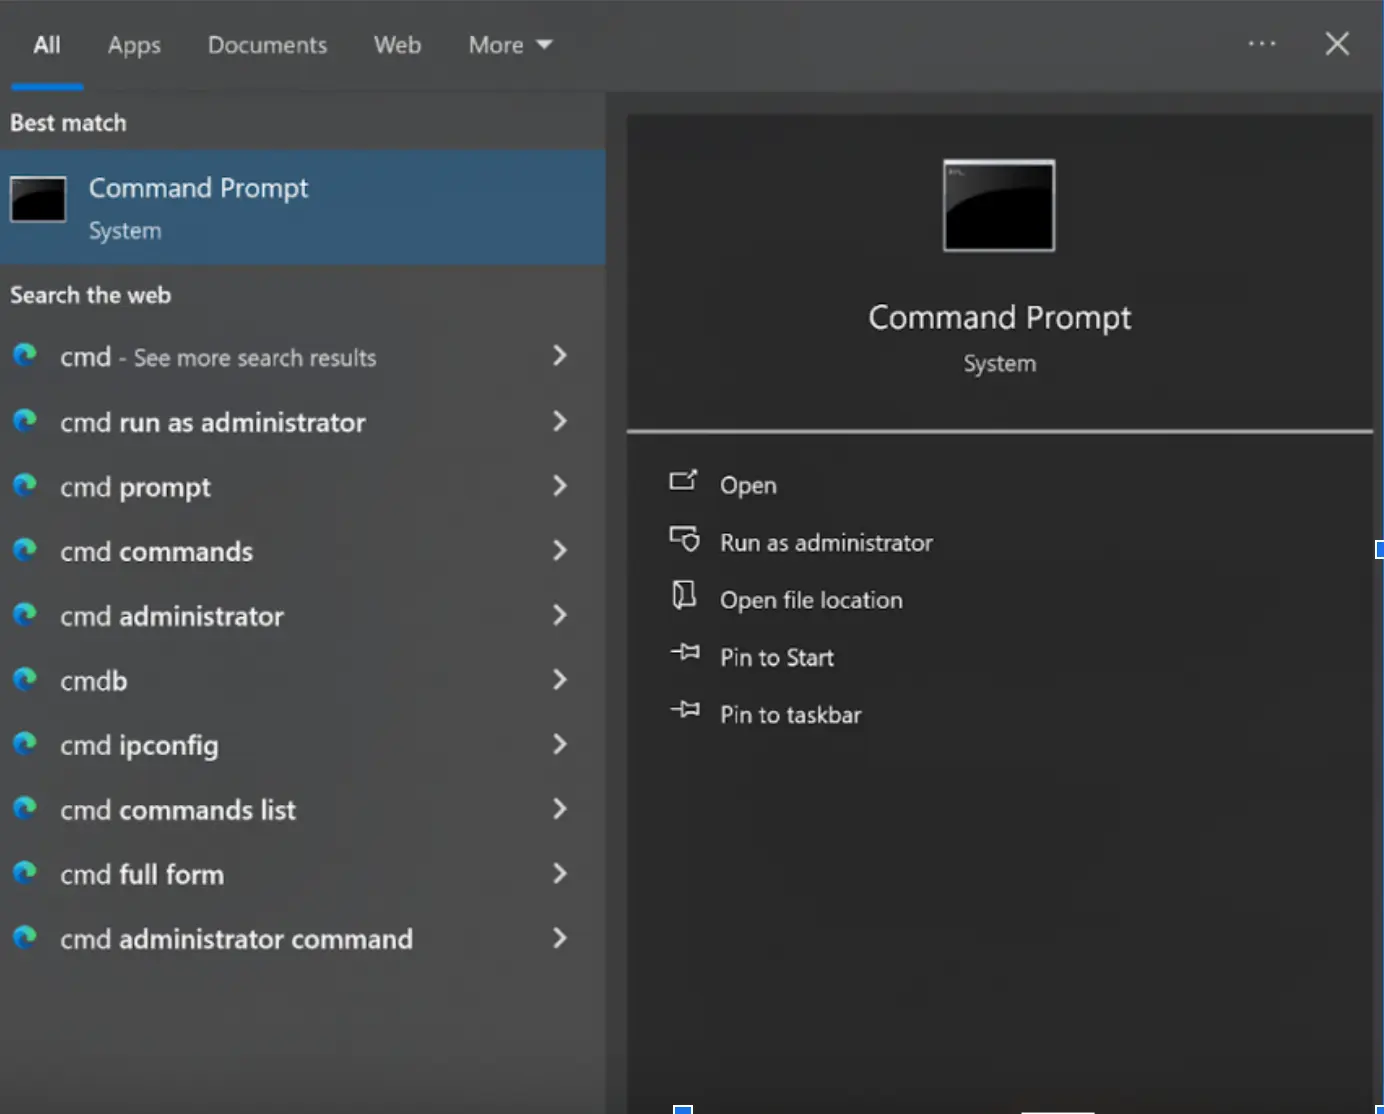
Step 2 – Run the Command Prompt as Administrator for complete access.
Step 3 – Use the command SFC/Scannow to initiate a system file check on the Command Prompt.

Step 4 – Wait for the process to finish; do not close the CMD window.
Step 5 – After the SFC scan is successful, restart your computer.
After the restart, your PC should behave fine. Move to the next fix if you still facing the issue.
Fix 5 – Update Outdated Drivers
Step 1 – Download the Advanced Driver Updater.

Step 2 – Use the Start Scan Now Button in the app to scan for outdated drivers.
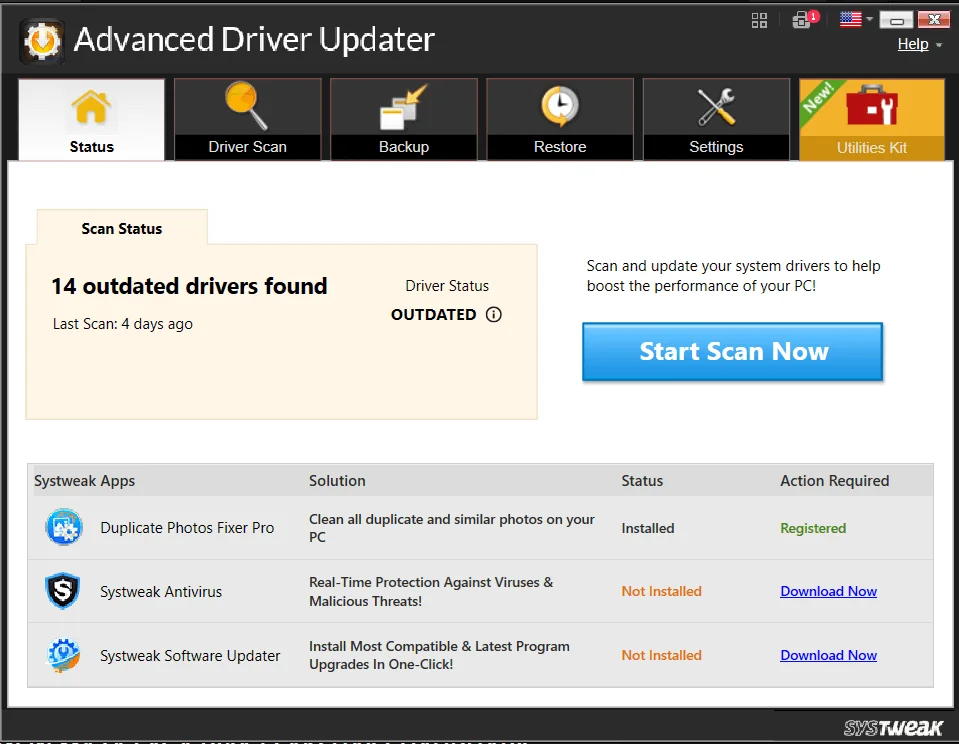
Step 3 – Click on Update All to get over with the process.
When you use a PC without outdated drivers, the PC often starts acting weird. Random shutdowns can result from system drivers not working as they should. Advance Driver Updater offers the easiest way to update outdated drivers. If you don’t know how to update drivers on Windows, you can simply follow these 3 steps and get over with the process.
Before using a driver updater, you should know the features that should be in the tool.
Fix 6 – Run Memory Diagnostic Test
Step 1 – Go to the start menu and search for Memory Diagnostic.
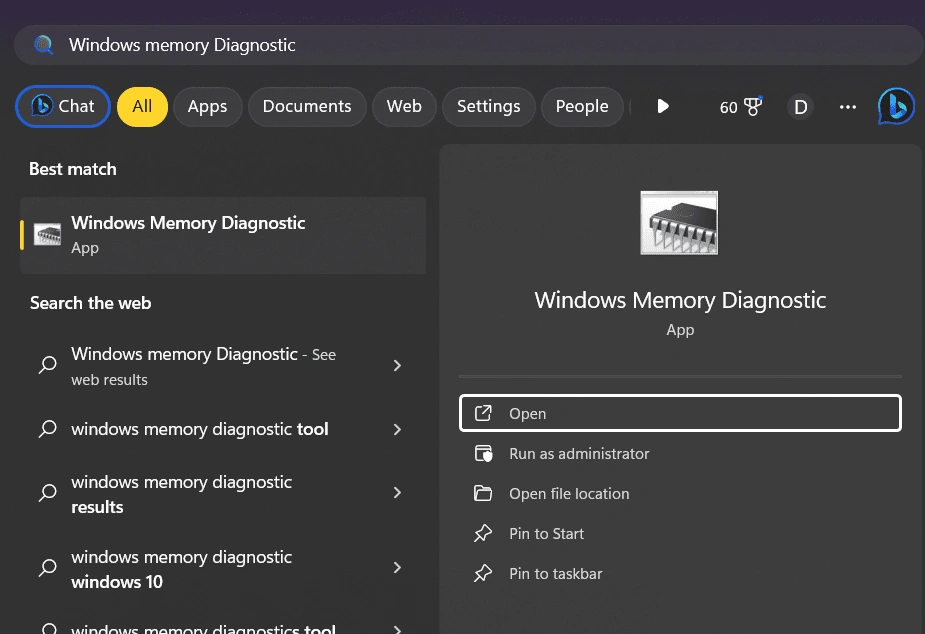
Step 2 – Open Windows Memory Diagnostic from the search result.

Step 3 – Click on Restart Now.. and the PC will restart.
Step 4 – Let it Finish the memory diagnosis before it boots up
After checking the above factors and fixes, memory is the only thing left to check. Using the Windows Memory Diagnostic tool allows you to check your PC’s memory, which is often responsible for random shutdowns that your PC experiences.
Besides these fixes, you should ensure the boot sequence is correct and the BIOS is updated. Keep in mind that it is crucial to have an updated OS as outdated Windows is often a cause of PCs shutting down randomly.
If you use an overclocking tool on your PC, open it again and change the settings to default. Usually, overclocking is used to enhance the performance of available resources; however, when it is not done correctly, it may cause issues.
A user named “atr0naut11” replied on the Reddit forum, it may be a reason – What model is your CPU? If it’s ryzen, there’s bug with hardware monitoring software – it causes your system to turn off
Try these fixes; you might have a severe issue if they do not work. Reach out to a hardware expert to get things sorted. Hope all of it helps you out. Thanks for reading, good luck!
Recommended :
Laptop Stuck On Hibernating – Here’s How To Fix It