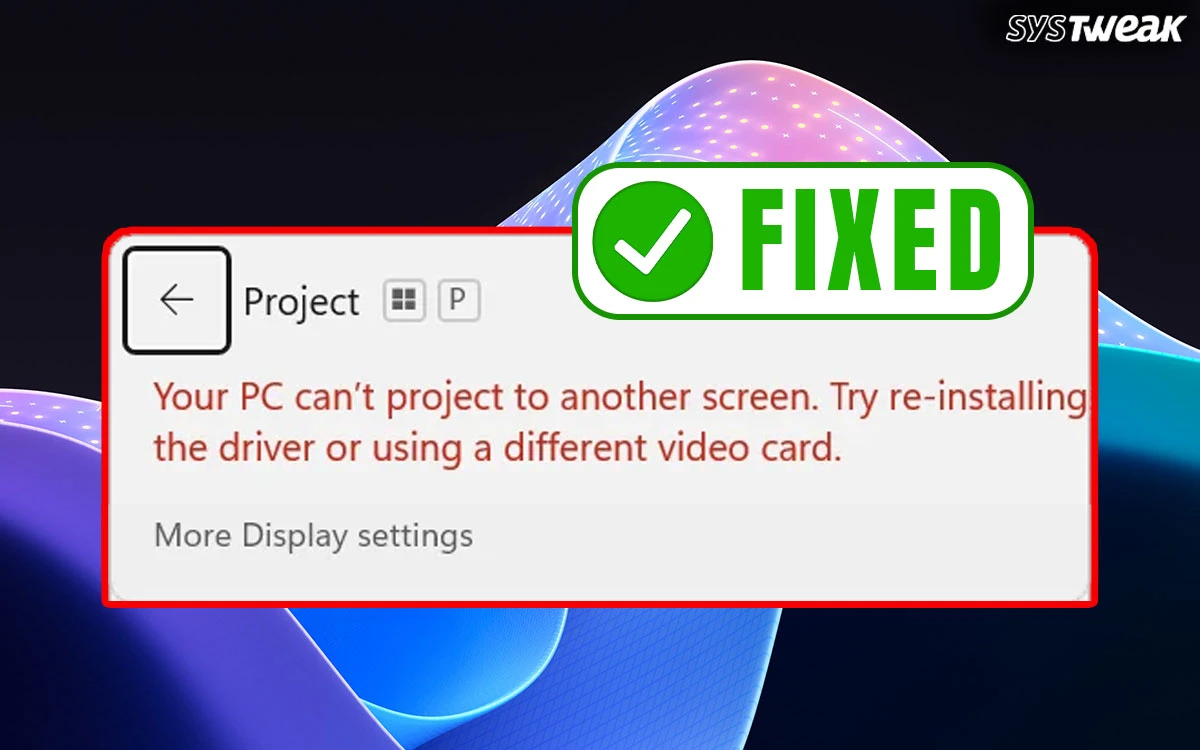
You can project your PC’s screen on a larger screen for convenience purposes. Windows allows users with multiple options to cast or project their computer’s screen with the Win + P shortcut. However, there have been complaints across the globe about users not being able to cast their screen because of the “Your pc can t project to another screen try reinstalling the driver windows 11” error. This is a minor and temporary issue that can be fixed easily. In this article, we have explained all the possible methods to fix projection issues.
Why Does The “Your PC Can’t Project to Another Screen” Error Occur?
- Outdated or corrupt display/graphics drivers
- Wrong display input or cable issues
- Display settings misconfigured
- Windows bugs or missing system components
- GPU conflicts or disabled graphics adapters
- Ensure you’re using the right GPU port (Horizontal) instead of the motherboard integrated graphics card port (Vertical).
Fix Your PC Can’t Project to Another Screen Error on Windows 11/10
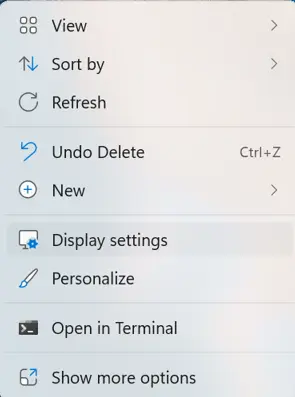
Method 1: Detect The Display Manually
The first step you need to take to fix projection issues is to use the manual settings to detect the second screen. Here is what you need to do.
1. Press Win + I to open the Settings box.
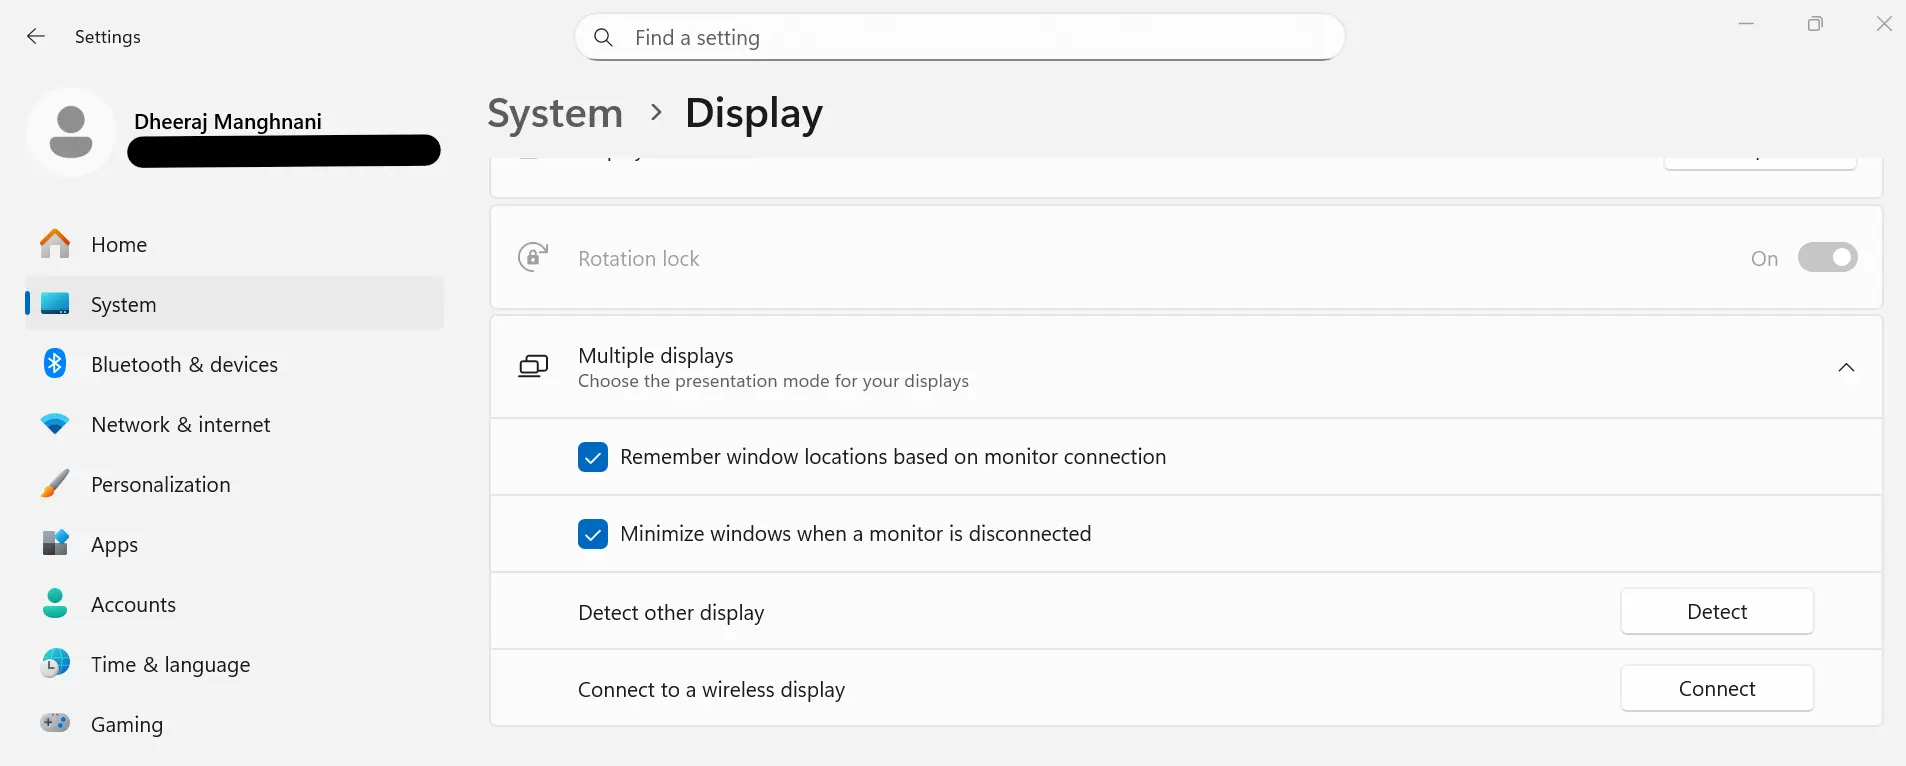
2. Click on Settings → System → Display → Multiple displays → Detect
Read Also : How To Fix Screen Stuck On Getting Windows Ready
Method 2: Check the Cable & Port (Very Common Fix)
If using HDMI/DisplayPort/VGA:
1. Ensure the cable is not loose or damaged
2. Try a different cable
3. Try a different port on the monitor
4. Ensure the monitor is set to the correct input source
-
- HDMI 1 / HDMI 2
- DisplayPort
- VGA
If the cable is faulty → Windows shows this error.
Method 3: Press Windows + P and Re-select a Mode
Sometimes Windows doesn’t switch projection modes due to a glitch.
1. Press Win + P
2. Select:
-
- Duplicate
- Extend
- Second screen only

If it was stuck earlier, this usually refreshes the projection.
Method 3: Ensure You’re Using the Right GPU xPort (For NVIDIA / AMD PCs)
If your monitor cable is plugged into the motherboard instead of the graphics card:
Windows will show projection errors.
Check:
1. GPU ports are horizontal
2. Motherboard ports are vertical
Plug the monitor into the dedicated GPU, then try again.
Method 4: Check Projector/Monitor Settings
Make sure your external display is:
1. Powered ON
2. Set to the correct input
3. Not in standby or sleep mode
4. Able to detect a signal
Try connecting the display to another device to confirm it works.
Method 5: Reset Display Settings
Sometimes custom display settings cause conflicts.
1. Right-click desktop → Display settings
2. Scroll → Multiple displays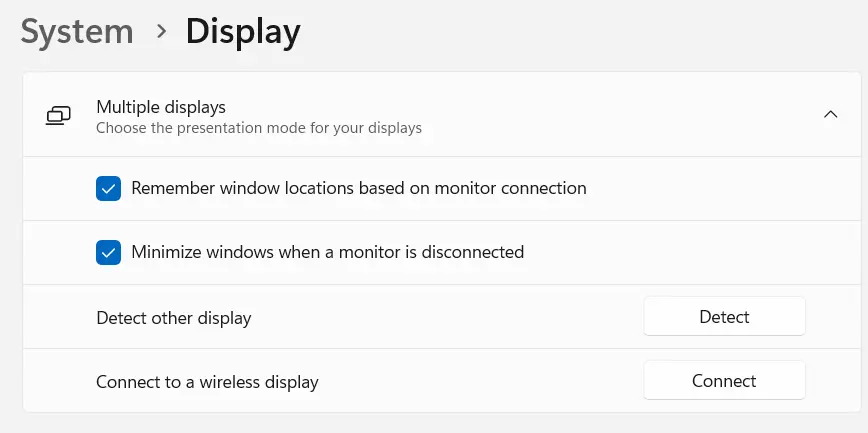
3. Click Detect
4. Click Identify
You can also reset scaling and resolution to the default.
Method 6: Uninstall Drivers
Experts have stated that corrupted or missing drivers can cause projection issues. Hence, if you receive the error, “your PC can’t project to another screen”, try reinstalling the driver on Windows 11/10. You need to first uninstall the existing driver and then reboot your PC so that Windows can automatically install it for you. Here is what you need to do.
1. Press Win + X to open the Power menu and select Device Manager.

2. In the Device Manager window, click on the Display Adapters category and choose Uninstall Drivers.

3. Follow the onscreen steps and reboot your PC.
Method 7: Update Display Drivers
Drivers play an important role in maintaining hardware and software interactions. Experts recommend keeping the drivers updated at all times. There are two ways to update drivers as explained below.
a.) Update Drivers Using Manufacturer’s Websites
You can always look for updated drivers on the hardware manufacturer’s websites. Here is what you need to do.
1. Get the brand name and model number of the manufacturer of your graphics card.
2. Visit the official website and look for the download section.
3. Enter the model number and search for resources related to your hardware.
4. Download the drivers and install them.
b.) Update Drivers Using Advanced Driver Updater
If you find the above method too technical, then you can update the drivers with a few mouse clicks, using Advanced Driver Updater.
1. Download and install Advanced Driver Updater.

2. Launch the app and click the Start Scan Now button.

3. A list of driver issues will appear on the screen.
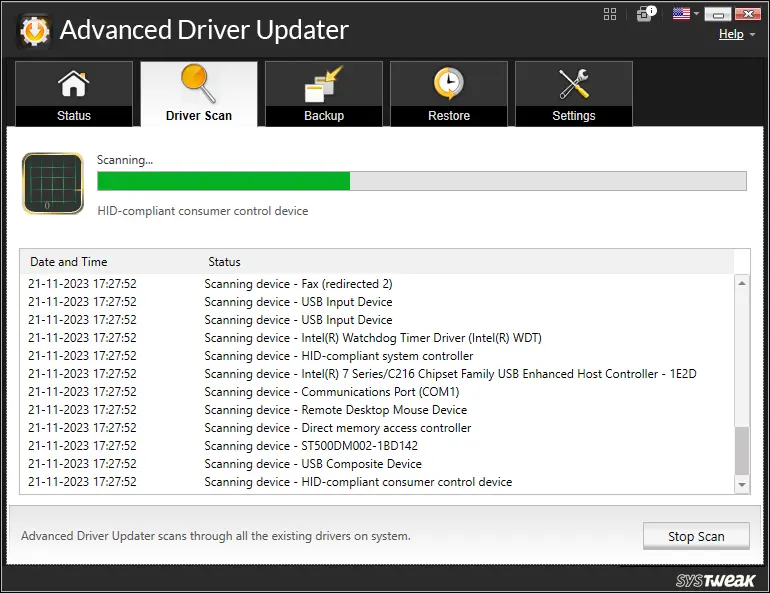
4. Locate the Graphics Driver among the list and click on the update link next to it.
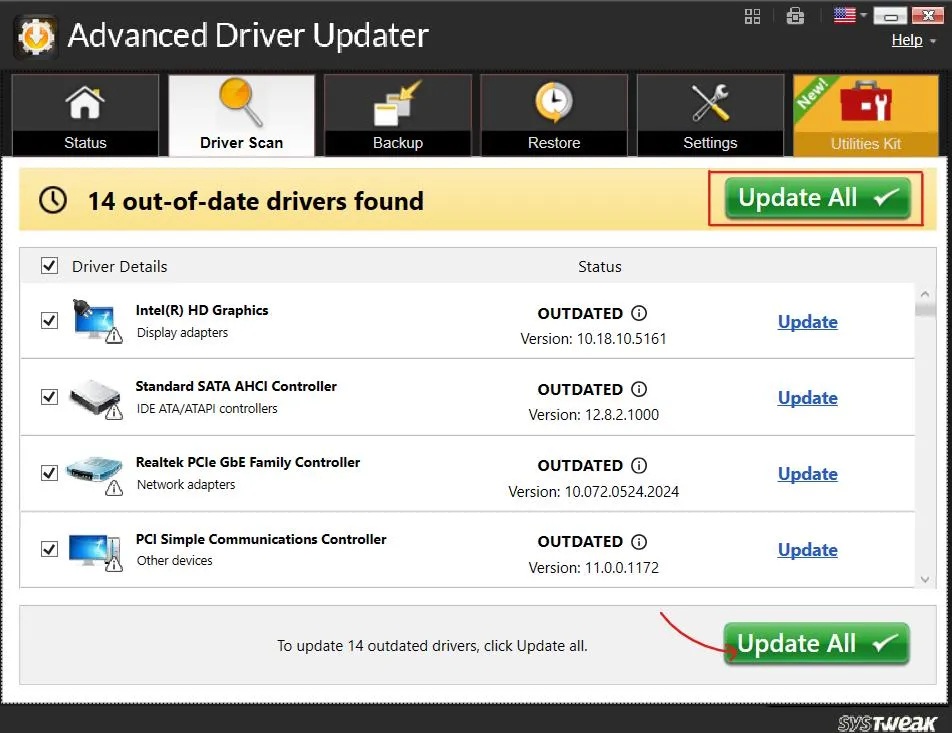
5. The update process will now begin. Restart your computer once the update is completed.
Method 8: Restart Relevant Windows Services
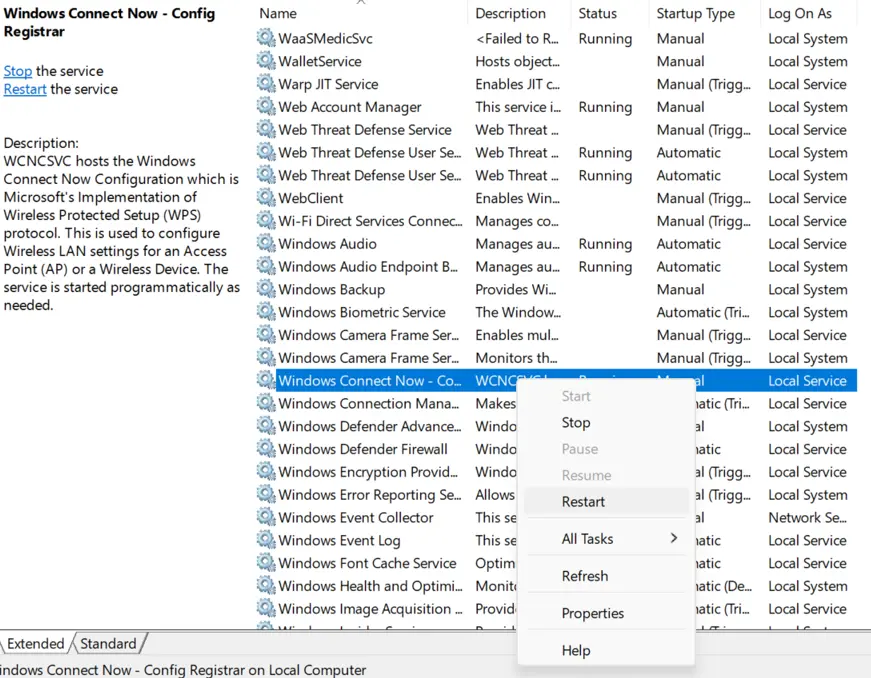
Some experts have suggested that toggling the services on/off can help fix temporary glitches. Here are the steps to restart services.
1. Press Win + R → type services.msc
2. Find these services and restart them by right-clicking and choosing Restart.
Windows Connect Now
Windows Projection Services
Method 9: Check Windows Security Features
Windows sometimes blocks the projection settings. Here is how to check and enable them.
1. Press Win + I to open Settings.
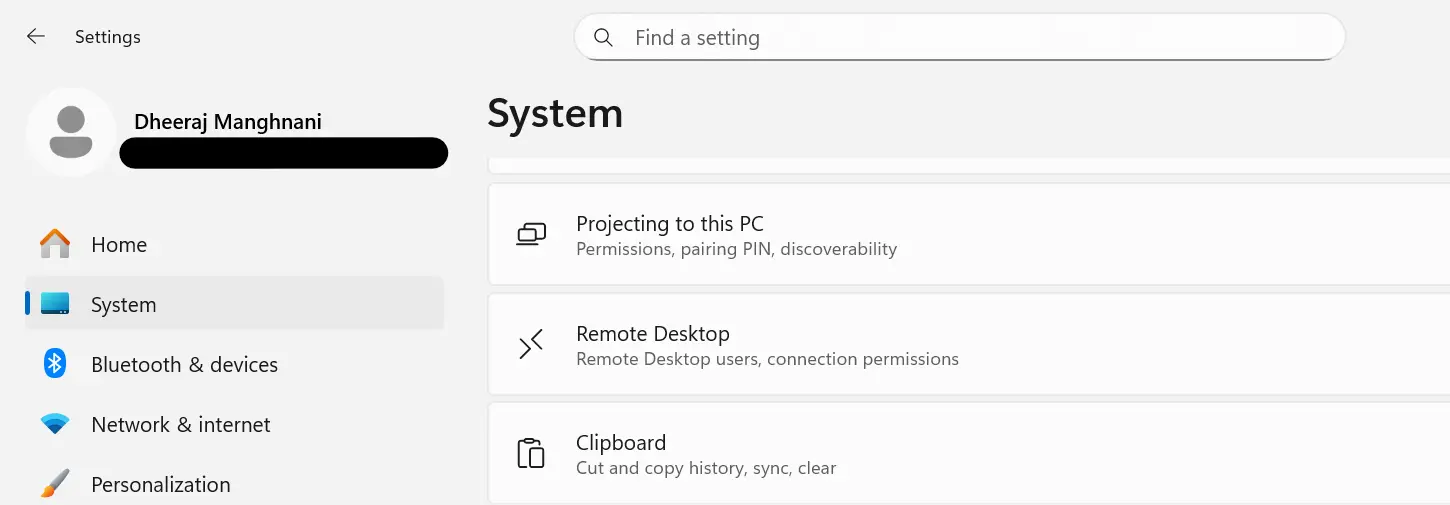
2. Click on the System tab in the left section and scroll down in the right panel till you locate the “Projecting to this PC” option.

3. Click on it and then set the “Some Windows and Android devices can project…” option to “Available everywhere”
Method 10: Check for Windows Updates
Windows Updates contain security patches, bug fixes, new features, driver updates and more. You can update your Windows OS to fix minor errors and temporary glitches. Here are the steps.
1. Press Win + X to open the Windows Power Menu and choose Settings.
2. Click on the Windows Update Tab in the left panel.
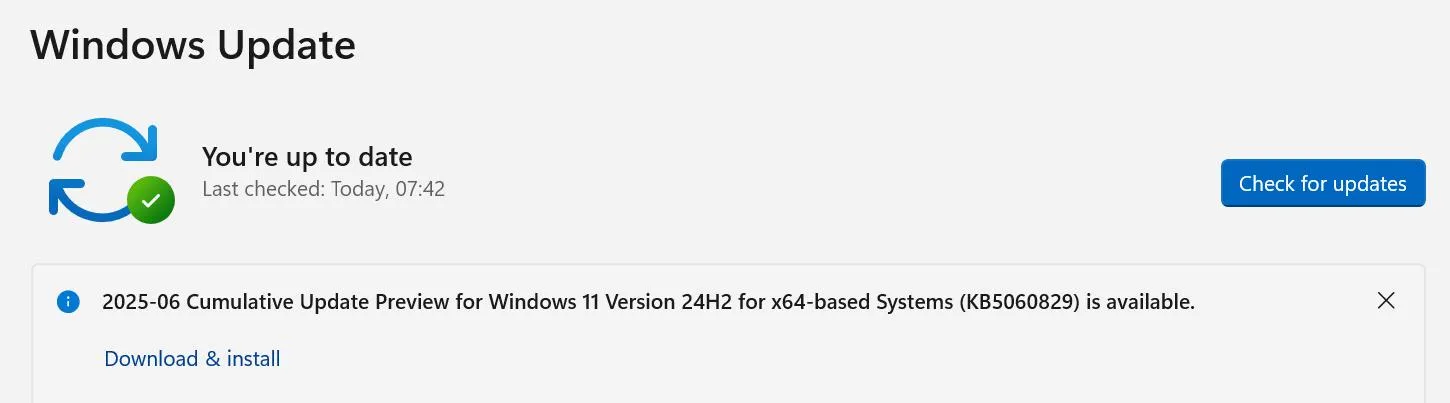
3. Next, click on the “Check For Updates” button on the right side.
4. Windows will automatically check for updates, download, and install them on your PC.
5. Next, click on Advanced Options.
6. On the new page, click on Optional Updates under Advanced Options.

7. Finally, click Driver Updates and check the box before the drivers you wish to update.
8. Click on the Download & Install button and wait for the update process to complete.
9. Restart the computer.
Method 11: Reset display settings
1. Right-click the desktop and go to “Display settings”.
2. Scroll down to find “Advanced display settings” and look for an option to reset the settings to their default values.
Method 12: Run the Hardware and Devices Troubleshooter
The hardware troubleshooter is an old but nonetheless an effective tool buit-in the Windows OS. Here are the steps to use this tool to fix projection issues.
1. Press Windows + R to launch the RUN dialog box.

2. Type “msdt.exe -id DeviceDiagnostic” and click on the OK button.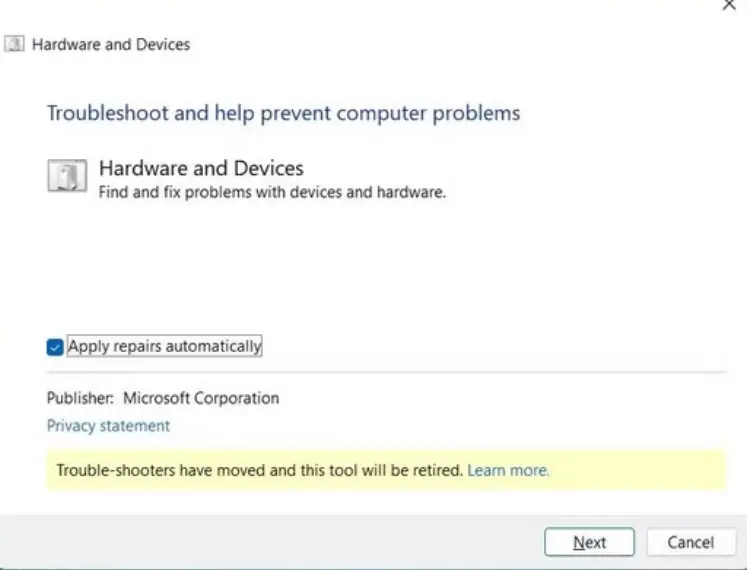
3. The Hardware and Devices Troubleshooter toolbox will open.
4. Click Advanced and check Apply repairs automatically.
5. Click on the Next button and adhere to the onscreen instructions.
Method 13: Run the SFC Scan
Many errors occur due to missing or corrupted system files. The best way to identify and fix corrupted system files is by initiating the System File Checker utility tool.
1. Type cmd in the Start search box → right-click Command Prompt → Run as administrator.
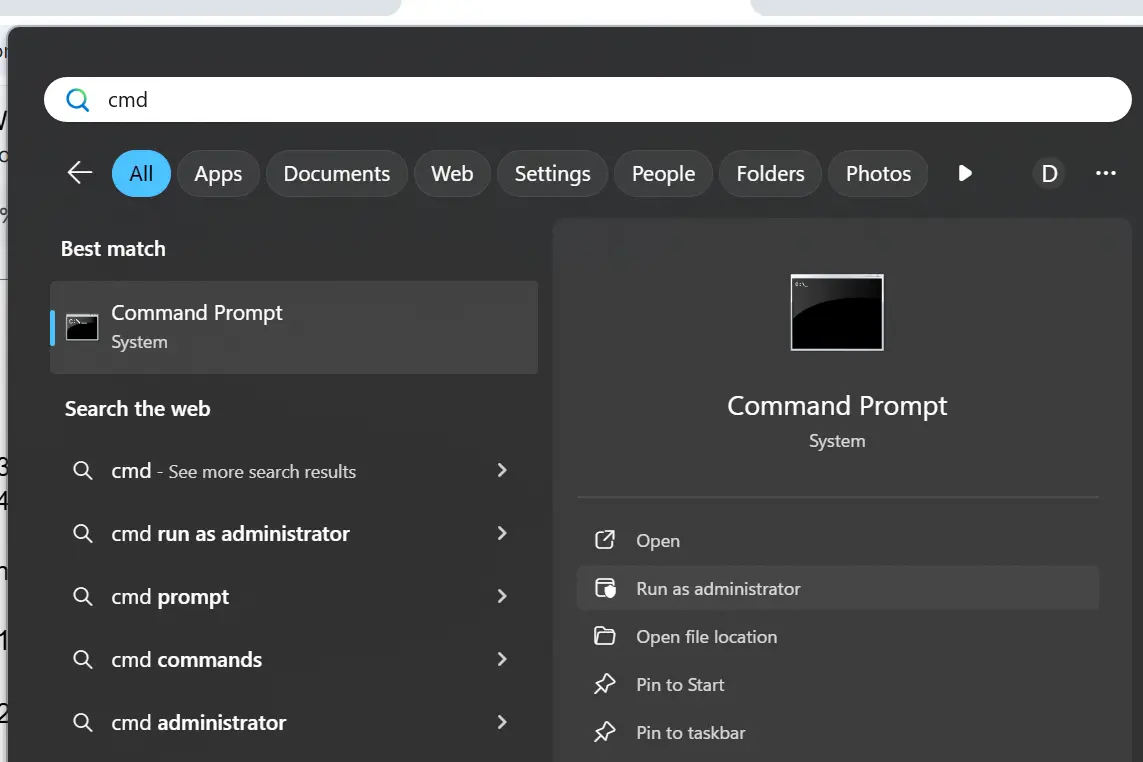
2. Run this command:
sfc /scannow
3. Wait for the scan to finish and repair corrupted system files.
4. Restart your PC and check for updates again.
Read Also : Error: The Driver May Be Corrupted or Missing (Code 39) {FIXED}
Method 14: Perform a Clean Boot
Another thing you can do is try to project your screen after performing a clean boot. This should help you verify if a third-party program or service is interfering with Windows and triggering the “Your PC can’t project to another screen” error.
1. Press Win + R, type msconfig, and press Enter.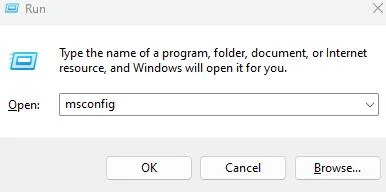
2. In the System Configuration window, go to the Services tab and check Hide all Microsoft services.

3. Disable all non-Microsoft services and click OK.
4. Restart your computer.
Method 15: Create a new user account
Sometimes, corruption in a user profile can cause this error. Creating and logging into a new user account can help determine if this is the case.
1. To open the Settings app in Windows 11, press the Windows + I keyboard shortcut.
2. Go to the left sidebar and select “Accounts,” then “Family and other users” in the right pane.
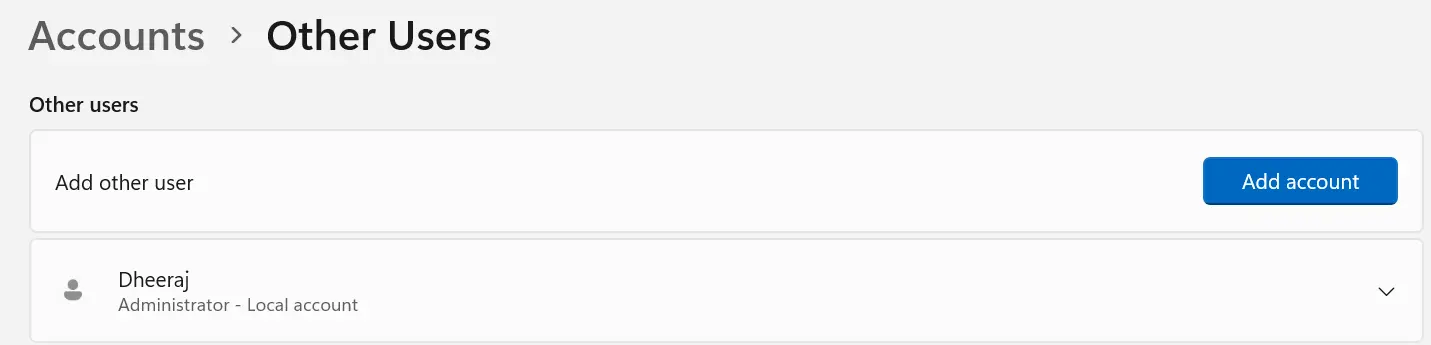
3. Then, under “Other users,” click the “Add account” option.
4. To create a local account, select “I don’t have this person’s sign-in information” from the pop-up that opens.
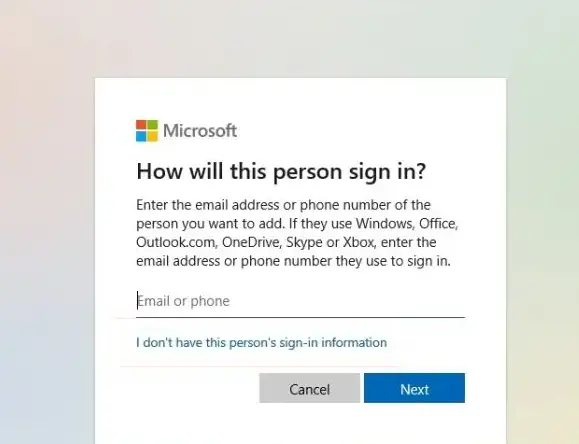
5. Select “Add a user without a Microsoft account” from the drop-down menu.
6. Click “Next” after entering the new local account’s name and password. That’s all there is to it. On your Windows 11 PC, you have successfully created a new local account.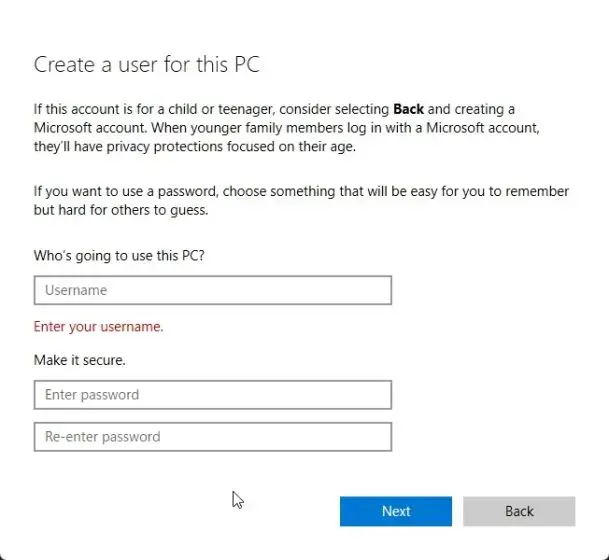
You can now switch to the new local user in Windows 11 directly from the Start menu.
Read Also : How to Fix “The User Profile Service failed the sign-in” Error Windows 10/11
Method 16: Enable Wireless Display (For Miracast Projection)
If you’re trying to project wirelessly, this feature must be installed.
1. Open Settings → Apps → Optional features
2. Click Add a feature
3. Search Wireless Display
4. Install it
5. Restart PC
6. Then press Win + K to connect to a wireless display.
Bonus: Check Miracast Support (For Wireless Projection)1. Run this command in Command Prompt: netsh wlan show drivers 2. Look for Wireless Display Supported: Yes (Graphics Driver, Wi-Fi Driver) |
Method 17: Turn Off “Connect to a Wireless Display” in the Graphic Control Panel
1. For some Intel/NVIDIA systems, launch the Intel Graphics Command Centre or Control Panel.
2. Disable “Wireless Display” & “WiDi” settings (if present).
3. Restart PC.
Method 18: Boot into Safe Mode & Test
This helps identify if a third-party driver or app is blocking projection.
1. Hold Shift, click Restart
2. Go to Troubleshoot → Advanced options → Startup Settings → Restart
3. Choose Enable Safe Mode
4. If projection works here, then a third-party app is the culprit. Some common offenders include
5. Screen capture software, VPNs, Display managers, Third-party GPU tools etc.
Conclusion: Are You Able to Protect Your PC Screen on Another Screen?
We hope that the above methods have resolved the Projection issues on your Windows PC. You need to try each method and then check if the issue is resolved. This way you can ignore the remaining methods once your issue is resolved. Do write to us if you have suggestions and share your experience in the comments section below.