When you work with a PC with multiple connected devices, the chances of misplacing the driver installation media for either or all of them are significant. This can lead to serious issues with your PC and connected devices’ performance. A similar situation might occur when you have recently upgraded to the latest version of Windows and have lost all the previous drivers in the process.
How would you run your devices properly without the original driver installation media?
Well, that is why, before updating the system or drivers taking a backup of your drivers, it is advised. It prepares you for any situation requiring reinstalling a driver on your PC.
That makes sense. Right?
Well, it surely does, but what doesn’t make sense is the level of awareness for the same. The majority of users do not even think of backing up their drivers. Some are unaware of its significance, while others don’t know how to take backup and restore PC drivers.
If you are either of them, do not worry. This post will discuss several effective ways to back up and restore your device drivers. But before that, let us quickly understand what drivers exactly are and why they are essential!
What are Drivers in a PC? Why Do You Need Them?
Drivers are the preliminary software that helps a device interact with the operating system. They create a sync between the connected hardware and software. When a driver is unavailable, the connected device starts malfunctioning and might result in a BSOD.
That said, drivers are the epicenter of hardware-software synchronization necessary for a PC to yield results. When you connect a device to the PC, a driver is installed to introduce the connected hardware to the operating system. This allows the software to understand the primary identity, such as the architecture, supported functionalities, version of the device, etc.
If the operating system cannot figure out what to do with the connected device, the capabilities and overall system performance take a hit. To explain it, here are some common driver-related issues.
Common Issues Caused Due to Outdated or Problematic Drivers
- The display adapter is not working properly, and the video keeps lagging.
- Can’t connect to the Internet Network adapter issues.
- Sound card is unavailable.
- The printer keeps disconnecting while using it.
- The game keeps crashing.
Hence, you need proper drivers and updates to avoid such errors on your PC.
Now think about it. If outdated drivers can cause havoc on your PC, what sort of damage will they unleash if they are completely unavailable? To avoid such situations, a solid backup of your PC’s drivers is a must.
With that out, let us look at 5 ways to back up and restore your PC drivers.
Best Ways to Backup & Restore PC Drivers: 5 Unbeatable Methods!
Method 1 – Backup all Your Drivers Using DISM Command
The DISM command allows you to back up your existing drivers into a dedicated folder instantly. Here’s how the command works –
Step 1 – Press the Windows button and search for the command prompt in the start menu.
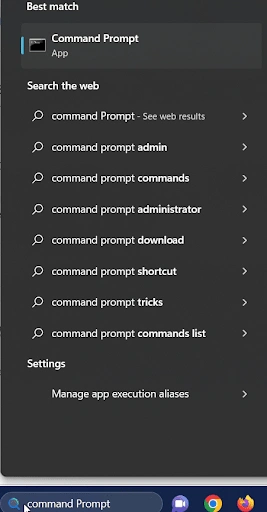 Step 2 – Once you find the utility, spot the option to run it as Administrator and open the tool.
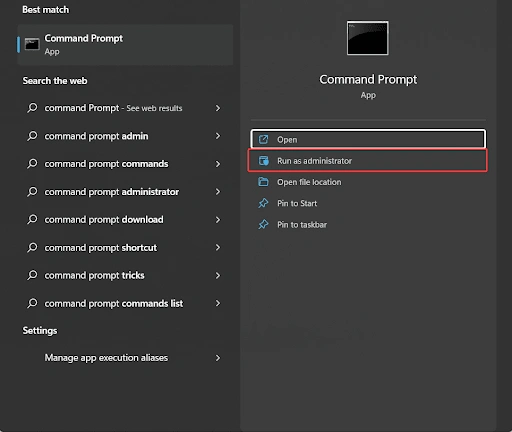 Step 3 – In the Command prompt Window, use the following command –
“dism /online /export-driver /destination: “Path of destination folder.”
 Step 4 – Once you decide on the folder, use the command and hit Enter key in the command prompt. Give it some time; it will back up all the current drivers in the destined folder.
Method 2 – Use Windows Powershell to Create a Driver Backup
Another way to back up your drivers on your PC is by using Windows Powershell. Find the command you need to run in the below steps –
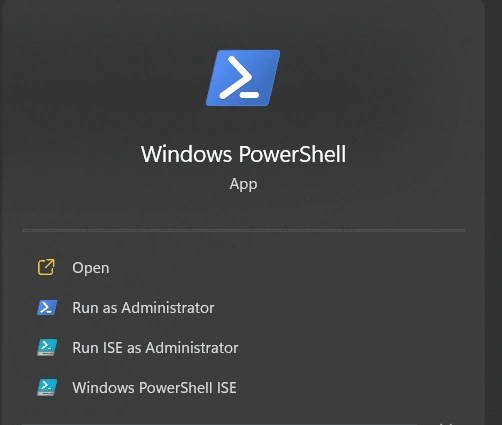
Step 1 – In the start menu, look up Powershell and open it as administrator.
 Step 2 – In the Powershell, you can use the command –
“Export-WindowsDriver -Online -Destination “Destination Backup Folder”

Step 3 – Execute the command, and it will automatically finish backing up all the drivers.
Must Read: How to Find Existing Driver Versions on Your Windows PC
#3 – Use a Dedicated Driver Updater Tool With Auto Backup & Restore
The only downside to using the above commands is that whenever you back up, there are chances that you back up outdated drivers. Checking all the existing drivers for updates individually and backing them up is lengthy.
To help you shorten it up, Advanced Driver Updater can be a great option. Here’s how you can utilize it –
Step 1 – Download and install the application on your PC.

Step 2 – After installation, run the application, and you will find the Start Scan Now option.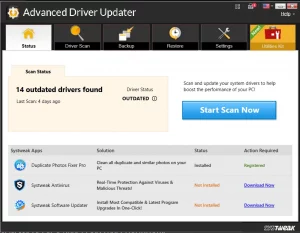 Step 3 – This will help you search for outdated drivers on your PC.
Step 4 – Update the drivers you want to. 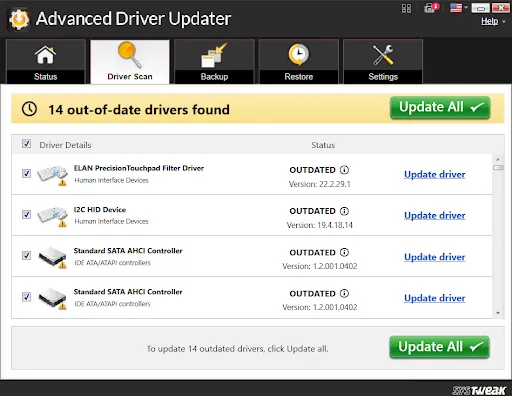 Step 5 – Once all the drivers are updated, click the Backup tab to take a backup of drivers. Use the standard settings and start the backup for better results.
Benefits of Using Advanced Driver Updater to Backup Drivers
- The tool will automatically create a folder and manage the backup files.
- Using the application, you can restore the driver backup whenever you need. All you have to do is simply go to the restore tab and select the backup created.
Note : Only the backups created using the applications are eligible for restoration. Hence make sure you use the tool for both backup and restore. If you uninstall the application, the backup will be gone.
#4 – Restore the Backup using Device Manager
The commands mentioned above back up the device drivers in a folder. But what to do if you want to restore your drivers from the same? Well, that is where the Device Manager comes into play.
Step 1 – Press Windows + R to bring up the Run search
Step 2 – In the Run search, use the command devmgmt.msc.  Step 3 – This command will open the Device Manager.
Step 4 – There, you will find all the existing devices. 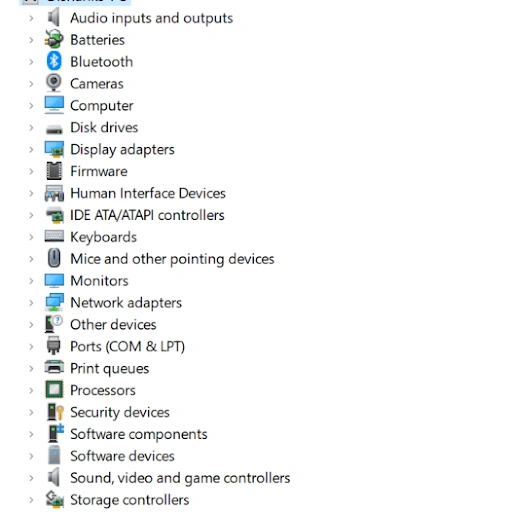 Step 5 – Choose the device you want to restore the driver of.
Step 6 – Right-click on it and select the Update driver option. 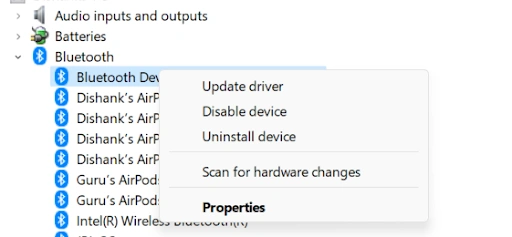 Step 7 – In the opened update wizard, select the option to choose driver file offline (browse my computer).
  Step 8 – Use the created backup folder as the destination for the driver file.
Step 9 – Let the Windows installer do its job, and you are done.
#5 – Use pnputil Command for Backup & Restore
The commands we have shared above are used to back up your drivers in a folder. Pnputil Command, on the other hand, can perform both restore and backup. Here’s how –
To backup drivers using pnputil –
Step 1 – Use the start menu to open the Command prompt on your PC with Admin privileges.
Step 2 – In the opened window, use the following command.
“pnputil /export-driver * “full path of folder””

Step 3 – The path of the folder signified the folder where you aim to collect backed-up drivers.

Step 4 – Run the command, and all your device drivers will be backed up as it is.
To restore drivers using pnputil, follow these steps –
Step 1 – If you already have a backup and you want to restore drivers from the same, you can do so by using the following command in the command prompt –
pnputil /add-driver “full path of folder\*.inf” /subdirs /install /reboot
Step 2 – This will reboot your PC, so ensure you have saved any open files before executing this command.
Step 3 – Let the reboot occur, and your device drivers will be restored from the backup you created.
Creating Backups of Your Drivers Never Goes Wrong!
All the methods mentioned can help you with the task. However, #3, Advanced Driver Updater, is the most appealing as it does everything and is an excellent way for beginners to start the practice.
When the drivers on your PC are backed up and ready to be restored, you are free of stress and more relaxed. Knowing that no matter if something goes wrong, you have plan B gives a great feeling, and these backup techniques deliver precisely that!
Get a sense of surety with your drivers and run a backup today so your PC backs you up when you need it the most! That is all for this post. We hope you find it helpful. Good luck!
Next Read:
Top Features to Look For in Driver Updater Software
12 Best (Free & Paid) Driver Updater Software To Fix Driver Issues


