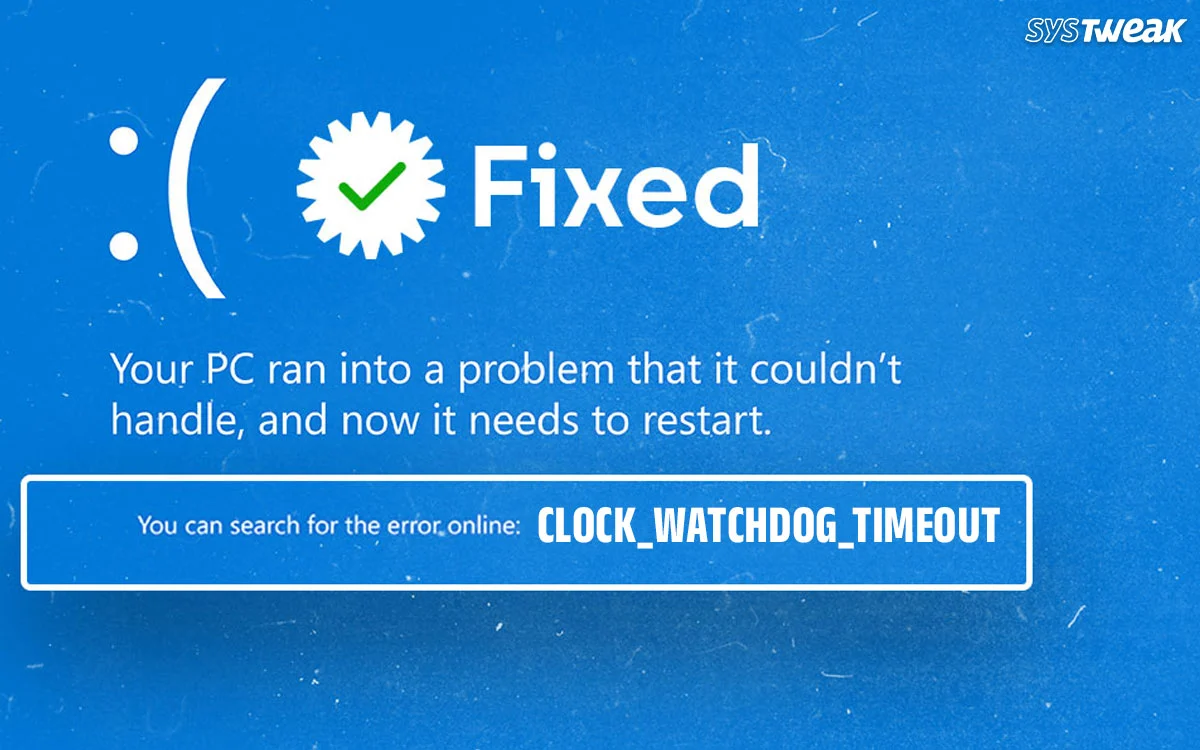
The blue screen Clock Watchdog Timeout error is a complex error that conveys a problem within the CPU related to handling threads. In simpler words, this error occurs when a core of the processor is waiting for a response from another core but fails to receive such a response. This error in windows 11 is also indicates a problem with the Central Processing Unit of your PC and its communication capabilities. We have listed a few troubleshooting fixes to resolve this issue and get rid of the blue screen error.
Why The Blue Screen Clock_Watchdog_Timeout Error Occurs?
There could be many reasons why the error occurs. We have listed a few prominent ones.
Issues With The Central Processing Unit. This error is mainly caused due to communication issues within the CPU of the PC.
Hardware Issues. Another major reason for this blue screen error is faulty RAM, graphics card, or any other hardware issue.
Driver Anomalies. Outdated, corrupted, missing, and incompatible drivers can cause the Clock Watchdog Timeout Windows 11 error.
Issues with BIOS. An outdated or faulty BIOS can also be responsible for this issue.
PC Overheat. If the CPU is being overheated, then you can face blue screen issues.
Corrupted System Files. Sometimes system files may get corrupted or inaccessible, causing the blue screen Clock_Watchdog_Timeout error.
Overclocked CPU. If the CPU has been overclocked by altering the settings in the BIOS and the PC is not able to handle the overclocking or maintain the required speed, then it will display the Blue Screen error.
Malware. Some experts have stated that malware can disrupt the normal functionality of a CPU can cause a Blue Screen error.
Prerequisites Before Troubleshooting the Error
Before we begin troubleshooting this error, we would like the readers to check a few points on their PC.
Reboot your PC. Any temporary glitches can be resolved by a simple restart. If the error keeps appearing, continue with deeper fixes.
Disconnect External Devices. Unplug all USB devices (printers, external drives, etc.). Reboot the PC and connect the devices one by one.
Fix Blue Screen Clock_Watchdog_Timeout Error
Fix 1 – Check Hardware
The first step you should take is to open the tower case and check if all the hardware components are plugged in properly. There must be no loose connections. Remember to turn off your PC and disconnect all the cables before you attempt this step.
Fix 2 – Update Drivers
Drivers are small programs that help establish the gap between software and hardware. We recommend that you keep your drivers updated at all times to avoid any blue screen errors like Clock_Watchdog_Timeout. Here are two ways to update drivers.
a). Update Via Device Manager
Microsoft has provided a built-in tool to all Windows users to update drivers for free. This tool is called the Device Manager, and here is what you need to do.
1. Open the Device Manager by pressing Win + X and selecting Device Manager.
2. Expand the sections that display the yellow exclamation mark.
3. Right-click on these drivers one by one to view the context menu.

4. Select Update Driver and choose Search automatically for updated driver software.
b). Use The Advanced Driver Updater
The second way to update drivers is to use a third-party app like the Advanced Driver Updater. This app can identify corrupted, outdated, and missing drivers on your PC. To fix these driver anomalies, you need to download/install this software, and within a few mouse clicks, all the drivers on your PC can be updated.
1.Download and install Advanced Driver Updater.
2. Launch the app and click the Start Scan Now button.

3. A list of driver issues will appear on the screen.

4. Locate the outdated drivers in the list and click on the update link next to them.
5. The update process will now begin. Restart your computer once the update is completed.
Also Read – Troubleshooting for Inaccessible Boot Device Blue Screen Error Windows 10
Fix 3 – Update Windows
Microsoft provides updates to all Windows users that include security patches, bug fixes, and new software features. These updates may help fix many minor and major PC errors. Here are the steps to update your Windows OS.
1. Press Win + I to open the Windows Settings box.
2. Click on the Windows Updates tab in the left panel.
3. In the right section, click on the Check For Updates button.
4. Wait for Windows to connect to the Microsoft server and download/install updates for you.

5. After the update process is complete, press the Check for Updates button a couple of times to check if any pending updates were not done in the first round.
6. Next, click on Advanced Options and then on Optional Updates.

7. Select all the updates displayed here and click on the Download & Install button.

8. Wait for all the updates to complete and reboot your PC.
Fix 4 – Update BIOS
After you have updated drivers and Windows, it is time to update the BIOS.
1. Press Win + R to launch the RUN dialog box and type msinfo32 followed by the Enter key.

2. The System Information box will now open. Locate the BaseBoard Manufacturer and the BaseBoard Product to know the mother manufacturer and the model number.
3. Visit the official website of your motherboard manufacturer and search for updates related to your motherboard model.
4. If you find any, download them and double-click the file to begin installing them.
5. Reboot your computer.
Fix 5 – Disable C1-E In BIOS
Some experts have recommended that to fix the clock watchdog timeout error, you need to simply disable the C1-E settings in the BIOS. Navigate to BIOS settings and look for settings related to the processor, and disable the C1 settings.
Fix 6 – Disable Overclocking
Many gamers overclock their PC to get maximum utilization of the CPU resources. However, if the CPU cannot deliver the required speed that has been set, then it displays a blue screen error. We recommend that you disable any overclocking settings and reboot the computer.
Fix 7 – Reset BIOS
After you have disabled the C1-E and overclocking settings, the next step to try is to reset the BIOS settings to their default settings. Just navigate to the BIOS settings and look for the “Restore Defaults” option, and click on “Yes” if prompted.
Fix 8 – Run Windows Memory Diagnostic
The Memory Diagnostic tool is a built-in utility that helps scan the memory for errors. Here is what you need to do:
1.Press the Windows keys, type “Windows Memory Diagnostic,” and click the result with the same name.

2. A new dialog box will open, and click “Restart Now…”.
3. Follow the instructions, and the tool will check and fix memory-related errors.
Fix 9 – Increase RAM
If the RAM installed displays no errors, then you might need to increase the RAM on the PC. Look for empty RAM slots and install another chip. If there is no empty slot, then you might have to replace the currently installed RAM with a higher-capacity RAM.
Fix 10 – Overheating CPU
If your CPU is overheating, then you will find that most of your apps lag and your PC freezes up in a short time. The normal temperature of your CPU is supposed to be between 40 and 65 degrees. While gaming, some PCs display temperatures up to 80 degrees. Anything more than that could be a serious problem, and here are a few tips.
1. Install a PC temperature monitor app like MSI Afterburner or HWMonitor.
2. If the temperatures exceed 80 degrees Celsius, then turn off your PC, open the case, and blow air using a blower on the Fans and other components to remove dust particles. If you cannot do it yourself, then we suggest you take it to a service center.
3. Place the PC in a ventilated space so that the air flow is maximum.
4. Check if you can adjust Fan speeds using MSI Afterburner and increase the speeds when the temperature rises.
Fix 11- Check for Malware
It is very rare, but there have been blue screen errors due to malware infection on the PC. You can use any antivirus software to remove the malware from your PC. We have described the steps to use the Windows Security app, which is installed by default on all Windows OS.
1. Press the Windows key and type “ Windows Security.”

2. Click on the relevant result under Best Match.
3. The Windows Security app will launch. Click on the Virus & Threat Protection box.
4. Next, click on Scan Options and select Full Scan.

5. Finally, click on the Scan Now button.
After you have completed a malware scan, follow the steps on the screen to quarantine or remove any infected files and restart your PC. If the issue persists, then move to the next section to troubleshoot this error.
|
Editor’s Tip – Use A Real-Time Antivirus (Recommended) When malware infects your system, its potential to cause damage is unpredictable. That’s why we recommend using a real-time antivirus like T9 Antivirus, which actively protects your PC from malware. This app runs continuously, 24/7, to block all forms of malware. In addition to its malware protection, T9 Antivirus helps optimize your PC’s performance, manage startup programs, and includes a free Ad Blocker to eliminate ads while you browse the web. |
Fix 12 -Run System File Checker (SFC)
1.Press Win + R to launch the RUN dialog box and type “Cmd”.
2. Press Ctrl + Shift + Enter to open the Command Prompt in elevated mode.
3. Type the following command and press the Enter key to execute it.
sfc /scannow
Fix 13 – Run DISM
1.Press Win + R to launch the RUN dialog box and type “Cmd”.
2. Press Ctrl + Shift + Enter to open the Command Prompt in elevated mode.
3. Type the following command and press the Enter key to execute it.
DISM /Online /Cleanup-Image /RestoreHealth (
What to do if this command not working
Fix 14 – Run Chkdsk
The Chkdsk command is used to check for Disk errors on your PC. It is a command-line tool provided by Microsoft to all Windows users. Here are the steps.
1. Press Win + R to launch the RUN box and type ‘cmd’.
2. Press Ctrl + Shift + Enter to open the Command Prompt in Admin mode.
3. Type chkdsk C: /f /r and the Check Disk command will search for errors on your PC.
If the chkdsk command does not yield any fruitful results, then follow the next method.
Fix 15 – Contact Technical Support
The final method is to take your PC to a service center where technicians will determine and fix the PC. There are tools and techniques that can be used by professionals, and if the above-mentioned methods do not work, then contacting technical support is the only solution left.
Conclusion
We hope that you have fixed the Blue Screen Clock_Watchdog_Timeout error with the methods explained above. If you face any other issues, then you can drop a note in the comments section below, and we will get back to you.
Recommended :
[Fixed] Driver PNP Watchdog BSoD Error
7 Ways to Solve WDF_Violation Blue Screen Error


