Editing an image to enhance its attributes and make it more appealing is a common practice used by several photographers and users. However, there are times when the final result is not as pleasing as they expect it to be. Hence, they want to revert the edits to recover the original photo. Usually, when you have not made the changes permanent or saved the final image, it is easy to do so. But recovering original photos gets challenging if you have got them edited by someone and you want to revert the changes.
Some editing applications allow you to revert the changes made in the tool. However, that, too is only valid when you are in the act, i,e. Editing the picture.
So, can you recover the original photos if you have edited them? That is exactly what we are going to identify in this post. Keep reading as we explore the options related to what you can do to recover an original picture by reverting the edits made.
Is It Possible to Revert Edits and Recover the Original Picture
Yes and No!
It depends on the type of editor and the approach that you have taken to edit the image. As mentioned earlier, several editing applications keep your edits in their memory. You can open the app again and revert the changes easily if you use them.
On the other hand, if you have edited the image using an editor that does not have internal memory to save your edits and applies it directly to the image, you may not be able to revert the original image after you have saved the edited image.
Also, editing applications allow you to save your edited image as a copy, which is the best option. This way, you create another copy of your original image where all the edits are made. You have the original image as it is, so you can get your hands on it anytime.
Ways to Revert Edits & Recover Original Photos
If you have used the editor that allows you to revert the changes you have made, be it cropping the image or applying red-eye removal, you can use simple steps to get things done.
Step 1 – Open the edited project on your computer. You can either open the edited picture directly from the Explorer or open the editor and choose the last opened file from the Files option.
Step 2 – If you can find the revert option (undo icon) on the application, click on it, and the changes will start reverting one by one. ![]() Step 3 – Click the undo button until you revert to the original picture. You can also use the Ctrl+Z command to revert the changes in real-time.
Step 3 – Click the undo button until you revert to the original picture. You can also use the Ctrl+Z command to revert the changes in real-time.
Step 4 – Use the Ctrl+S to save the original image, and you have successfully reversed the image.
These steps will only work in two conditions –
- You are using a quality editor that saves the edits and can revert.
- You are not trying to revert edits on an image you received elsewhere.
If you have received or downloaded an image, and you want to undo cropping, you may not succeed as the only edits you can revert are the changes you made yourself and on the exact editing app you used.
What to Do If You Have Deleted the Original Picture After Editing
Several users tend to delete the original pictures after saving edits as a copy. The only issue with creating a copy of edited photos is that the created file is the only saved file. This means the edits cannot be reverted from it as it is the sole file.
The only way to regain your original image is by recovering it from the storage. For this, you may be required to use photo recovery software.
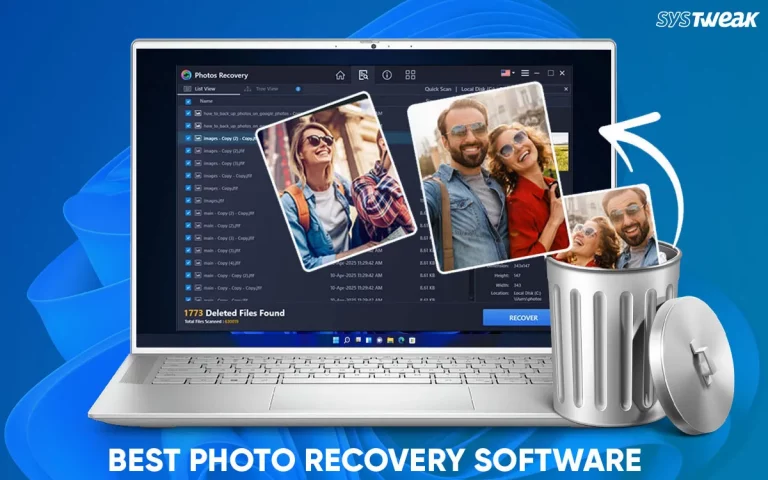
Fortunately, there is a possibility of doing so! Photos Recovery by Systweak is a software that allows you to recover deleted/lost photos from your computer. All you have to do is –
Step 1 – Download and install the application on your computer.

Step 2 – Launch the application and select the drive from where the original image was deleted.

Step 3 – Select the type of scan. If you have recently deleted the original photo, use the quick scan option.

Step 4 – Let the scan finish; it will find all the deleted pictures available for recovery.

Step 5 – You can preview the image you want from the results. Go through the fetched results and recover the original image easily.

This way, you can get your original image back.
Note : While saving the image, choose a destination away from the original image as it may overwrite the drive, and chances of recovery may decline.
The application allows you to find the original unedited image copy even after accidentally deleting it. Download the Photos Recovery tool today and never miss an original image ever!
Hope this article helps recover the original photos you have edited. That will be all for this post. If you have any questions, feel free to use the comments section! Thanks for reading, good luck!
Recommended :