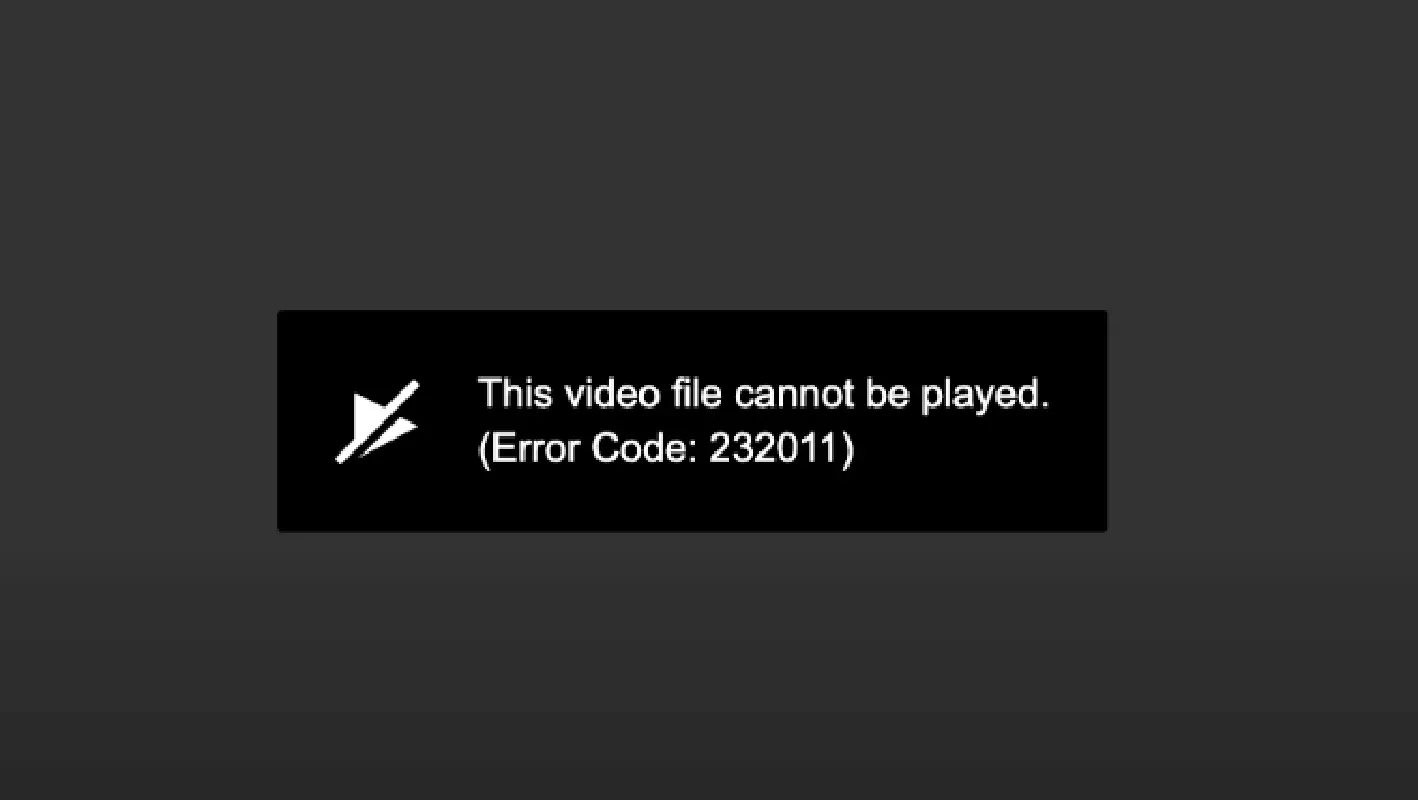
Many computer users have complained about receiving the “This Video File Cannot Be Played” error with code 232011 while streaming video on their browser. This is a common error and can be fixed in no time with simple browser troubleshooting methods. We have compiled the best expert-recommended methods from various sources, and our team of experts has tested them to ensure they work. As there are multiple reasons why the 232011 video error code occurs, hence, the issue can be resolved by different troubleshooting methods. Without further ado, let us begin.
Why Does The Error Occur When Playing a Video?
- There are different codecs used by different video file formats, and if your video player does not have the correct codec installed, then it might not play a certain video.
- Any video file that is damaged, incomplete, or partially downloaded may not open.
- A slow and unstable internet connection can cause playback failures while streaming video.
- Some applications cannot play all types of video formats and hence can result in this error.
- Protected videos can only be played on authorized devices or apps, and if you try to play them on a different device, then they might display the 232011 video error code.
- Another reason could be older devices that cannot play high-resolution videos.
Prerequisites Before Troubleshooting The Error
Before we attempt to fix the browser issues, we recommend that you carry out the following steps to rule out any Network issues.
- Verify that your internet connection is working properly and delivering the correct bandwidth.
- Use Speedtest to check for the current download speed.
- Disable the proxy server or VPN service and check.
- Ensure your internet is not restricted like that found in offices and schools.
- Try to play another video to make sure that the issue is not limited to one video.
Fix Error Code 232011 (This Video File Cannot Be Played)
Method 1: Refresh or Restart the Browser
To rule out any temporary glitches, you need to refresh or restart the browser.
1. Press CTRL + F5 to refresh the browser.
2. If there is no change, then exit the browser and restart it.
Method 2: Power Boot Your Router
The router builds up a temporary cache over time, and it is suggested by most ISPs, to reboot your router at least once a day. Here is what you need to do.
1. Power off your Router.
2. Disconnect the power and network cables.
3. Wait for a minute or two.
4. Reconnect the cables.
5. Power on the Router and connect to the internet.
Note : While you are carrying out the Power Boot process, we recommend that you restart the PC simultaneously.
Method 3: Clear Browser Cache & Cookies
Corrupt cached files can cause the 232011 error. Experts recommend that you clear the cache and cookies from the browser. We have explained the steps by taking the Chrome browser as an example. The steps for other browsers are almost similar.
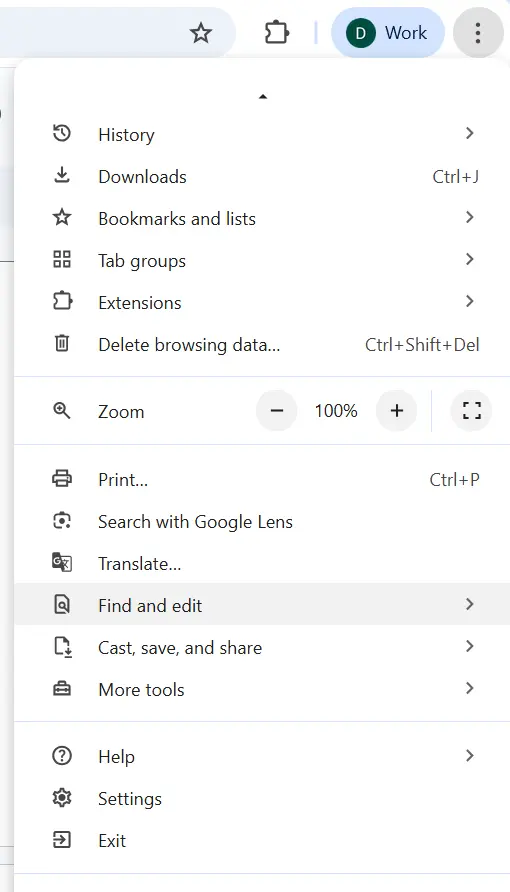
1. Click on the three dots in the top-right corner and choose Settings.
2. Click on the Privacy and Security tab in the left panel.
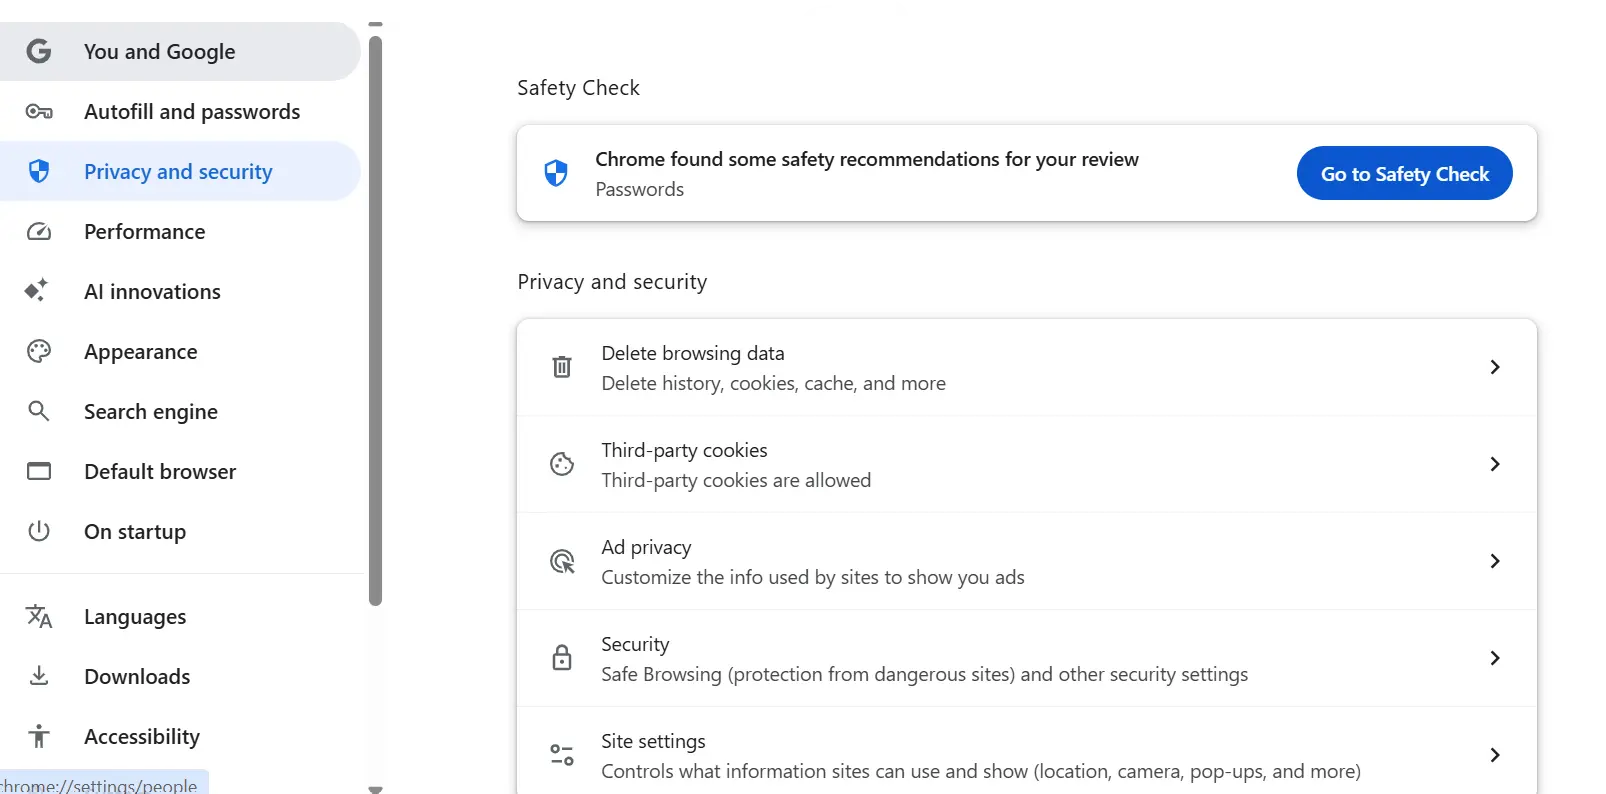
3. Next, click on Delete Browsing Data.
4. Place a check mark next to Cached images and files & Cookies.

5. Click on the Delete Data button and restart the browser.
Bonus Tip – Use Advanced System Optimizer For PC Optimization
We have explained that clearing the cache and cookies from the browser helps optimize your browser and fixes most of the browser issues. Similarly, we recommend optimizing your PC and clearing all the temporary files from your PC. This can be done with the help of Advanced System Optimizer – a tool that clears cache from your PC and browsers. Here are the steps to use this tool.
1. Download Advanced System Optimizer from the button provided below.

2. Open the software and click the Start Smart PC Care button.

3. Wait for the scan to complete and find issues on your system.

4. Click on the Optimize button.
Method 4: Disable Browser Extensions
Some experts have stated that Ad blockers and privacy extensions often block videos. You can try and temporarily disable a few extensions.
- AdBlock / uBlock Origin
- Privacy Badger
- NoScript
- VPN extensions
If the video works, then re-enable extensions one by one and check the video again each time, to identify which extension is causing the conflict.
Read Also : How to Fix: “Your IP Has Been Temporarily Blocked” Error
Method 5: Update the Browser
It is always beneficial to keep your OS and apps updated at all times. In this case, we suggest that you update the browser. Generally, these updates are carried out automatically, but we can always check them by following these steps.
1. Launch the browser and click on the hamburger menu in the top right corner.

2. Hover the mouse on Help and click on About Google Chrome.
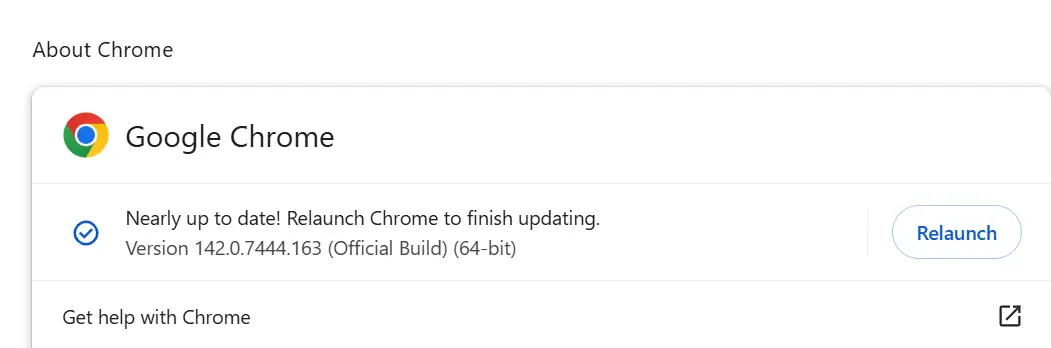
3. The Chrome Update will start automatically.
Method 6: Disable Hardware Acceleration
Sometimes hardware acceleration conflicts with video playback. We have explained the steps to disable the hardware acceleration.
1. Launch the Chrome browser and click on the three dots in the top-right corner to view the dropdown.
2. Click on Settings and then click on System in the left panel.
3. Locate “Use graphics acceleration when available” and slide the toggle button next to it towards the left to disable it.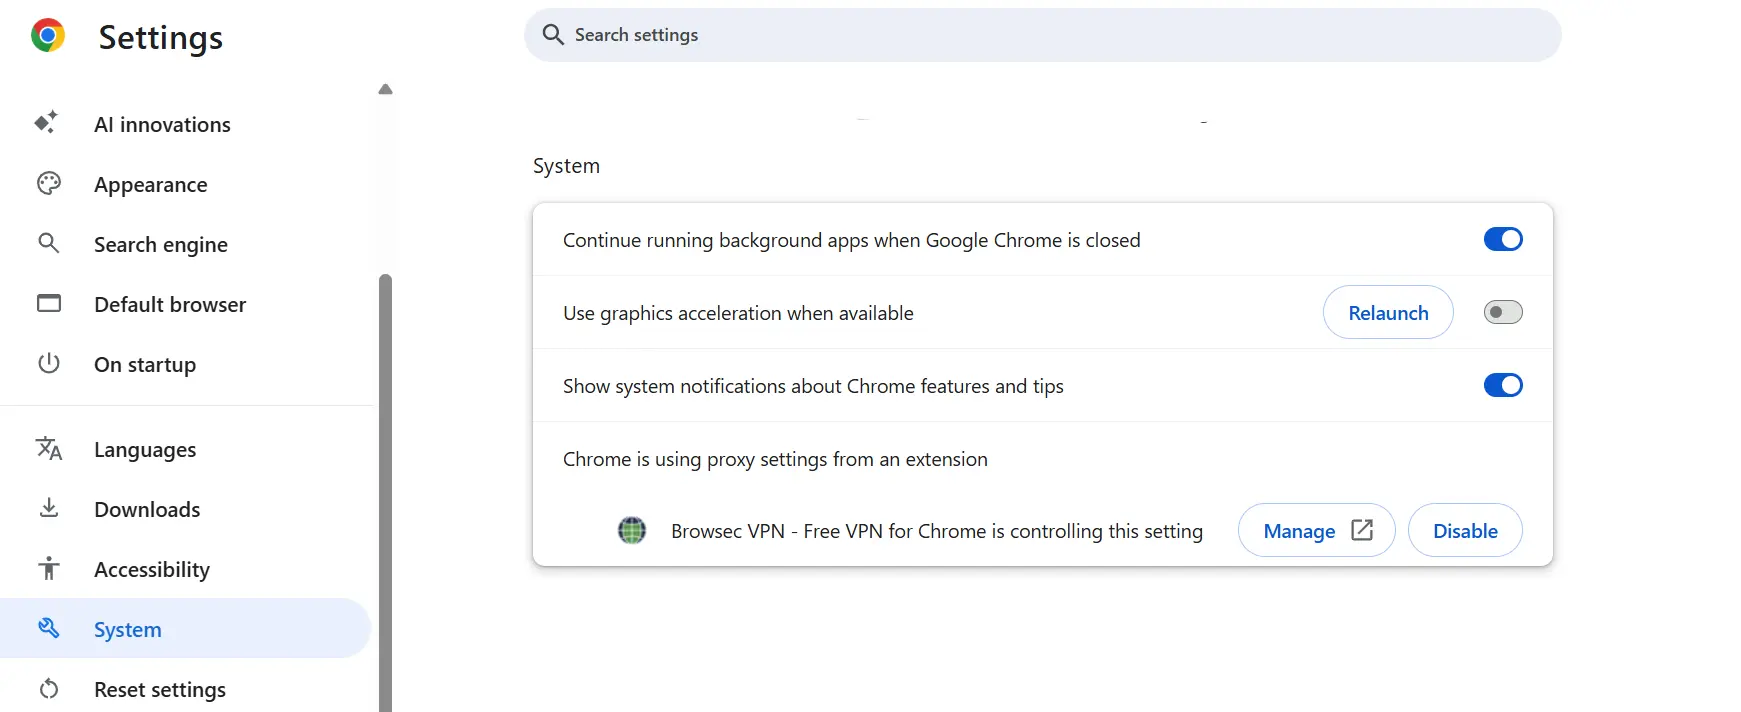
4. Exit the Settings and reboot the browser.
Method 7: Try a Different Browser
If the issue is browser-specific, test the video on a different browser, like Firefox, Edge, Opera, or Brave.
Method 8: Turn Off Private/Incognito Mode
Some sites block playback in private mode due to DRM. Try opening the video in a normal window.
Method 9: Allow JavaScript
Make sure JavaScript is not disabled in your browser settings. Here is how to check the status.
1. Open the browser and click on the 3 dots in the top right corner to view the dropdown options.
2. Click on the Privacy and Security tab on the left side.
3. Scroll down in the right section, locate Site Settings, and click on it.
4. Next, scroll down further and locate the JavaScript option under the Content section.

5. Finally, ensure that the radio button before the “Sites can use JavaScript” option is selected.
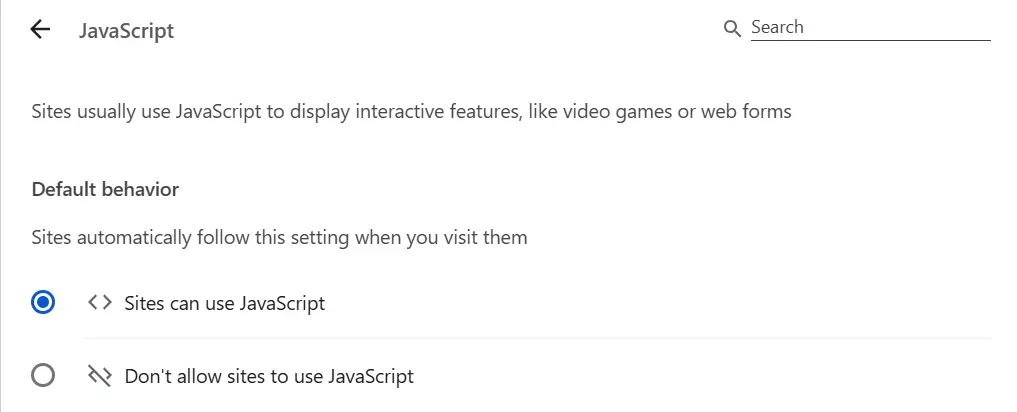
6. Exit the browser and restart it to check if the video is playing correctly.
Method 10: Temporarily disable Antivirus and Firewall
a.) Disable the Windows Security Antivirus
1. Press the Win key and type Windows Security.

2. Click on the relevant result under Best Match.
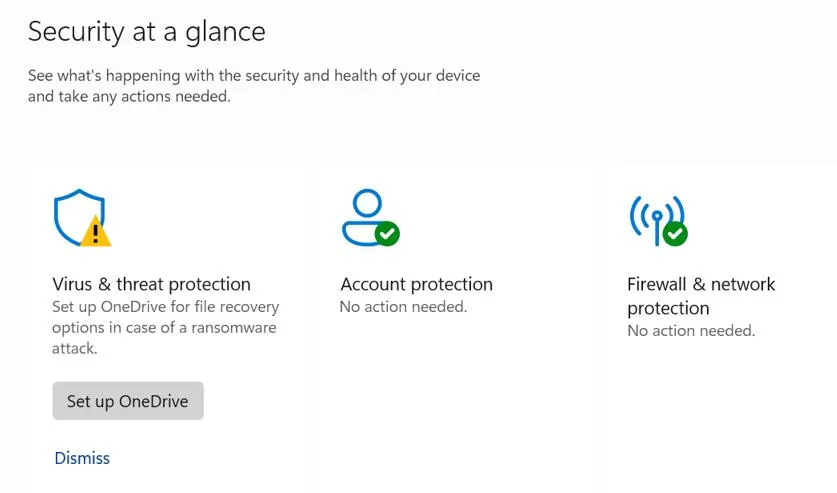
3. Next, click on Virus & Threat Protection.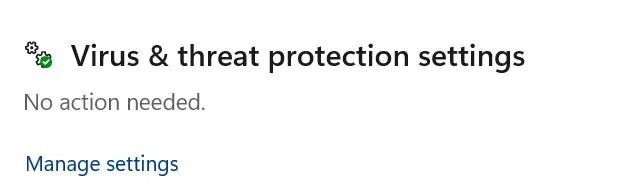
4. Click on Manage Settings.
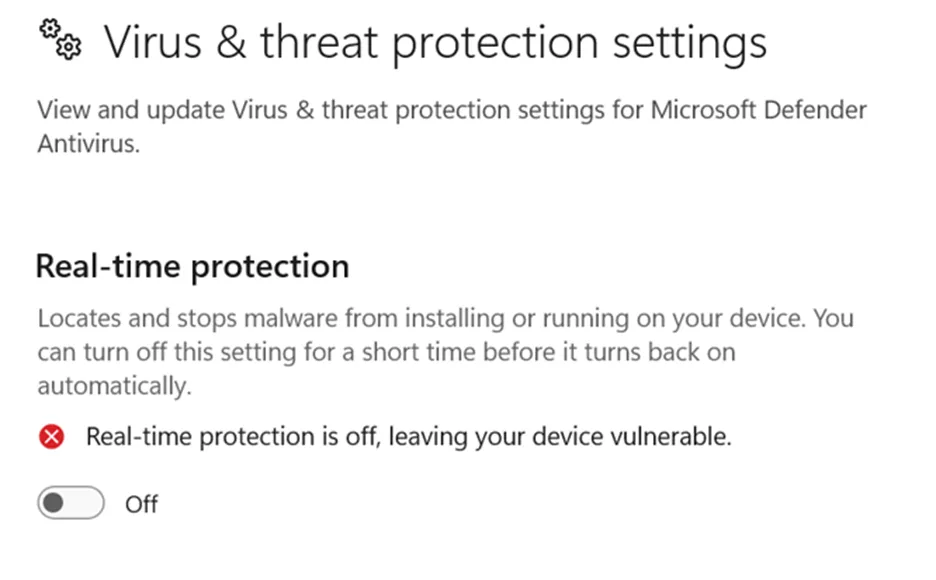
5. Slide the toggle button under Real-Time Protection towards the left to disable it.
b.) Disable the Windows Firewall
1. Press Win + I to open Settings.
2. Navigate to Privacy & Security > Windows Security > Firewall & network protection.

3. Click on all network profiles (Domain, Private, or Public) one by one.
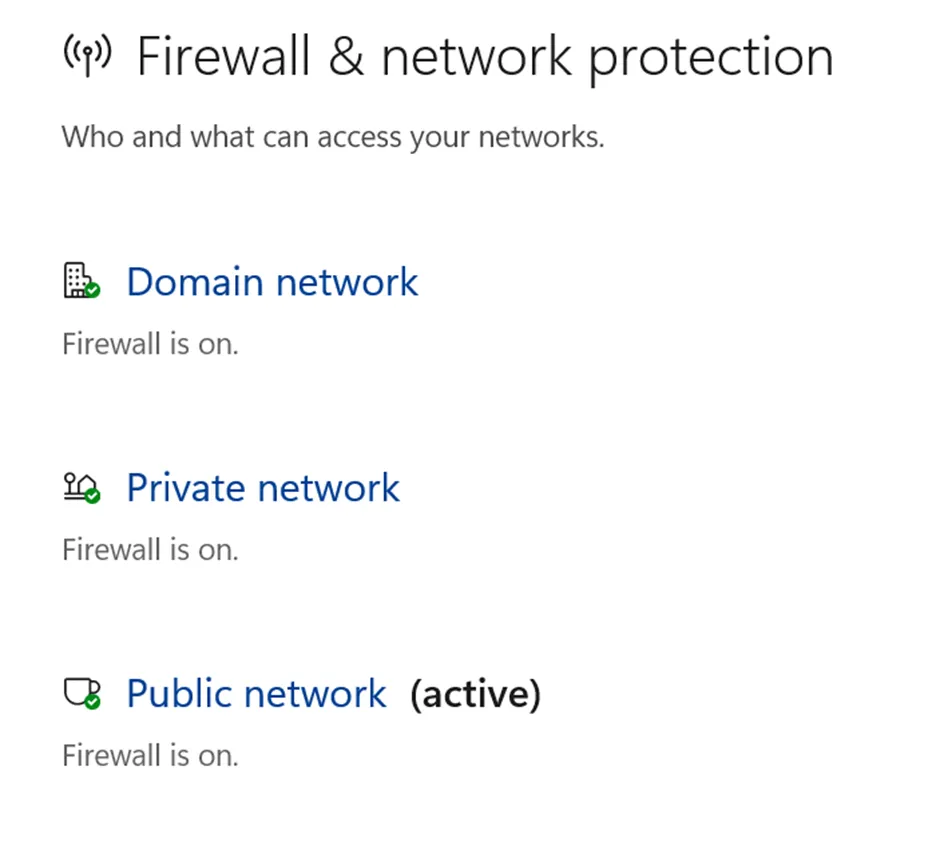
4. Under Microsoft Defender Firewall, toggle the switch to Off.

Note : You can turn on the Firewall using the same steps described above. Add the game folder to the exception list of your antivirus/firewall.
Method 11: Flush DNS Cache
1. Press `Win + S` to open the search bar and type `cmd` or `Command Prompt.`
2. Right-click “Command Prompt” in the search results and select `Run as administrator.`This will open the Command Prompt with elevated privileges.
3. In the Command Prompt window, type the following command and press Enter:
ipconfig /flushdns

4. You should see a message indicating that the DNS Resolver Cache has been successfully flushed.
5. After you see the confirmation message, you can close the Command Prompt window.
Read Also : How To Fix “DNS Server Not Responding” Windows 10
Method 12: Reset Browser Settings
After you have cleared the browser cache, disabled the extensions, and updated the browser, the error should not occur anymore. But if it does, then we need to reset the browser by following the steps mentioned below.
1. Launch the browser and click on the hamburger menu in the top right corner.
2. In the dropdown menu, click the Settings option and select Reset Settings from the left panel.
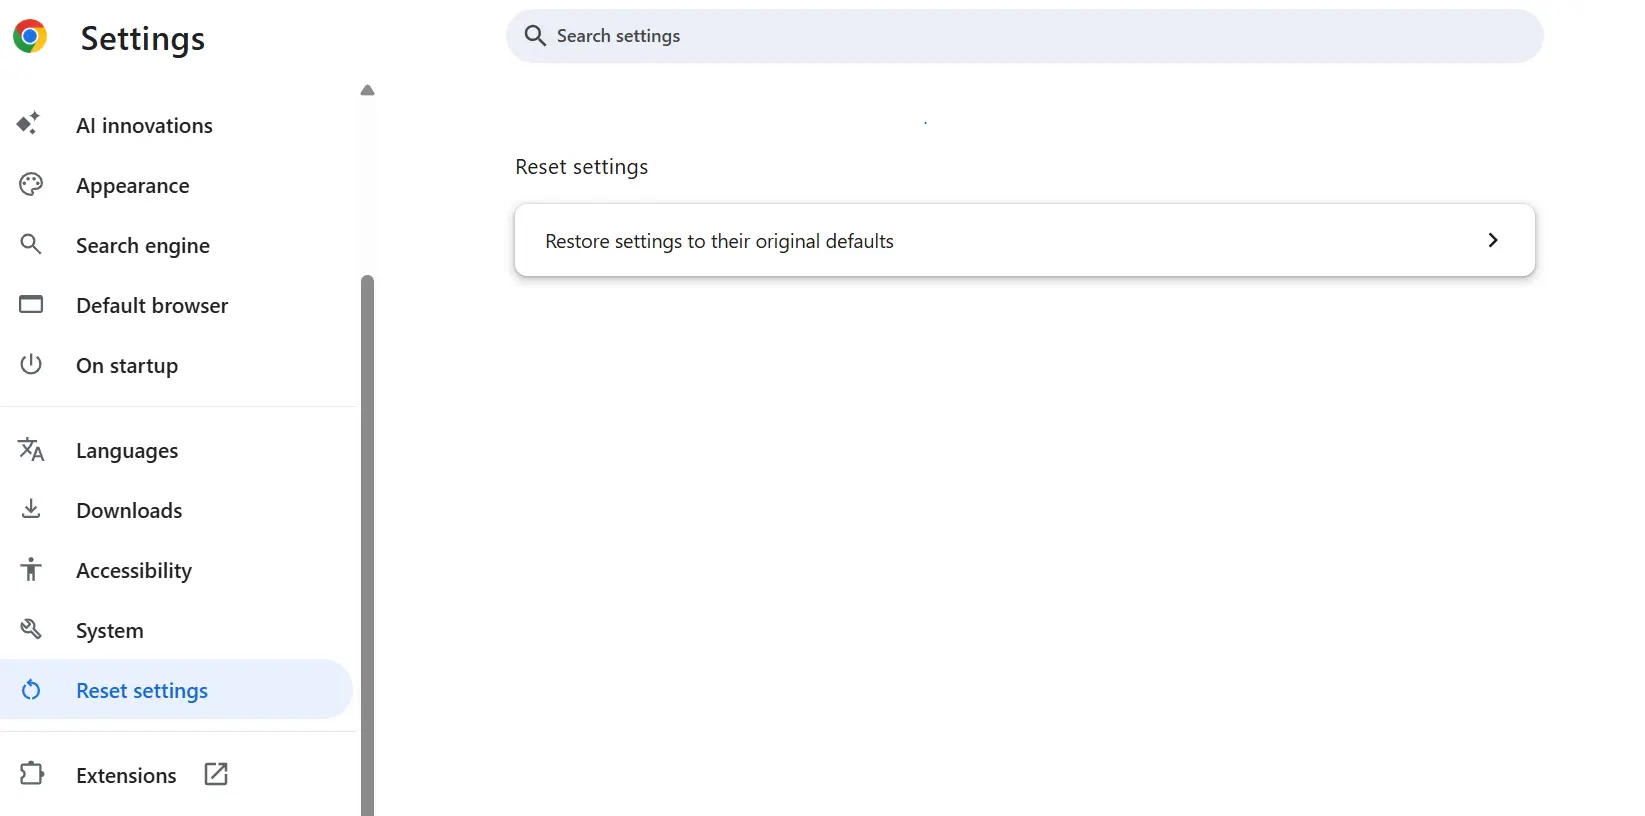
3. Click on the Reset Settings… on the right panel and then on the Reset Settings button.
Method 13: Issue With The Website Server
Sometimes the video host is down or the uploaded file is corrupted.
1. Try playing another video on the same site.
2. If only one video fails → the *video file itself* is likely broken.
Conclusion: Have You Fixed Video File Cannot Be Played Error Code 232011?
The above troubleshooting fixes have been tried and tested by our team of experts. It will help you fix all issues related to the 232011 video error code on your PC. We would like to hear about your experience and how you fixed this error in our comments section below.
Recommended : How To Fix Error Code 100013 – “Sorry, The Video Player Failed To Load”