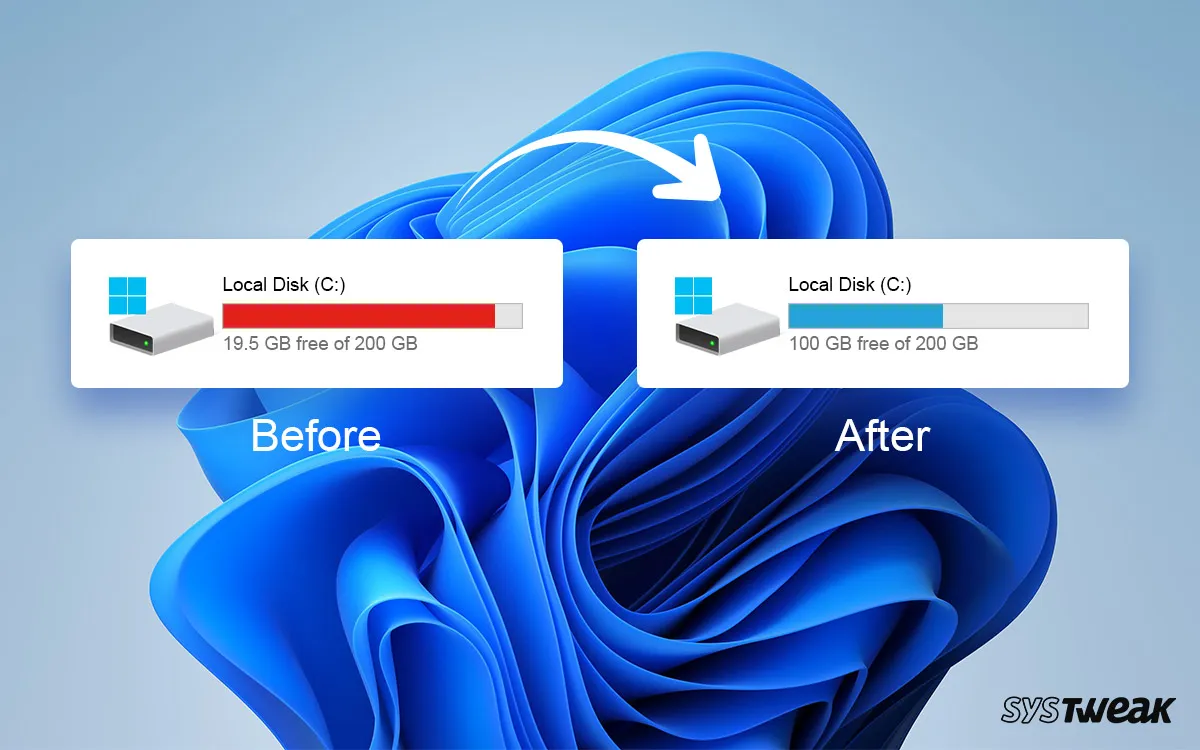

A “Low disk space” warning pops up, or an update fails to install because there’s not enough room, and your first instinct is caution, not “just start deleting things.” Deleting items that matter to you does not have to be the way to clear out disk space. There are ways to free up disk space with minimal harm to your important stuff, like photos, documents, etc., as long as you know where to look and which tools actually tell junk apart from anything important. Here’s how to free up disk space Windows PCs need, properly.
Where Your Disk Space Actually Goes
Most cases of low storage do not come about as a result of just one bad move. It’s usually an accumulation: temporary files created by Windows and apps for short-term tasks, leftover files from old Windows updates, a hibernation file (hiberfil.sys) sized to match your RAM, cached browser and app data, and, often overlooked, duplicate files, repeated downloads, redundant photo exports, or backup copies sitting in more than one folder. None of this is stuff you’d miss, but none of it announces itself either.
Start With Windows’ Built-In Storage Cleanup Tools
Before anything else, use what’s already on your PC, since these tools are designed specifically not to touch personal files.
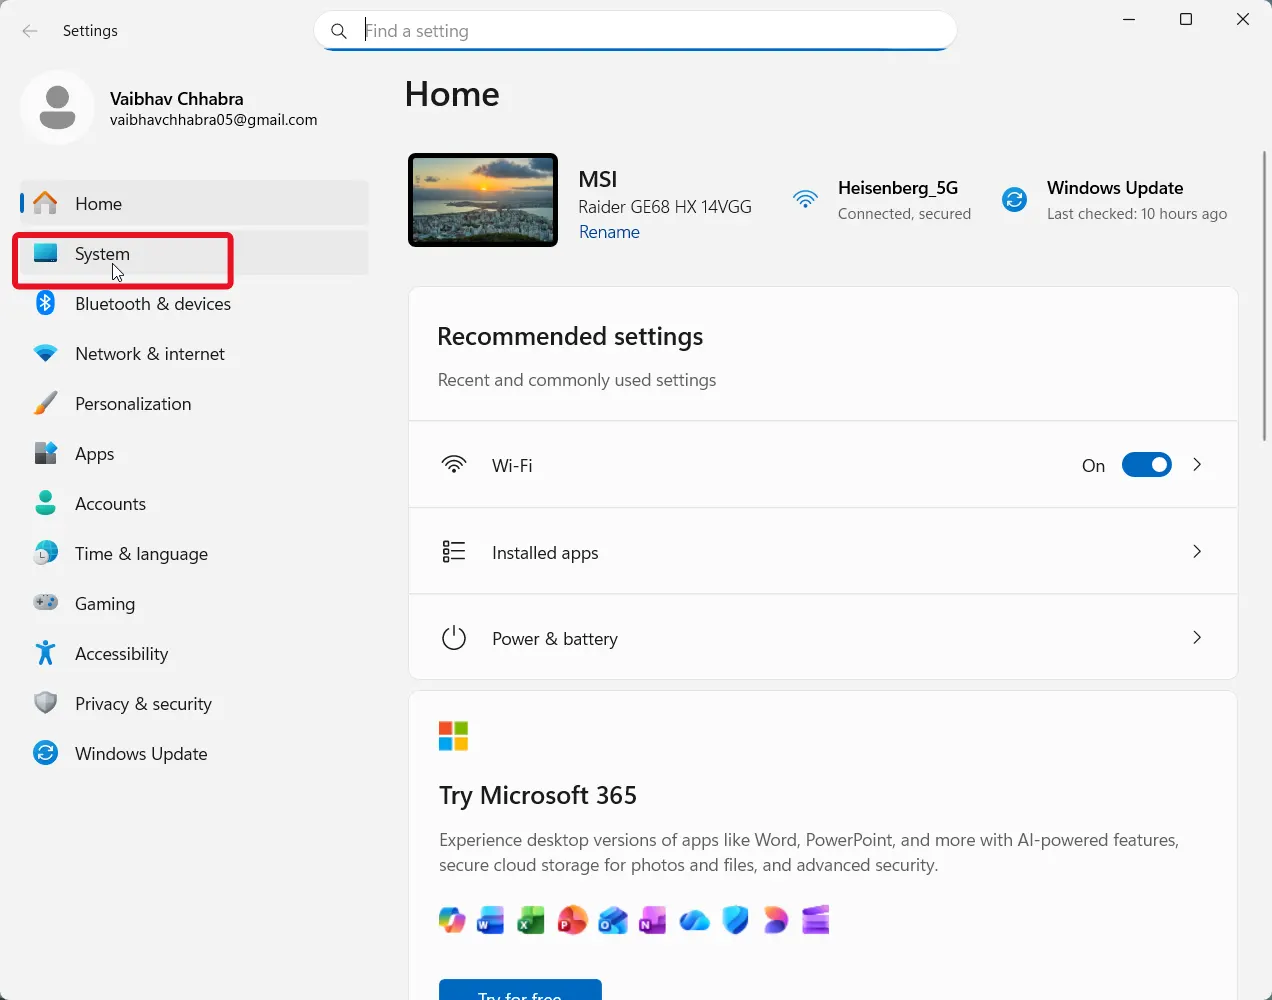
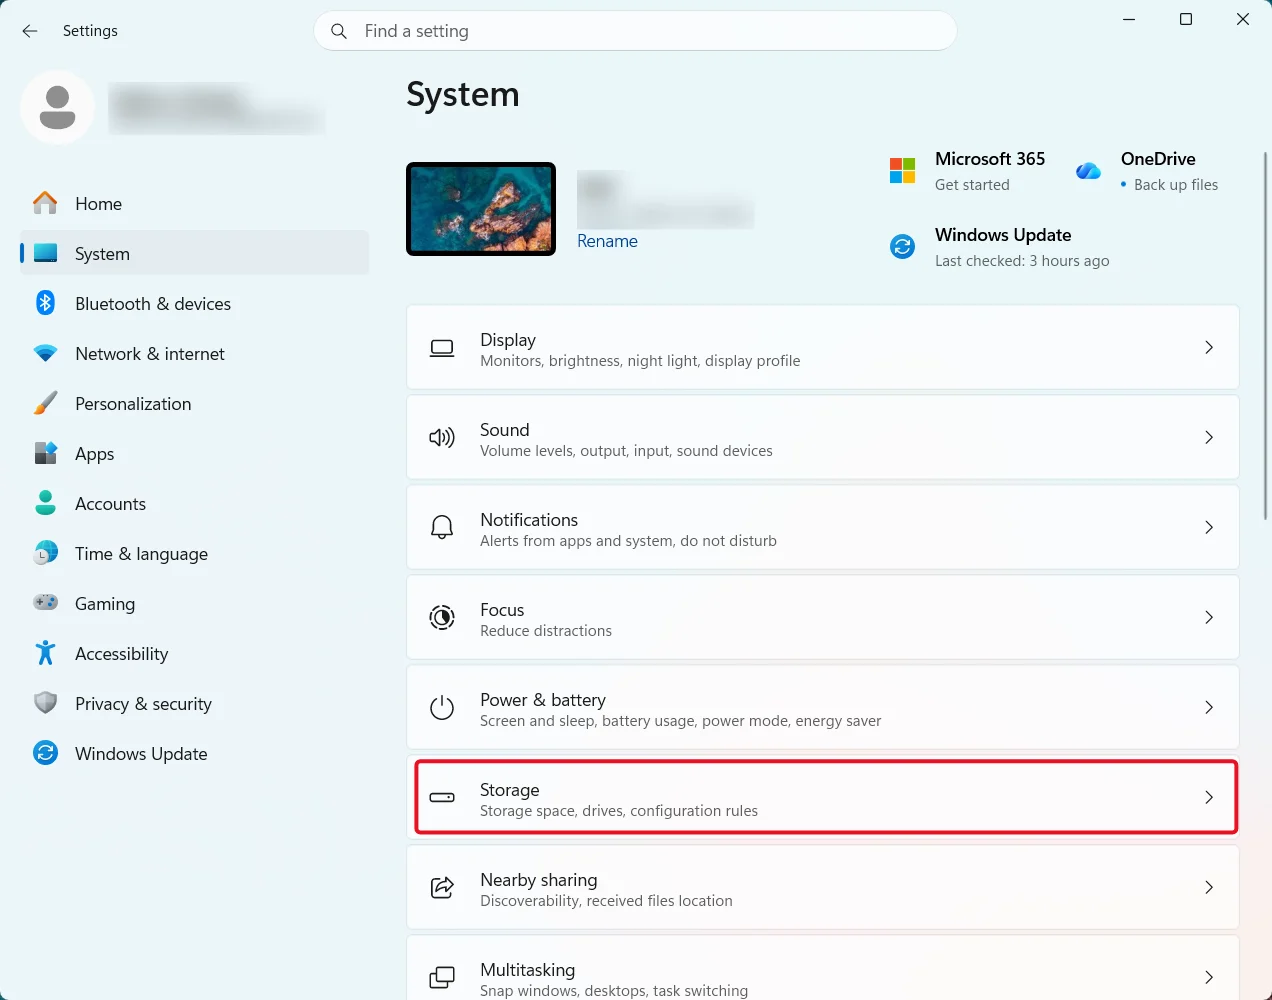
1. Press Windows key + I to open Settings, then go to System, then Storage.
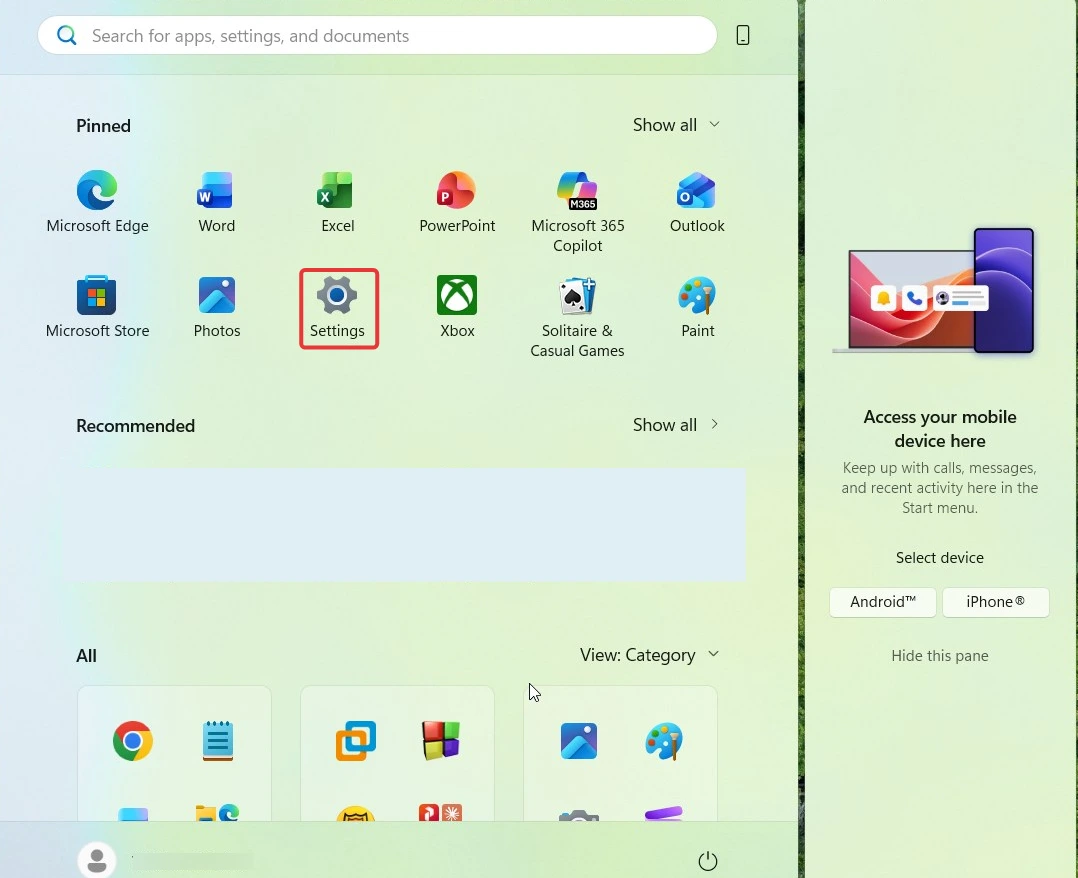
2. Review the category breakdown to see what’s using the most space, apps, temporary files, documents, or other.
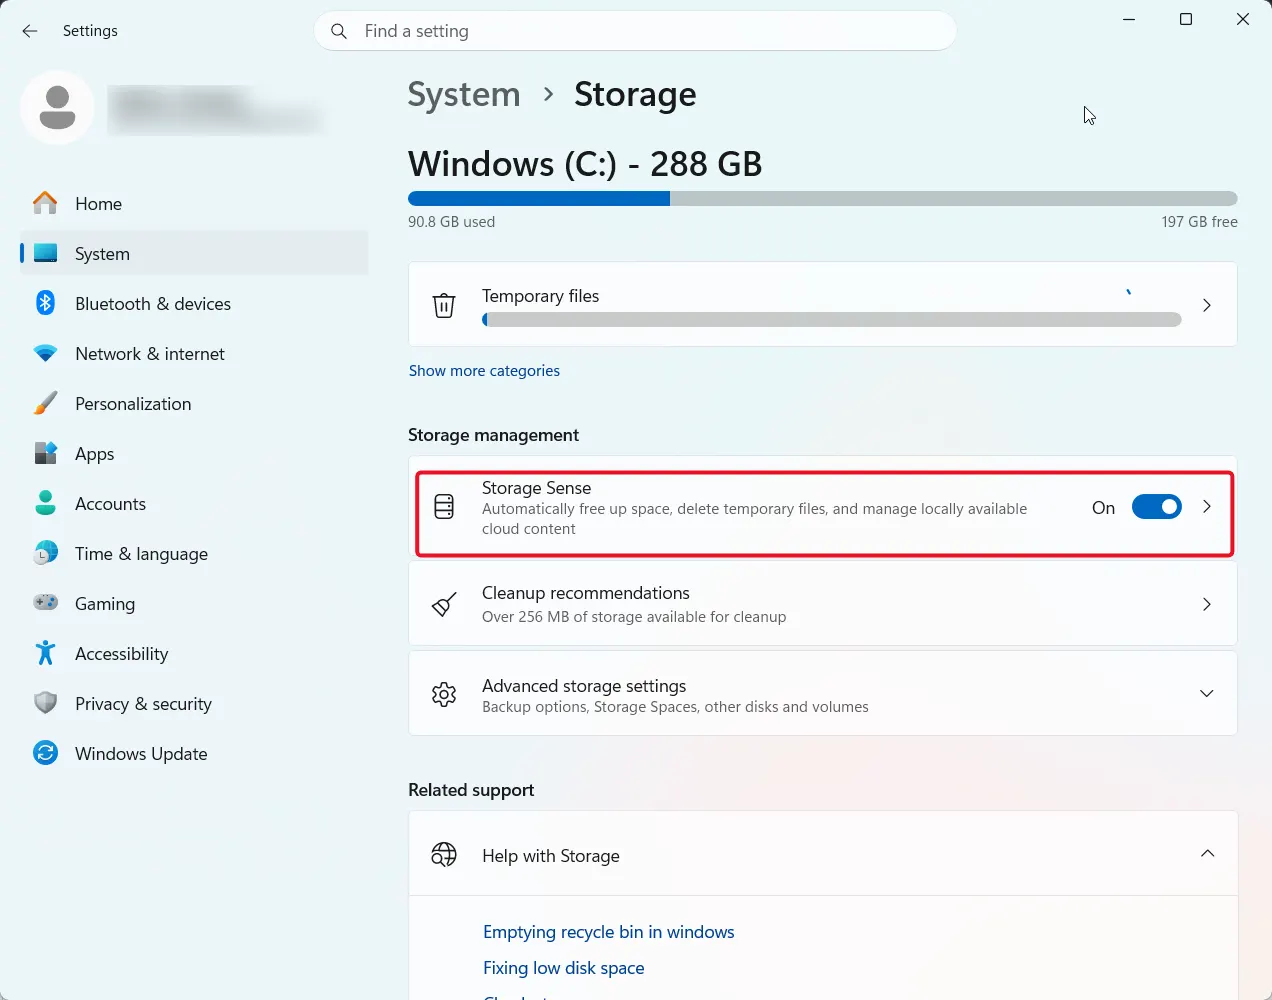
3. Turn on Storage Sense to automatically clear temporary files and Recycle Bin contents on a schedule.
4. Alternatively, find Disk Cleanup in the Start menu, choose your drive (i.e., C:, D:, etc.), and then mark off each category you wish to remove. Running disk cleanup Windows tools this way covers most of the safe, disposable clutter in one pass.
This first pass is genuinely safe and worth doing regardless of what else you try, since it typically clears several gigabytes with zero risk to personal files, and often serves as a complete low disk space fix on its own.
A Few More Manual Options
A handful of other non-destructive tricks are worth knowing, even if they won’t be the main event for most people:
- Enable NTFS Compression on a folder or drive, by right clicking the folder/drives name, selecting properties then advanced, and “Compress contents to save disk space”. This method reduces file size without deleting anything.
- Move large media or document folders to a different drive or external USB drive instead of deleting it permanently.
- Reduce space used to store system restore points using the ‘Configure System Restore’ settings. Use the ‘Max Usage’ slider in order to free up space on your pc without disabling protection entirely.
- Uninstall unused apps and games, especially large ones, through Settings, then Apps, sorting by size to spot the biggest space users first.
- Uninstall unused apps and games, especially large ones, through Settings then Apps and sort them according to their size.
- Reduce or disable the hibernation file (hiberfil.sys), which is normally sized to roughly match your total installed RAM. If you never hibernate or use fast startup, open a command prompt from an Administrator account and run either “powercfg /hibernate off” to remove the hibernation file altogether; otherwise, type “powercfg /hibernate /size 40” to reduce the size of this file.
- Empty the Recycle Bin after reviewing its contents, since deleted files go there taking up space until it’s cleared.
The above methods deal with actual lost storage space; however they do nothing for the root issue that this guide is addressing: knowing which specific files are safe to remove in the first place.
Why Built-In Tools Only Get You So Far
Storage Sense and Disk Cleanup are excellent at the first, easy layer, junk that’s clearly disposable, but they stop there. They show broad categories like “Other” or “System files” without telling you which specific files inside those categories are actually safe to remove. Neither tool provides assistance in locating duplicate files, although duplicates can often account for a large portion of wasted space due to multiple downloads and backup redundancy. And if your drive is still tight after the easy pass, the next step for most people is manually digging through File Explorer folder by folder, which is slow, easy to get wrong, and doesn’t scale if you’re doing it more than once.
A Better Way: Analyze, Then Clean in One Pass
Most guides recommend a separate disk-usage viewer to see what’s actually taking up space, then a separate cleanup tool to remove it, then manually hunting for duplicates on top of that, three different tools for one job.A more practical approach is a single tool that analyzes your drive, identifies and separates junk from personal files, and also identifies duplicates at the same time, so you’re not stitching together multiple utilities to do a job that’s really one task.
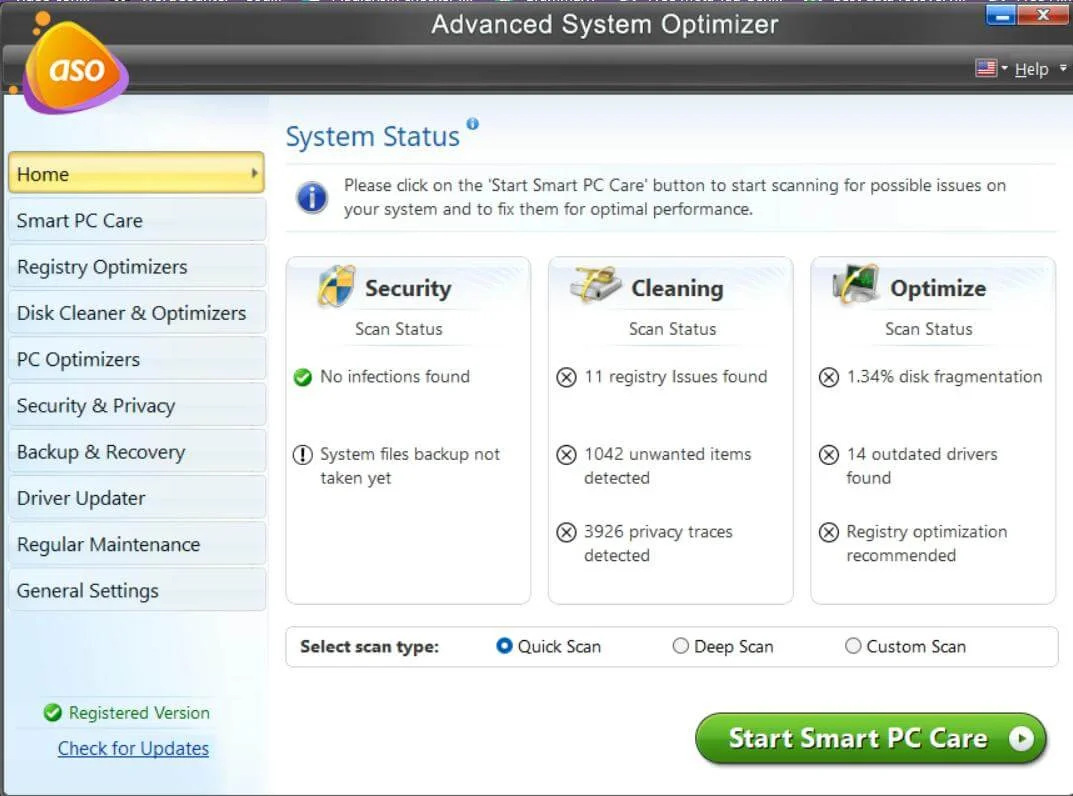
This is where Advanced System Optimizer from Systweak fits in. Its Disk Explorer module scans a selected drive and breaks down usage by file type and by the largest individual files. Therefore, when a scan reveals something like “Other: 40GB” category, it will show you what files are really making use of those 40 GB. Advanced Systems Optimizers System Cleaner cleans out junk files, temp files, cache, etc., but does not touch personal files such as documents or photographs or anything flagged as personal data. And its Duplicate File Remover, found within the PC Optimizer module, scans for identical files across your drive, the category almost no built-in tool or competing guide addresses directly.

Regardless of the tools being used, reviewing the results before deleting is a practice that should be followed for every tool; while an automated scanning method may be highly reliable due to its design, it will never be 100 percent foolproof; however, separating clearly the junk from the personal files or categories is the major factor in making this process safe, efficient, and easily repeatable as opposed to using one simple “clean everything” option.
Frequently Asked Questions
The bottom line
Learning how to clear storage windows PCs actually need comes down to separating true junk from files you actually need, starting with Windows’ own Storage Sense and Disk Cleanup for the safe, easy pass. However when you run into a point where these options aren’t sufficient, a single utility will save you time by doing everything including disk analysis, cleanup, and duplicate detection all in one process, like Advanced System Optimizer, eliminating the need to juggle multiple utilities to complete the tas