The Oculus hardware error can be troubling for several reasons:
- It can prevent you from immersing yourself in the VR experience.
- Setting up your Rift or Quest.
- Stopping you from playing the game, as the error usually appears while setting up your headset or playing VR games.
If you have faced similar problems and do not know how to fix this issue, do not worry- we have you covered. In this post, let us quickly identify exactly what causes the Oculus hardware error and how you can fix it.
Keep on reading as we will discuss not one, not two, but five ways you can fix the issue once and for all.
What Causes the Oculus Hardware Error
As you might be familiar with, Oculus is a VR headset that you can set it up with a PC to create an immersive experience while playing a game or watching content. While the usability factor is amazing, it often shows compatibility issues and hardware errors. Several users’ most common issue is that Oculus has detected a hardware issue.
The primary reason behind this error message is the compatibility and connectivity issues. In addition to this, other reasons that may be the reason for the error include –
- USB Connectivity Issues
- Driver Errors
- Improper System Files
- Computer Power Settings
- Other Hardware Glitches
In case you feel your PC may be affected by any of the issues mentioned above, this post is for you. Check out the next section, listing the fixes you can try.
5 Ways to Fix Oculus Hardware Error
Method 1 – Try Basic Connection Troubleshooting
Sometimes, connectivity issues are the main reason for an error on your Oculus VR. These are not necessarily major issues, as even a minor discrepancy in the connection can cause a hardware issue.
Here are the things you can try –
- Turn off the Air Link when connecting the Oculus device using a cable. Air Link is used to connect the device wirelessly, and it may cause hindrances in the connection
- Restart your headset and computer once to ensure that there are no glitches. Unplug the device and restart it to finish the process.
- If the error keeps repeating, switch the USB port. You can also try switching the cable, provided you have an extra original cable to support the connection.
Other than these, you can also try removing any other devices you may have on the device, such as an external camera or a hard drive.
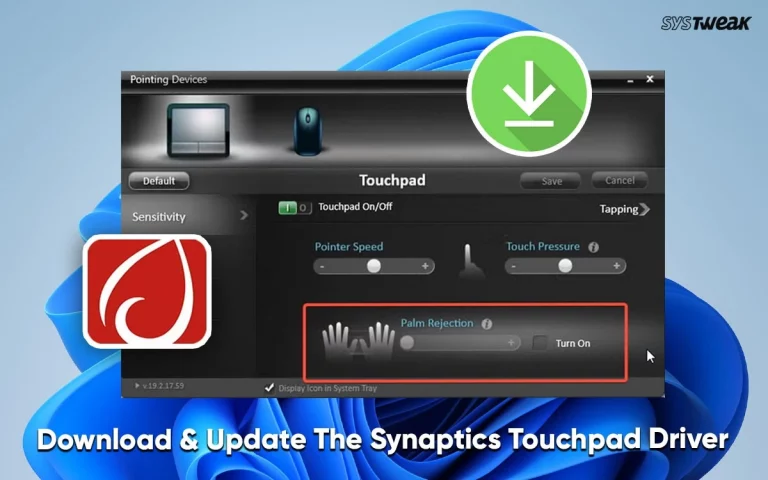
Method 2 – Update Device Drivers
Drivers on any device play a crucial role in connectivity. All your USB ports use a controller that runs smoothly with the support of dedicated drivers. Not to mention, the Oculus headset also uses a driver that should be updated regularly to make the most out of the device.
Eventually, several drivers must be updated. But wait. If you plan to update these drivers manually, you will spend hours finding proper updates and then manually installing them. To save you from this tedious job, we highly recommend you use Advanced Driver Updater.
It is a 3 step process that practically resolves all your outdated driver errors in no time. All you have to do is –
Step 1 – Download, install, and download the Advanced Driver Updater.

Step 2 – Run a scan to identify the outdated drivers on your PC.

Step 3 – After the scan, simply use the Update All button and initiate the update process.
Download the tool right now if the Oculus hardware error is bothering you. The issue most commonly occurs due to driver incompatibility. Hence, this application. It will help update drivers and resolve problems caused by problematic drivers.
Method 3 – Repair Corrupt System Files
In case the PC has corrupt system files, you can use the System File Checker scan to find and fix them. Here’s how you do it –
Step 1 – Go to the Start menu and search for Command Prompt.

Step 2 – Launch the Command Prompt as administrator.

Step 3 – In the command prompt, use the command SFC/Scannow and hit enter
Let the scan run. It will find the corrupt system files and try to fix them. Once the scan is over, restart your PC and then try to reconnect the Oculus headset.
Method 4 – Reset Your Headset
Regardless of the Oculus headset version you use (Quest 1 or Quest 2), try resetting the device at least once if none of the above methods help. Sometimes, an internal glitch may be causing issues with the device’s connectivity.
Here are the steps that you can follow –
Step 1 – Turn the headset Off.
Step 2 – Reboot the headset by pressing the power and volume down (-) button.
Step 3 – You will end up in the device’s power management menu. Scroll down and click on Factory reset to reset the device.
With this simple hack, you can make your headset brand new. This means they would be reverted to basic settings if there were any issues with it.
Method 5 – Check the Power Status
Another crucial thing you should check is the power status of your PC and connected devices. That is because a VR headset requires enough power to work smoothly. If you already use multiple monitors, your GPU or the USB controller might seem underpowered to support the VR headset. Hence, ensure that the PC’s power source is utilized smartly and there are no hiccups in the power distribution.
It is also suggested that you toggle off the power dim settings in the USB controllers to ensure they do not affect your device’s performance. Here are the steps that will help.
Step 1 – Go to the Start menu and search for Device Manager. Hit enter to open the same.

Step 2 – Scroll down to find the USB Controllers.
Step 3 – Double-click the device to open its properties and navigate to the Power Management tab.
Step 4 – Uncheck the Allow computer to turn off this device and finish the process.
Step 5 – Repeat the steps above for all the USB controllers listed and keep switching the ports so that the device works fine.
With all these methods, you should be able to get rid of the Oculus hardware error. If there’s still something wrong, try switching the PC so that you can identify if the error is with the PC or with the headset. If it is the headset, contacting the hardware experts is best.
That brings us to the end of this post. We hope you find these methods useful. Thanks for reading, good luck!
Recommended :