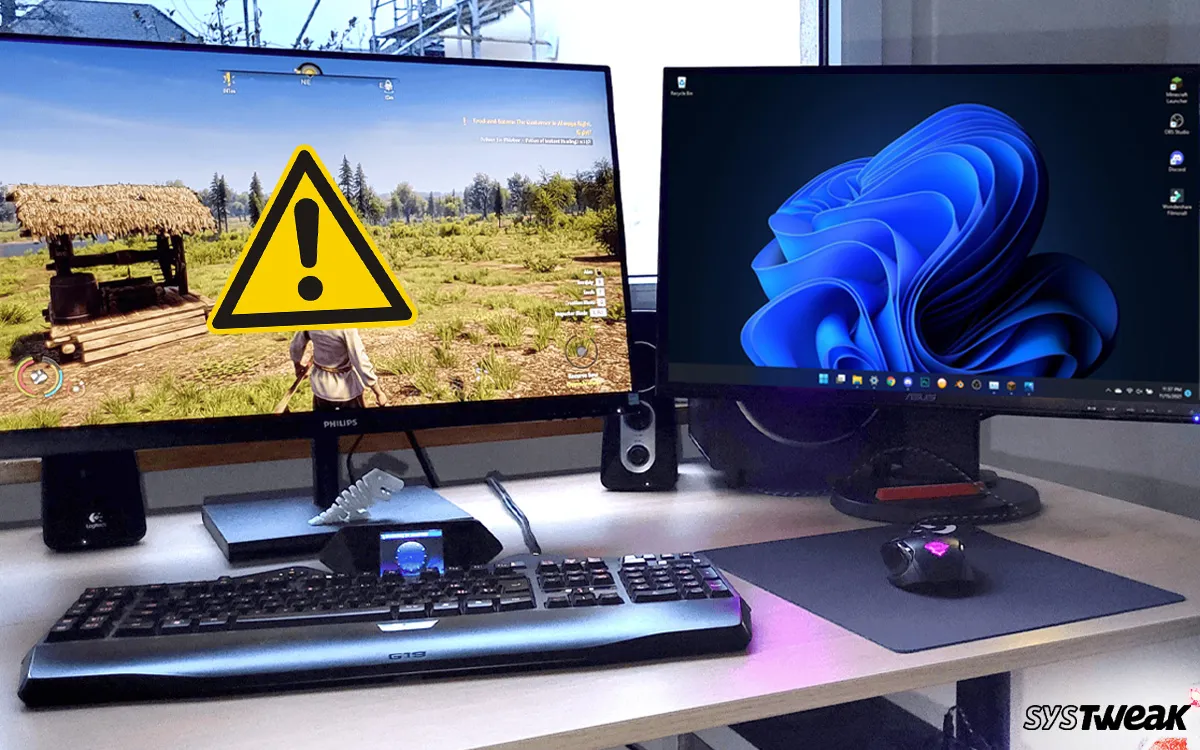
Millions of people love playing games on Windows PC. However, playing games is not always error-free. Windows users face game crashes, not launching, BSOD, freezing, and many other issues. There is one unique issue that troubles many games, and that is the “Game opening on the wrong monitor in Windows 11” issue.
This is possible when more than one monitor ae connected to your PC and you are not able to play the game on your desired screen. This guide will help to fix the “The game is opening on the wrong screen” issue with simple and swift steps.
Methods To Fix Game Opening On The Wrong Monitor
If a game keeps opening on the wrong monitor, it usually happens when Windows or the game itself doesn’t recognize your primary display correctly. Here are several ways to fix it:
Method 1 – Set the Correct Primary Monitor in Windows
- Right-click on the desktop > Display settings.
- Select the monitor you want the game to open on.
- Scroll down and check “Make this my main display.”
- Restart the game.
Method 2 – Use Windowed/Borderless Mode
Sometimes Windows remembers the last monitor used to play games.
- Launch the game.
- Change the Windowed or Borderless Windowed mode in Display settings.
- Drag the game window to the desired monitor.
- Switch back to Fullscreen if needed.
The game should now remember your preferred monitor.
Method 3 Use Windows + Shift + Arrow Key
Launch the game in Windowed mode and then press Windows + Shift + Left/Right Arrow to move it between monitors.
Method 4 – Change Graphics Driver Settings
For NVIDIA.
- Open NVIDIA Control Panel > Set up multiple displays.
- Ensure your main monitor is set as Primary.
For AMD Radeon.
- Open AMD Software: Adrenalin Edition > Display tab.
- Set the correct monitor as primary.
Method 5 – Override with Launch Options (Steam/Epic Games)
Some games let you force the display via launch options:
- In Steam -Right-click the game > Properties > Launch Options.
- Type the following command.
-windowed -noborder -monitor 1
Note – Replace 1 with your desired monitor number.
Method 6 – Update Windows
- Press Win + I to open the Windows Settings box.
- Click on the Windows Updates tab in the left panel.
- In the right section, click on the Check For Updates button.
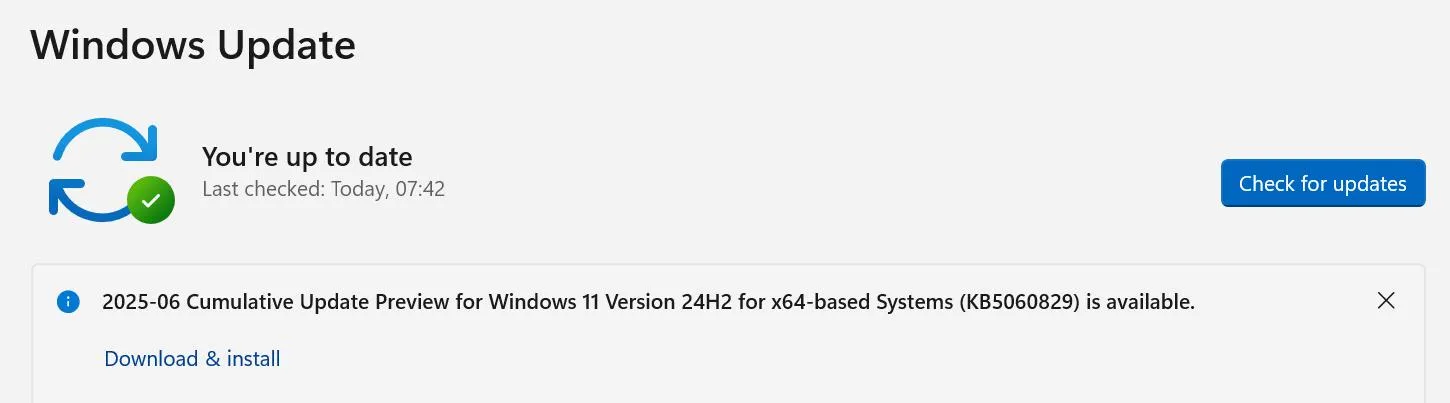
- Wait for Windows to connect to the Microsoft server and download/install updates for you.
- After the update process is complete, press the Check for Updates button a couple of times to check if any pending updates were not done in the first round.
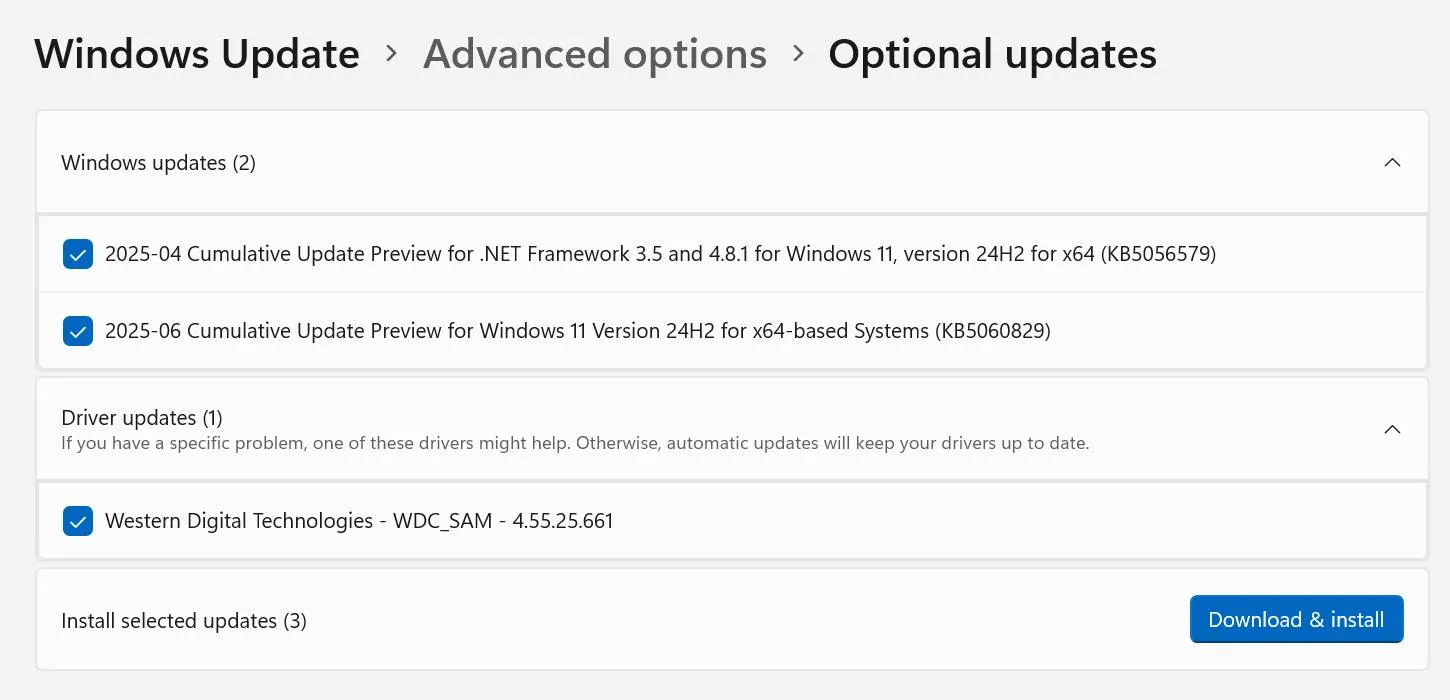
- Next, click on Advanced Options and then on Optional Updates.

- Select all the updates displayed here and click on the Download & Install button.
- Wait for all the updates to complete and reboot your PC.
Method 7 – Update Drivers
Drivers help establish the communication between hardware and software. In order for the hardware to receive commands from any software, it is necessary to keep your drivers updated at all times. Here are two different ways to do that.
Update Via Device Manager.
Device Manager is an inbuilt tool that helps users update drivers. Here are the steps to run this tool.
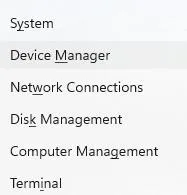
- Open the Device Manager by pressing Win + X and selecting Device Manager.
- Expand the sections that display the yellow exclamation mark.
- Right-click on these drivers one by one to view the context menu.
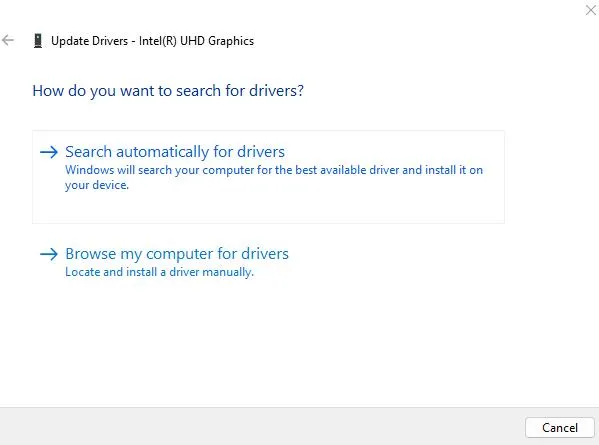
- Select Update Driver and choose Search automatically for updated driver software.
Use The Advanced Driver Updater
The second way to update drivers is to use the Advanced Driver Updater app, which can detect outdated, corrupted, and missing drivers on your PC and download/install the most compatible drivers with a few mouse clicks. Here is what you need to do.
- Download and install Advanced Driver Updater.

- Launch the app and click the Start Scan Now button.
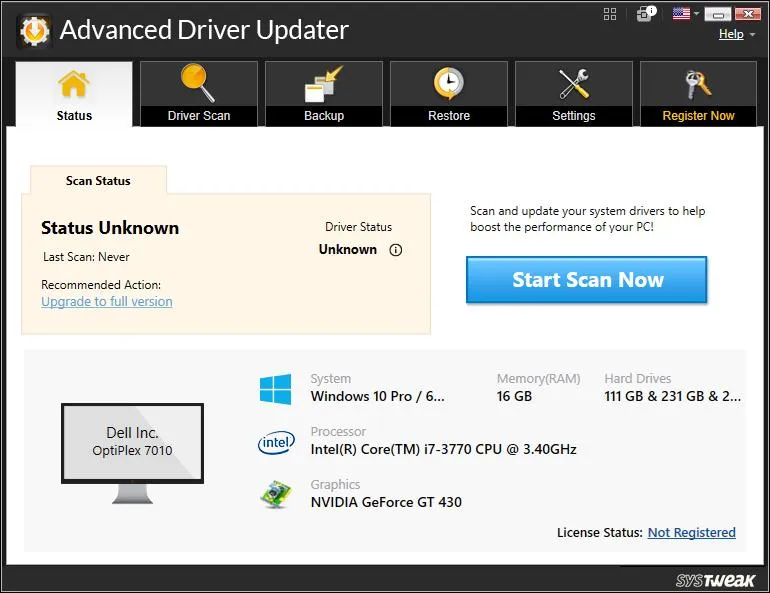
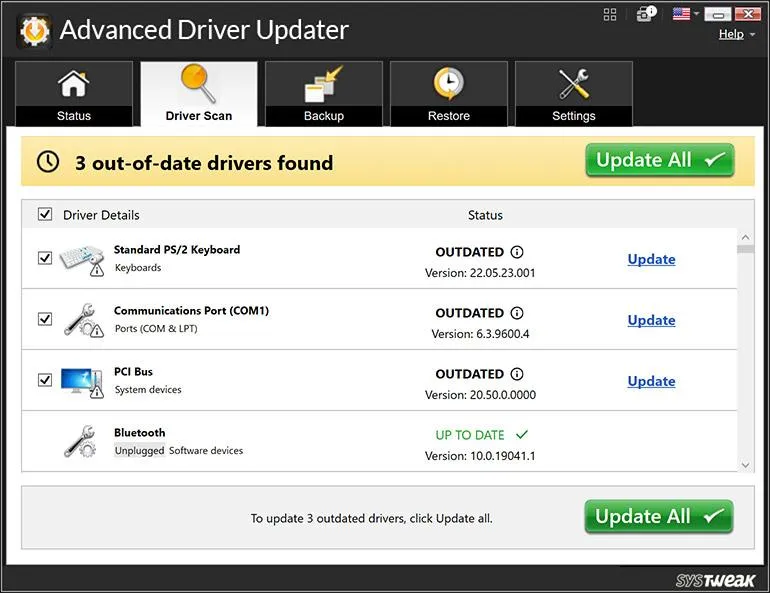
- A list of driver issues will appear on the screen.
- Locate the outdated drivers among the list and click on the update link next to them.
- Restart your computer once the update is completed.
Method 8 Switch Screens Using Win + P
- Press Win + P to launch the Project settings.
- Click on the “Second Screen Only” option.
- Check if the game has shifted on the required monitor.
- If not, then press Win + P and choose the “PC Screen Only” option.
- This will shift your game to the desired monitor.
Method 9 – Disable Other Monitors Temporarily
Some experts suggest that you must disable or unplug all other displays except the one on which you want to play the game. Launch the game and then reconnect all other monitors.
Method 10 – Force Game to Use a Specific Monitor
Many games have a Display/Graphics → Monitor/Display option in settings.
Switch to the desired monitor, then save & restart the game.
Method 11 – Edit Config Files
Some games save monitor settings in .ini or .cfg files.
Look inside:
- Documents\My Games\<GameName>
- AppData\Local\<GameName>
- Find entries like Monitor=1 or DisplayIndex=0 → change to correct monitor.
Method 12 – Steam Launch Options (Some Games)
- Right-click game in Steam → Properties → Launch Options.
- Add:
-adapter 1
(Replace 1 with your monitor ID: 0 = primary, 1 = secondary, etc.)
Method 13 – Disable Other Monitors Temporarily
- As a last resort, disable extra monitors before launching:
- Win + P → PC screen only.
- Launch the game → Exit → Re-enable monitors.
Have You Fixed “Game Opening On The Wrong Monitor In Windows 11”?
Do let us know in the comments section which troubleshooting method helped you the most to resolve the “The game is opening on the wrong monitor” issue.
Frequently Asked Questions
Recommended :