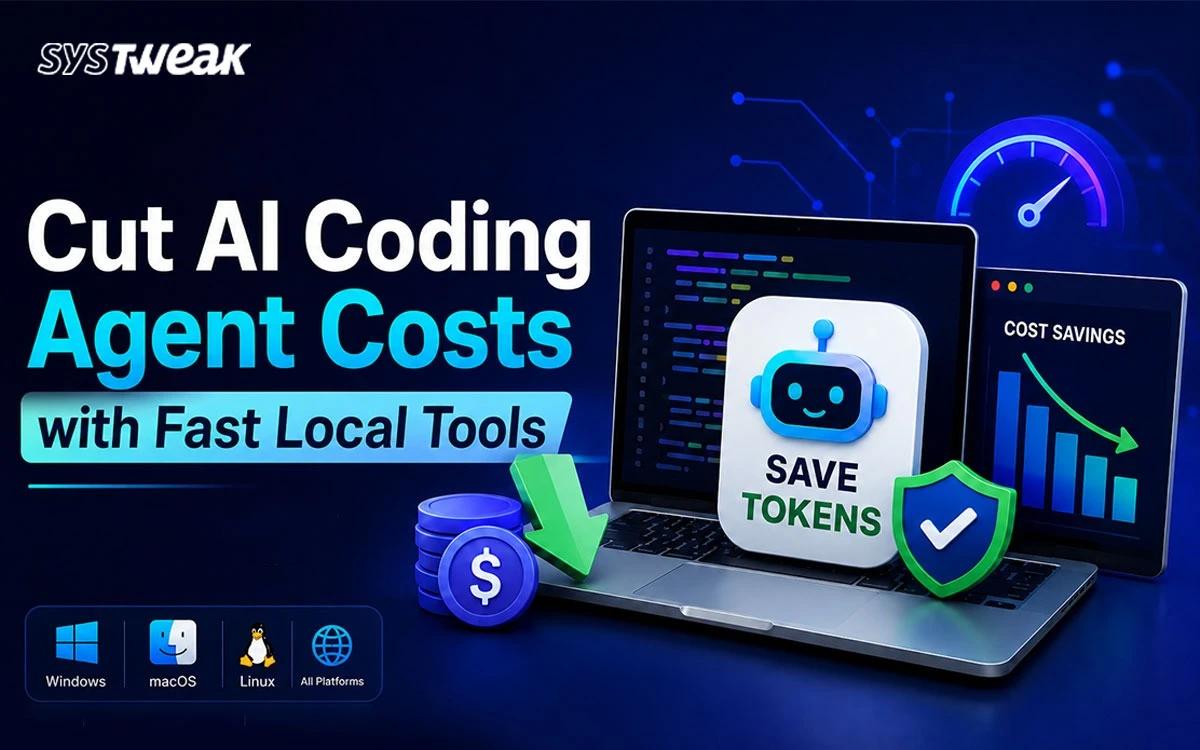
If you run AI coding or research agents, you have probably watched one waste time and tokens doing work the machine could do instantly – scrolling a giant file instead of searching it, writing a throwaway script to parse a CSV, or hunting for a build tool it does not have. The Agent Token Saver Toolkit removes those detours at the source.
In this guide
- What is the Agent Token Saver Toolkit?
- The hidden cost: how agents burn tokens
- What you get out of it
- What it is not
- The four parts (same idea on every OS)
- Which tool for which job
- Platform setup at a glance
- Teaching your agent with AGENTS.md
- Moving outputs to the cloud with rclone
- Frequently asked questions
What is the Agent Token Saver Toolkit?
The Agent Token Saver Toolkit is a paste-safe, cross-platform guide that equips AI coding agents with fast local command-line (CLI) tools, so they run commands instead of burning tokens on slow manual work. It is available for Windows 10/11, macOS, and Debian/Ubuntu Linux (including WSL).
It does two things. First, it sets up a fresh machine with one consistent set of fast local tools. Second, it gives your agent an AGENTS.md note that tells it those tools exist and when to use them. The result: the agent calls rg, jq, and duckdb directly rather than loading raw files into its context and reasoning over them line by line.
The hidden cost: how agents burn tokens
Every detour an agent takes costs money, slows the task, and adds another chance for the run to fail. The most common token sinks are:
- Reading instead of searching – pulling an entire file into context when a single
rg(ripgrep) query would surface the answer. - Reinventing utilities – writing a one-off Python script to parse a CSV that
duckdborxsvcould handle in one line. - Missing dependencies – stopping mid-task to hunt for a build tool, or asking you to install something.
- Re-fetching what it already had – downloading a dependency again because the toolchain was incomplete.
Each of these is avoidable. When the right tool is already installed and on PATH, the agent does the fast thing by default.
What you get out of it
Setting up the toolkit on your agent machines delivers four concrete wins:
- Lower token cost and faster runs, because the agent calls
rg,jq, andduckdbinstead of reading and reasoning over raw files. - Fewer failed steps, because build tools, runtimes, and converters are already installed and on
PATH. - Repeatable results across machines and teammates, because everyone starts from the same baseline.
- Less babysitting, because the agent stops reinventing utilities or pausing to ask you to install something.
You stay in control throughout: the setup is split into parts so you install only what a machine needs, every command block is plain ASCII you can read before pasting, and no model runtime is bundled.
What it is not
This is a reviewed reference you run section by section, not a script to execute blindly. Read each block before pasting, and skip parts a machine does not need.
Deliberately not installed: Ollama or any local model runtime. Your agent brings its own model; this baseline installs only the tools agents operate.
The four parts (same idea on every OS)
The setup follows the same structure on every operating system. Run Part 1 on every machine. Add the later parts only when that machine actually does that kind of work.
| Part | What it installs |
|---|---|
| Part 1 – Essentials | Package manager, the fast CLI tools every agent uses (rg, fd, jq, duckdb, bat, and more), Git, and Python/Node/uv. SVN only where a project needs it. |
| Part 2 – .NET | .NET 10 SDK and build tools. Windows also gets Visual Studio Build Tools and .NET Framework targeting packs. |
| Part 3 – Web / QA | Playwright, Lighthouse, HTML/CSS/Markdown linters, a browser, and optional read-only security scanners. |
| Part 4 – Optional extras | GUI apps, database clients, maintenance commands, and Windows-only Hyper-V, WSL, and Windows Sandbox. |
Which tool for which job
For developers, this cheat-sheet is the heart of the toolkit. It maps a common agent task to the right tool – and the part that installs it.
| Job | Reach for | Part |
|---|---|---|
| Search code / specs / logs | rg, fd |
1 |
| Pattern-aware code search/edit | sg (ast-grep) |
1 |
| Bulk text replace | sd |
1 |
| JSON / YAML | jq, yq, jc |
1 |
| CSV / Excel / big exports | duckdb, xsv, csvkit, vd, sqlite-utils |
1 |
| Markdown / docs | glow, bat, pandoc |
1 |
| PDF / image / media | poppler, exiftool, imagemagick, tesseract, ffmpeg |
1 |
| Move outputs to cloud | rclone, rsync |
1 |
| Map a big repo | graphify . |
1 |
| Task runner / file-watch | just, watchexec |
1 |
| .NET build / test | dotnet, MSBuild / VS Build Tools |
2 |
| Website checks | curl, Playwright, Lighthouse, htmlhint, stylelint |
3 |
| Safe security checks | nuclei, trivy, nmap (only on systems you control) |
3 |
Platform setup at a glance
Each platform section is self-contained and numbered, so you always know where you are. Pick your OS and run the parts you need from top to bottom.
Windows 10 / 11 – 17 numbered steps
The Windows path uses two package managers in two clearly labelled lanes: WinGet for machine-wide installs (run as Administrator) and Scoop for per-user CLI tools (run in a normal window – Scoop refuses to run elevated). Step 1 confirms elevation and WinGet before anything is installed:
# Open Windows Terminal as Administrator, then paste this whole block.
$admin = ([Security.Principal.WindowsPrincipal][Security.Principal.WindowsIdentity]::GetCurrent()).IsInRole([Security.Principal.WindowsBuiltInRole]::Administrator)
if (-not $admin) { Write-Host "NOT elevated. Reopen Windows Terminal as Administrator." -ForegroundColor Red } else { Write-Host "Elevated. Good to go." -ForegroundColor Green }

winget --version
winget source update
Set-ExecutionPolicy -ExecutionPolicy RemoteSigned -Scope CurrentUser -Force
From there, Steps 2-6 install the essentials (shell, editor, Git, runtimes, fast CLI tools, Python tooling) and verify them; Steps 7-10 cover .NET; Steps 11-13 cover web/QA and security tools; and Steps 14-17 add optional Windows features such as WSL, Hyper-V, and Windows Sandbox plus maintenance.
macOS – 11 numbered steps
Homebrew is installed first, before any other tool, with no sudo for Homebrew itself. One curated brew install brings in the full agent baseline:
# Apple command-line tools, then Homebrew.
xcode-select --install 2>/dev/null || true if ! command -v brew >/dev/null 2>&1;
then   /bin/bash -c "$(curl -fsSL  https://raw.githubusercontent.com/Homebrew/install/HEAD/install.sh)"
fi brew install \   git git-lfs gh ripgrep fd sd ast-grep jq yq xsv duckdb csvkit visidata
miller sqlite \   bat fzf glow just watchexec jc rclone python@3.13 uv node pnpm
The remaining steps add an isolated Python tool environment, rclone, .NET, web/QA tooling, and optional runtimes – modern cross-platform .NET only, since .NET Framework targeting packs are Windows-only.
Debian / Ubuntu (and WSL) – 8 numbered steps
Linux uses apt first, then the Microsoft repo for .NET 10 and PowerShell, then Linuxbrew for newer CLI tools that apt may ship too old (such as hyperfine and shfmt). It works identically on a native install or inside WSL Ubuntu.
Teaching your agent with AGENTS.md
Installing tools is only half the job. The agent also needs to know the tools exist. The toolkit includes a ready-made prompt that tells your agent to inspect what is actually installed and update the repository’s AGENTS.md accordingly – without claiming tools that are not present.
The generated rules teach the agent good habits, for example:
- Search: use
rg,fd, andsgwhen available before manual file inspection. - Data: use
jq,yq,duckdb,xsv,csvkit, orsqlite-utilsfor structured files. - Repo graph: use
graphify .on large code or doc trees (in PowerShell, callgraphify ., not/graphify .). - Security: use
nuclei,trivy, andnmaponly on systems you control or are explicitly asked to test.
A second maintenance prompt updates the installed tools later and refreshes AGENTS.md if the installed set changed – keeping the agent’s knowledge honest over time.
Moving outputs to the cloud with rclone
One shared tool deserves a special mention. rclone is the simplest way for an agent to read and write cloud storage without standing up an MCP server, an OAuth app, or a vendor SDK. One command moves files directly – it speaks Google Drive, S3, OneDrive, Dropbox, SFTP, and more behind one uniform interface:
rclone listremotes                                 # confirm 'gdrive:' exists
rclone copy "PATH/TO/out" gdrive:project/out -P     # upload, with progress
rclone sync "PATH/TO/out" gdrive:project/out --dry-run   # preview a mirror
rclone sync "PATH/TO/out" gdrive:project/out        # mirror for real
Use copy when you only add files; use sync (after a --dry-run) when the remote should exactly match local. The remote name is identical on every OS, which keeps agent prompts short and deterministic.
Frequently asked questions
What is the Agent Token Saver Toolkit?
It is a paste-safe, cross-platform guide that installs a consistent set of fast local CLI tools on Windows, macOS, and Debian/Ubuntu Linux. With these tools available, an AI coding agent runs commands like rg, jq, and duckdb instead of reading and reasoning over raw files – lowering token cost and speeding up runs.
How does it actually save tokens?
Agents waste tokens scrolling huge files, writing throwaway parsing scripts, or re-fetching dependencies. When fast local tools are installed and on PATH, the agent runs a single command to search, parse, or convert – instead of loading large amounts of content into the model context. Fewer tokens are spent and fewer steps fail.
Does it install a local AI model like Ollama?
No. The toolkit deliberately does not bundle Ollama or any model runtime. Your agent brings its own model; this baseline installs only the tools that agents operate.
Which operating systems are supported?
Windows 10/11, macOS (Apple Silicon and Intel), and Debian/Ubuntu Linux, including inside WSL. Each platform section is self-contained and split into parts, so you install only what a given machine needs.
Is it safe to run?
It is a reviewed reference, not a blind script. Every command block is plain ASCII you can read before pasting, the steps are labelled by elevation and purpose, and you skip any part a machine does not need.
Get the full toolkit on GitHub
Every command block, all three platform walkthroughs, the AGENTS.md prompts, and the rclone guide are open-source and ready to copy. Star the repo and set up your first agent machine today.

