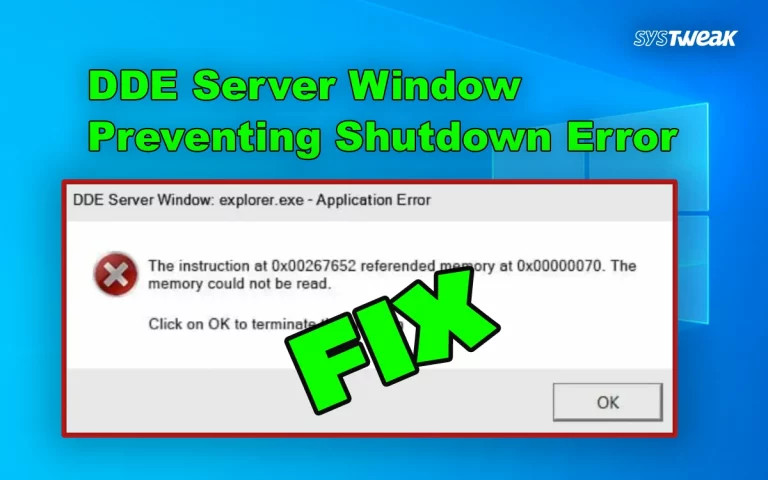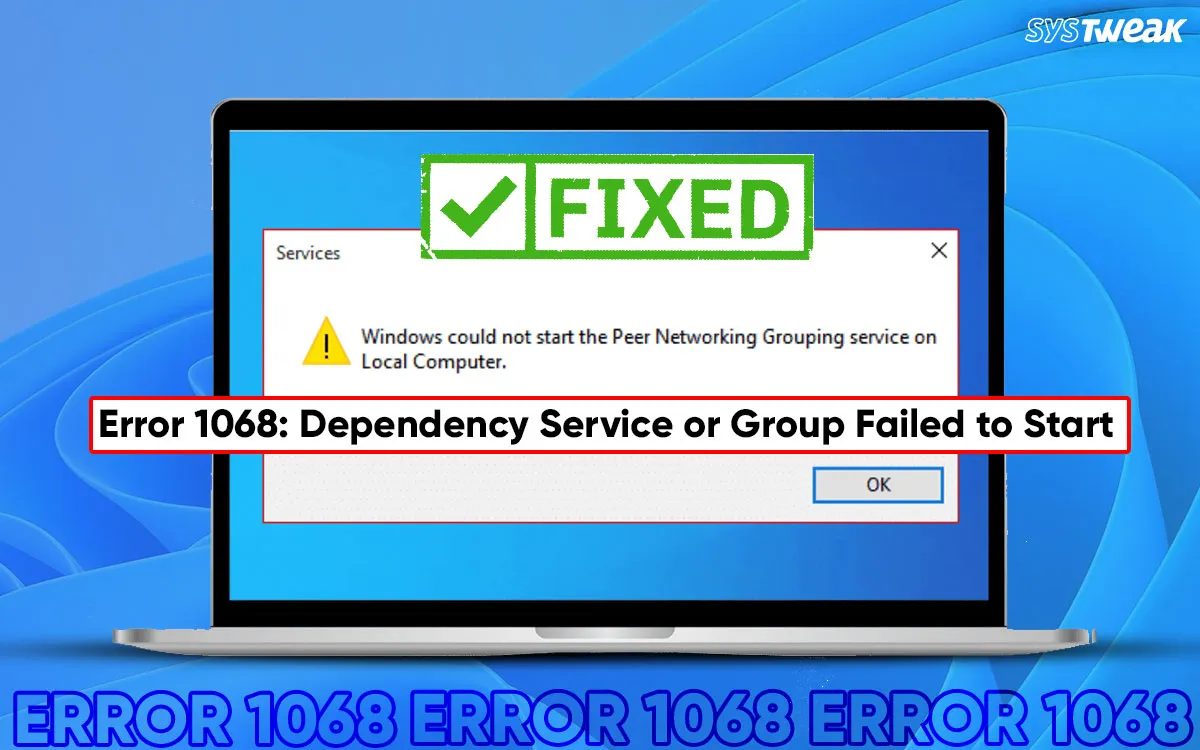
Windows OS is the most commonly used operating system in the world. But this does not mean it does not contain errors. There are many major and minor issues that are faced by Windows users across the globe. One such error is Error 1068: The dependency service failed to start Windows 10/11. This guide is all about the method to fix error 1068 Windows 10/11 with quick and simple methods.
Best Solutions To Fix Error 1068 On Windows 11/10
Method 1 – Enable Related Dependency Services
The error 1068 on Windows 10/11 is accompanied by a complete error message, which states “Error 1068: The dependency service failed to start Windows 10/11”. Hence, the first method we will carry out is to ensure that all the related dependency services are enabled.
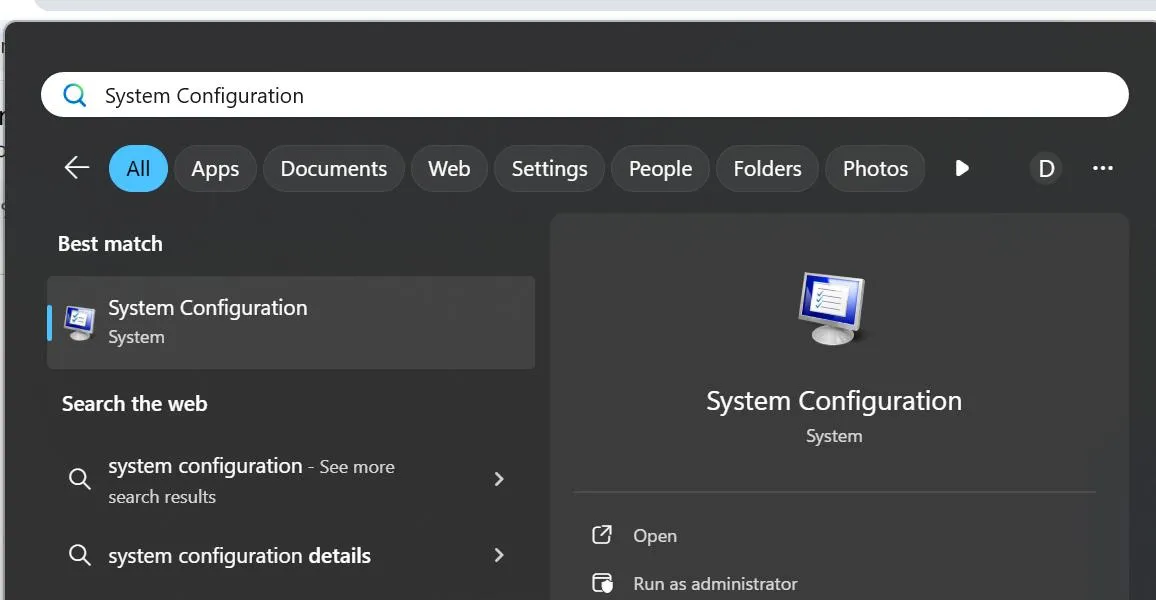
- Press Win + S to open the Search box and type “system configuration”.
- Look for the app named “System Configuration” in the search results and click on it.
- Now, click on the Services tab and place a check mark before all the services listed below.
Application Layer Gateway Service
Network Connections
Network Location Awareness (NLA)
Plug and Play
Remote Access Auto Connection Manager
Remote Access Connection Manager
Remote Procedure Call (RPC)
Telephony
Services
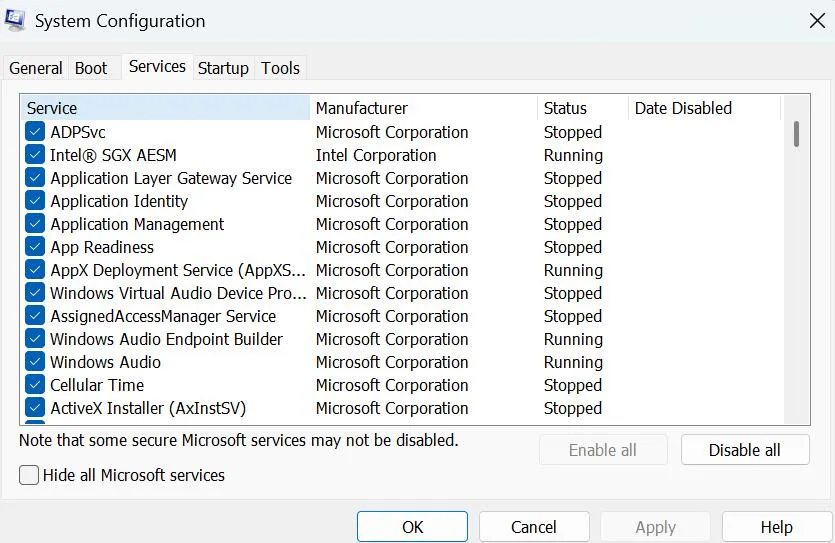
- Click on the Apply button followed by OK.
- Reboot your PC.
Method 2 – Reset Winsock (Network-related Errors)
If you receive the Error 1068 Windows 11/10 while connecting to the internet or any other Wi-Fi-related issues, then follow these steps.
- Press Win + R to launch the RUN box and type “CMD”.
- Next, press Ctrl+Shift+Enter to open the Command Prompt in Admin Mode.
- Type the following commands one by one, followed by the Enter key.
netsh winsock reset
netsh int ip reset
- Restart your PC.
Method 3 – Run System File Checker & DISM
Some experts have stated that Error 1068: The dependency service failed to start Windows 10/11 can arise due to corrupted system files. Here are the steps to fix them.
- Press Win + S to open the Search bar.
- Type cmd or Command Prompt.
- Right-click on Command Prompt in the search results and select Run as administrator.
- If prompted by the User Account Control (UAC), click Yes.
- In the Command Prompt window, type the following command:
sfc /scannow
- Press Enter to execute the command.
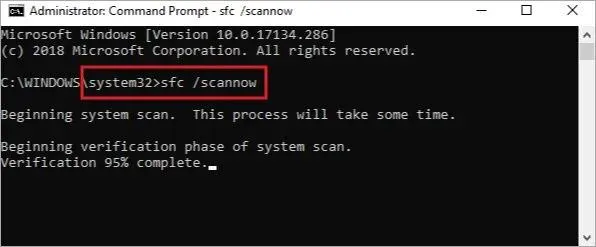
- The System File Checker will start scanning your system for corrupted or missing files.
- Wait for the scan to finish. The tool will attempt to automatically fix any issues it finds.
- Reboot your PC to ensure that the changes made take effect.
After the SFC scan completes, run DISM to repair any issues with the system image:
- Open Command Prompt as Administrator
- If prompted by the User Account Control (UAC), click Yes.
- In the Command Prompt window, type the following command.
DISM /Online /Cleanup-Image /RestoreHealth
- Press Enter to execute the command.
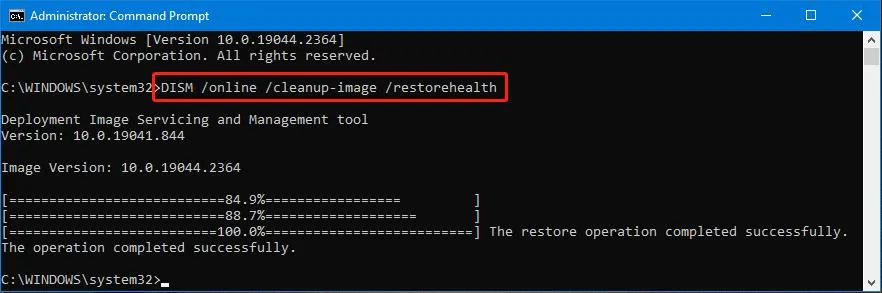
- You will see progress information on the screen as DISM works to repair the system image.
- Restart your computer to apply any changes.
Method 4 – Check Event Viewer Logs
You can also check the Event Viewer Logs and identify the problem that is causing Error 1068 Windows 10/11. Here is what you need to do.
- Press W + X to open the Power Menu and click on Event Viewer.
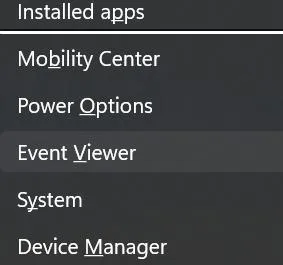
- In the right section, go to Windows Logs.
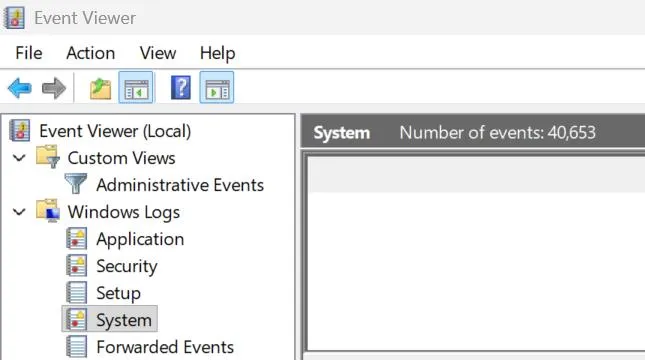
- Click on System in the right panel.
- Check what failed just before Error 1068 popped up.
Method 5 – Update Windows
The Windows updates are provided by Microsoft to all its OS users. These updates contain bug fixes, security patches, new features, etc, that may resolve your problem. Here is what you need to do.
- Press Win + X to open the Windows Power Menu and choose Settings.
- Click on the Windows Update Tab in the left panel.
- Next, click on the “Check For Updates” button on the right side.
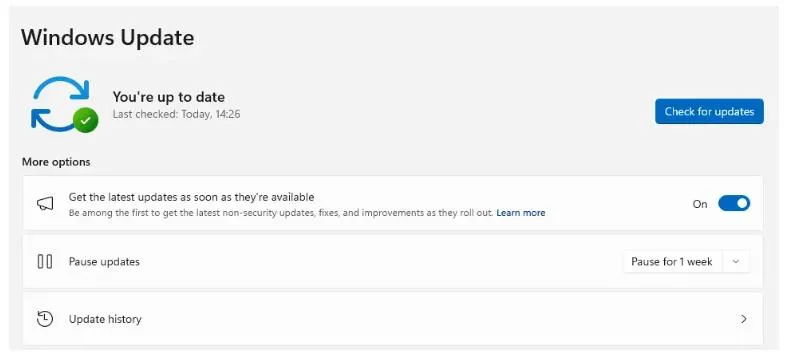
- Windows will automatically check for updates, download, and install them on your PC.
- Next, click on Advanced Options.
- On the new page, click on Optional Updates under Advanced Options.
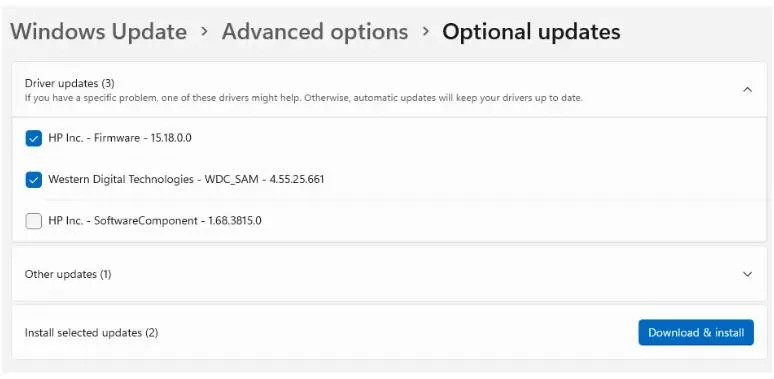
- Finally, click Driver Updates and check the box before the drivers you wish to update.
- Click on the Download & Install button and wait for the update process to complete.
- Restart the computer.
Method 6 – Update Drivers
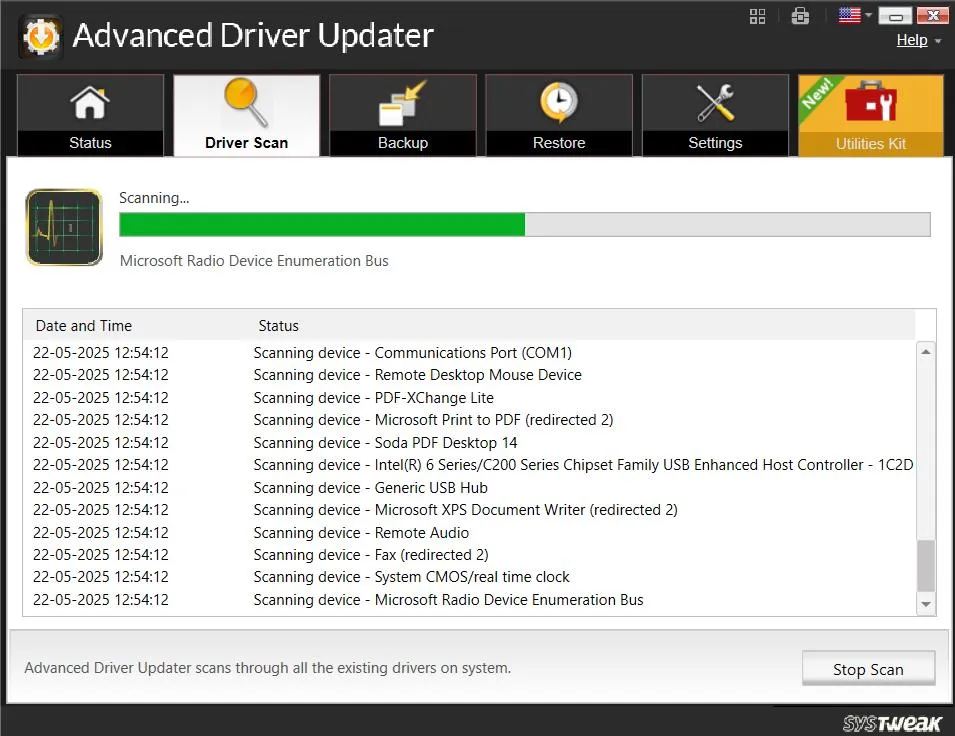
Some experts have recommended that an outdated driver may cause the error 1068 issue. Here is a quick way to update all your PC’s drivers without any hassle.
- Download and install Advanced Driver Updater using the button down below.

- Launch the app and click the Start Scan Now button.
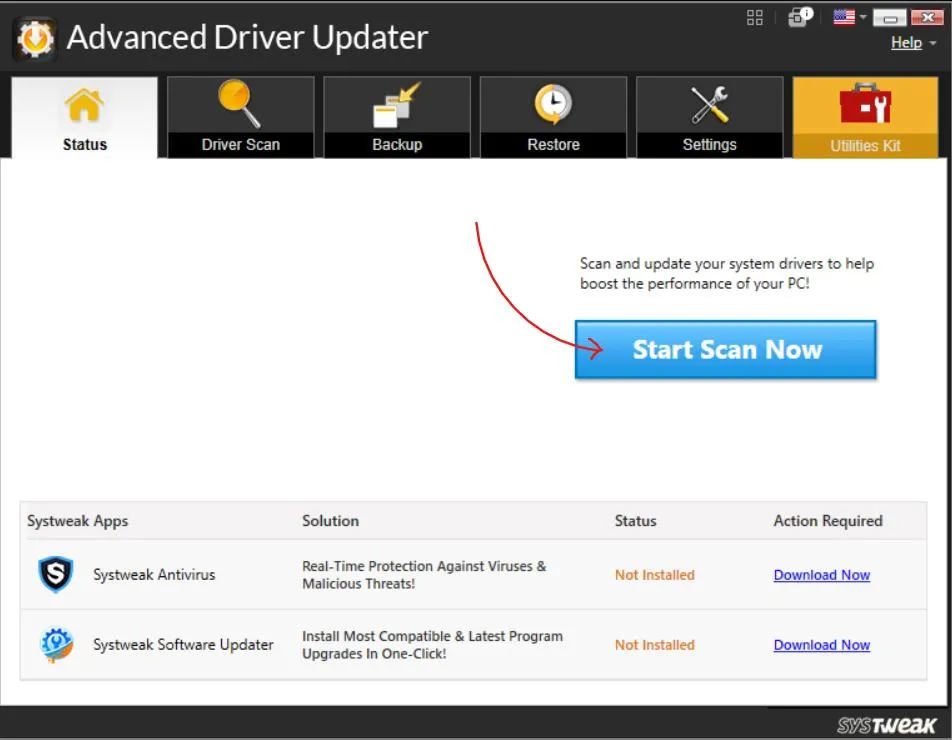
- Wait for some time to get the list of outdated drivers.
- Locate the drivers that require updates and click the Update button next to it.
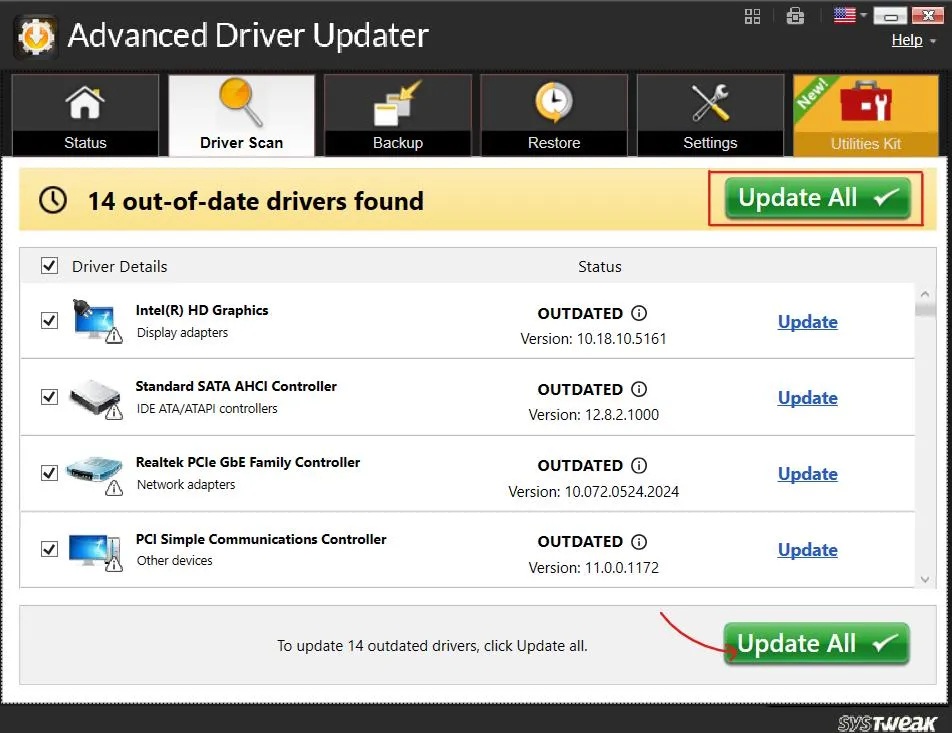
- Once the driver update process is complete, reboot your PC.
Method 7 – Modify Windows Registry.
The Windows Registry contains all the information about settings that are currently applicable on the Windows OS. A simple change in settings can resolve many errors, provided you know what changes to make. Here are the steps.
- Press Win + R to launch the RUN box.
- Type Regedit in the box and click OK to open Registry Editor.
- Copy and paste the following path in the address bar of the Registry Editor, followed by Enter.
HKEY_LOCAL_MACHINE > SYSTEM > CurrentControlSet > Services > Dhcp
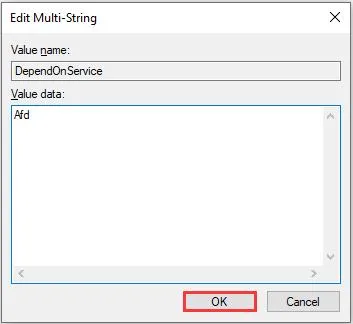
- Double-click DependOnService located in the right pane.
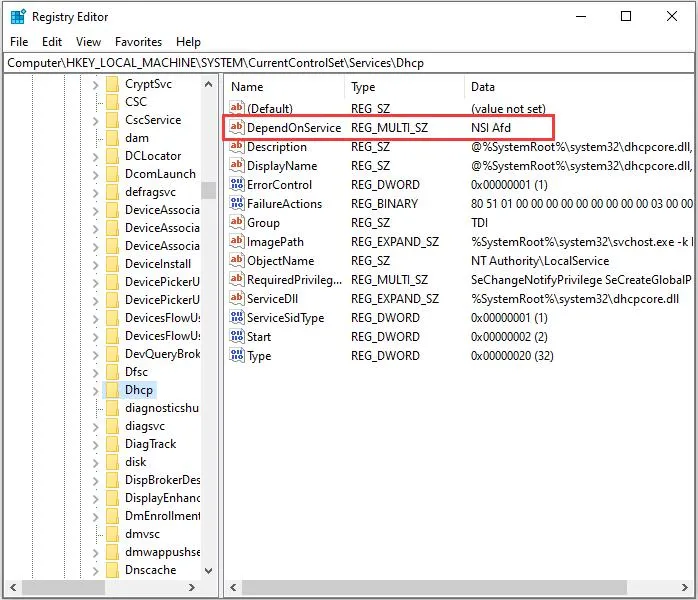
- In the Value data text area, delete all the words except “Afd”, and then click OK.
- Go to HKEY_LOCAL_MACHINE > SYSTEM > CurrentControlSet > Services > Eaphost.
- Double-click DependOnServices and delete everything in the Value data. Then click OK to confirm changes.
- Reboot your PC and check if the issue persists.
Method 8 -A clean boot starts of Windows
Windows with minimal drivers and startup programs, which can help determine if background programs are causing the error
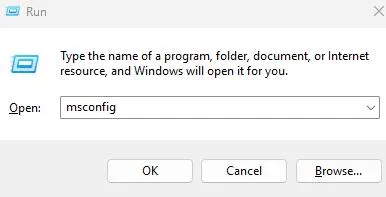
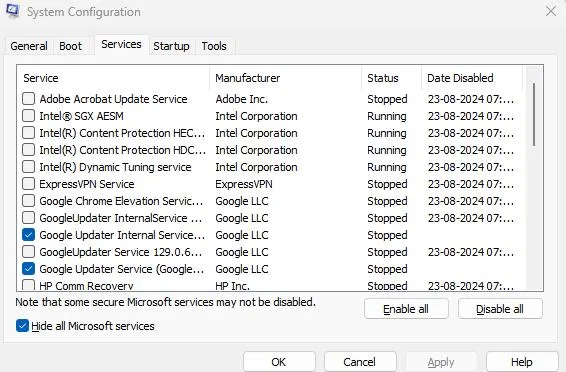
- Press Win + R, type msconfig, and press Enter.
- In the System Configuration window, go to the Services tab.
- Check Hide all Microsoft services and click Disable all.
- Go to the Startup tab and click Open Task Manager. Disable all startup items.
- Close Task Manager and click OK in the System Configuration window.
- Restart your computer and check if the error persists.
Method 9 – Perform A System Restore.
If you cannot get rid of the “Error 1068: The dependency service failed to start Windows 10
” on your Windows PC, then we suggest you restore your PC to a point in time when you did not receive the error. Here are the steps:
- Press the Windows key and type “System Restore”.
- Click on “Create A Restore Point” from the search results.
- In the new box that opens, click on the System Restore Button.
- Click on Next and choose the date you wish to restore your system.
- Click on Next and then finally click on the Finish button.
- Wait for the process to complete, and your PC will be restored to the point where this error did not occur.
Conclusion On Error 1068: The Dependency Service Failed to Start Windows 10
We hope that the above steps have helped you fix the error 1068 Windows 10/11. You can follow each method and check if the issue has been resolved. This will help you ignore the remaining methods in case your issue is resolved. We have a comments section below for your queries and suggestions. Do write to us explaining which method fixed your issue.
Recommended :