Looking for workable solutions to update Lenovo t460, t470, t480, and t490 drivers? You’ve come to the correct location, so don’t worry. This article describes how to update Lenovo t460, t470, t480, and t490 drivers. It doesn’t matter if you’re a novice or a seasoned pro; the tactics outlined here will work for everyone.
Advanced Driver Updater is a reliable and trusted solution to update the Lenovo driver without putting your machine in danger. Developed by Systweak Software, the driver updater instantly identifies the PC for outdated drivers and displays the most appropriate driver updates. All of the driver updates are provided by the manufacturer and the tool is safe to use. This driver updater’s finest feature is that it backs up old drivers before upgrading them.
Click the download button to obtain the utility right now.

Also Read:– How To Update Lenovo Yoga Drivers L380, L390, L13 Drivers
You’ll find both manual and automated methods for updating Lenovo t460, t470, t480, and t490 drivers in the sections below.
Best Methods To Update Lenovo t460, t470, t480, t490, Drivers
Method 1: Visit Manufacturer’s Website to Update Lenovo Drivers
1. Visit the official Lenovo website.
2. Go to Service & Support > Driver Download & Software Update
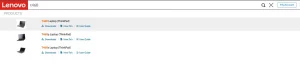
 3. Enter Lenovo t460 or the series number to update the driver.
 4. Select the category to update the driver. Click Downloads > Manual Update.
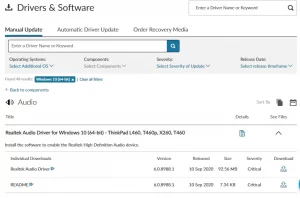
5. Click the Download symbol under See Files.
6. Allow time for the setup file to download > then double click on it to install the driver.
7. To implement the modifications and update the driver for the specified model number, restart the computer.
Repeat the same process for the remaining drivers t470, t480, and t490
Check This- How To Download & Update Lenovo G50 Drivers for Windows 11, 10
Method 2:- Update Drivers Automatically – Advanced Driver Updater
Use Advanced Driver Updater to repair the problem and update drivers. The program will automatically recognize your PC and will display the most recent and reliable driver updates. There are two versions of the product: a free version and a paid version.
The free version allows updating one driver at a time, while the registered version allows updating all obsolete drivers in a few clicks.
A 60-day money-back guarantee is included with Advanced Driver Updater.
Follow these steps to utilize Advanced Driver Updater:
1. Get the Advanced Driver Updater and install it.
2. Run the best driver updater to update any outdated drivers.
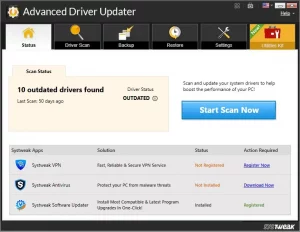
3. To check the Windows PC for outdated drivers, click Start Scan Now.
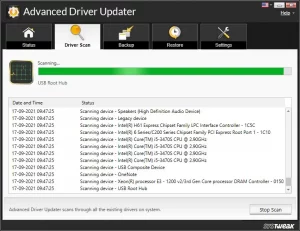
Scan of ADU
4. Run the driver update program to check your computer for outdated drivers.
5. Go over the scan findings and make sure your drivers are up to date. Click Update Driver next to the driver (FREE user). If you’re a registered user, click Update All.
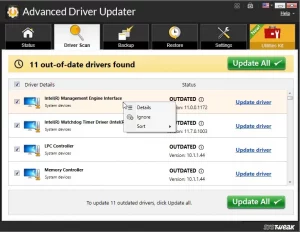
All drivers should be updated. After you’ve updated all of your drivers, restart your computer to see the changes take effect.
See More: How To Download & Update Lenovo T420 Drivers for Windows 11, 10
Final Thoughts:
Keeping drivers up to date helps deal with performance and device connection difficulties. You have the option of doing it manually or automatically. If you are short on time, adopting an automated method, such as Advanced Driver Updater, is the best option. With the aid of this program, you can detect outdated drivers and can update them with a few mouse clicks.
Read More – How To Update Lenovo Yoga X1, X380, X390, X13, Drivers
Try using any of these methods to update your Lenovo drivers for Windows PC and let us know which one worked for you. For any queries, you can always contact us at support@systweak.com.


