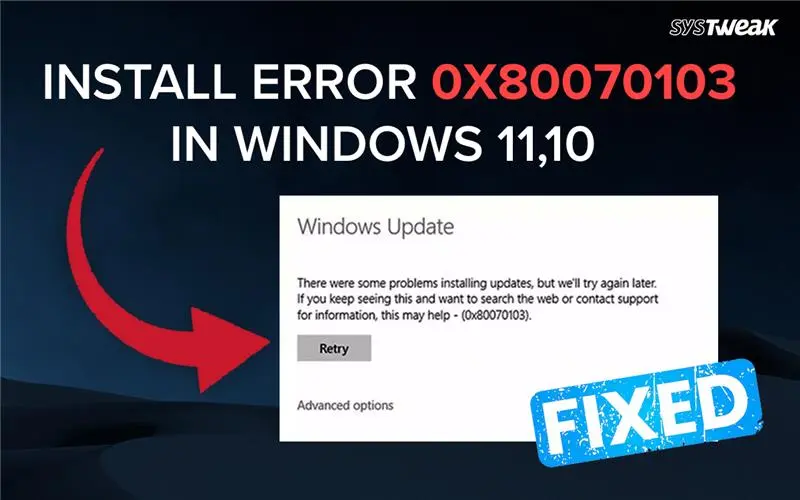
Some Windows users have complained about receiving the install error 0x80070103 in Windows 11 when trying to update Windows. As you know, Windows Updates consist of many components, like new features, driver updates, bug fixes, security patches, etc.
The Windows Update Error 0x80070103 occurs when Windows encounters a driver update and tries to install a driver that is already installed, incompatible, or older than the one currently on your PC. However, this may not always be the case, and there are a few troubleshooting steps that you can follow to fix this issue.
Why Does The Windows Update Install Error 0x80070103 Occur in Windows 11/10?
This error occurs mainly due to driver update issues. Here is a list of reasons for this error.
- If the Windows update contains incompatible drivers, then the error 0x80070103 may occur.
- The latest version of the driver has been updated by a third-party software or downloaded from the OEM website.
- Sometimes, driver conflicts may occur when the new driver update is not able to replace the older driver version already installed on your system.
- Corrupted system files may not carry out the Windows update properly.
- Incomplete updates may have been caused by interruption of the internet.
How To Fix the Install Error 0x80070103 in Windows 11/10?
Method 1: Pause & Resume The Update
The first step is to toggle the Pause Updates by enabling and disabling it. This will refresh the update data and refresh to a new beginning when the Check For Updates button is pressed the next time.
1. Press Win + I to launch Settings.
2. Click on the Windows Update tab in the left panel.
3. Next, click on the Pause Update section and choose Pause for 1 Week from the dropdown.
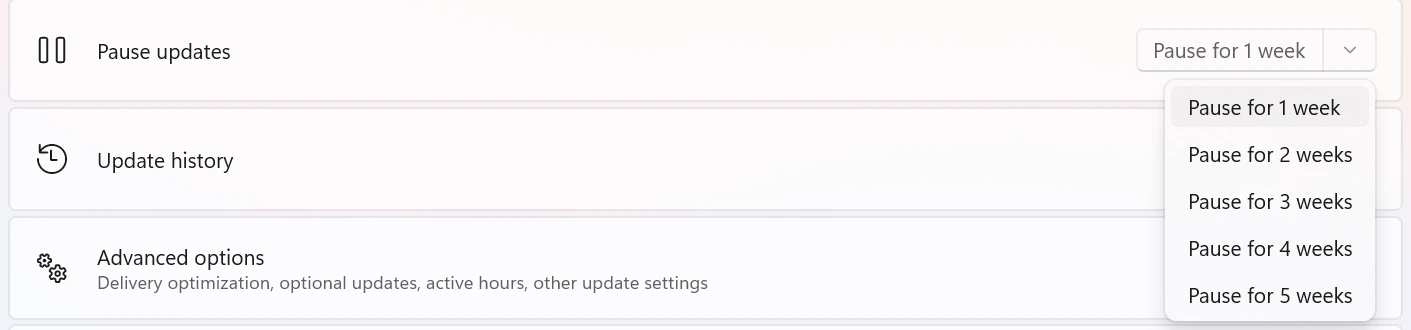
4. Wait for 30 seconds and click on the Resume Updates button in the top right corner.

5. The Check for Updates process will start functioning.
| If the issue keeps returning, block Windows from automatically installing drivers:
1.Press Win + R → gpedit.msc |
Method 2: Run Windows Update Troubleshooter
If pausing the updates does not work, then you can try to use the Windows Update Troubleshooter – a utility that is built into the Windows OS.
1. Press Win + X and choose Settings from the Power Menu.

2. Click on System on the left side and Troubleshoot on the right side.

3. Now, click on Other Troubleshooters

4. And finally, click on the RUN button next to Windows Update under Most Frequent.

5. Follow the steps onscreen to fix this issue.
Method 3: Reset Windows Update Components
The Windows Update Components are the core parts of the Windows operating system responsible for downloading, installing, and managing system updates. It is advised by experts to reset these components if you are facing any issues while updating Windows.
1. Press Win + R to open the RUN box.
2. Type CMD and press Ctrl + Shift + Enter to open the command prompt in admin mode.

3. Now, copy and paste the following commands, one by one, each followed by the Enter key.
net stop wuauserv
net stop cryptSvc
net stop bits
net stop msiserver
ren C:\Windows\SoftwareDistribution SoftwareDistribution.old
ren C:\Windows\System32\catroot2 Catroot2.old
net start wuauserv
net start cryptSvc
net start bits
net start msiserver
4. Restart the PC and try to update Windows.
Method 4: Clear The Windows Update Cache
Cache are temporary files that help with the process of Windows updates. However, old cache can lead to conflicts, and it is recommended by experts to delete the cache. Here are the steps to clear Windows cache and fix Windows Update Error 0x80070103.
1. Press Win + R to launch the RUN box.
2. Type “Services.msc” in the box and click on the OK button.
3. The Windows Services box will open, which has an alphabetically arranged list of all the services on the Windows PC.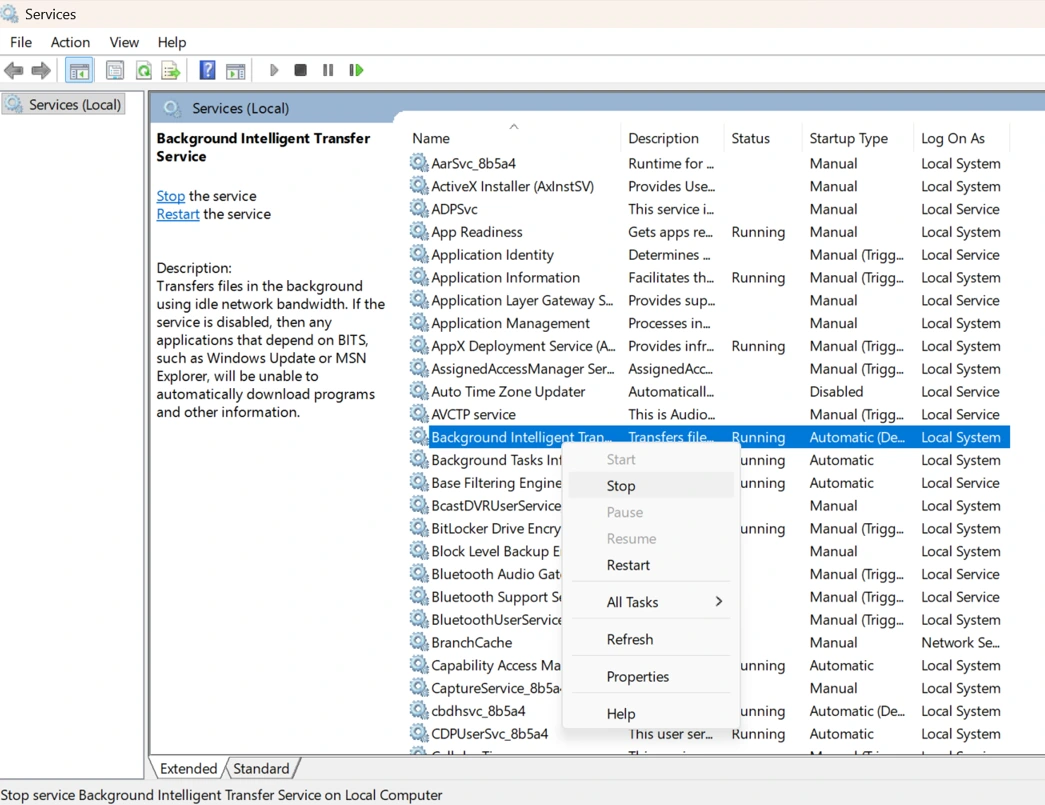
4. Look for two services – Background Intelligent Transfer Service (BITS) & Windows Update.
5. Right-click on these services and click the Stop option from the context menu.
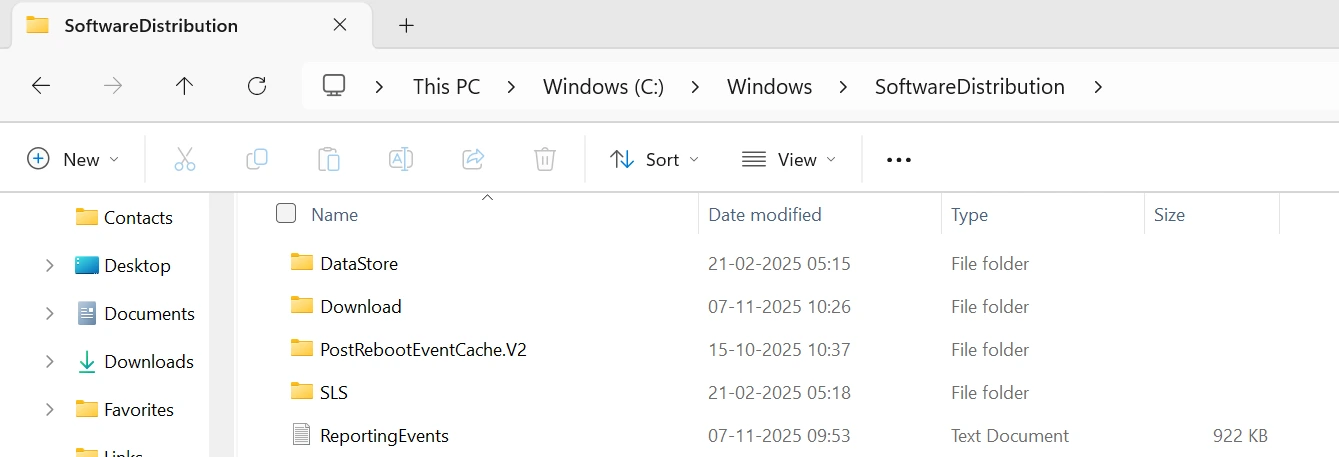
6. Press Win + E to open the File Explorer window and copy/paste the following navigational path in the address bar.
C:\Windows\SoftwareDistribution
7. Press Ctrl + A to select all the files in this folder and delete them.
8. Go back to the Services window and right-click on the services and choose Start.
9. Exit the Services box and update your Windows PC.
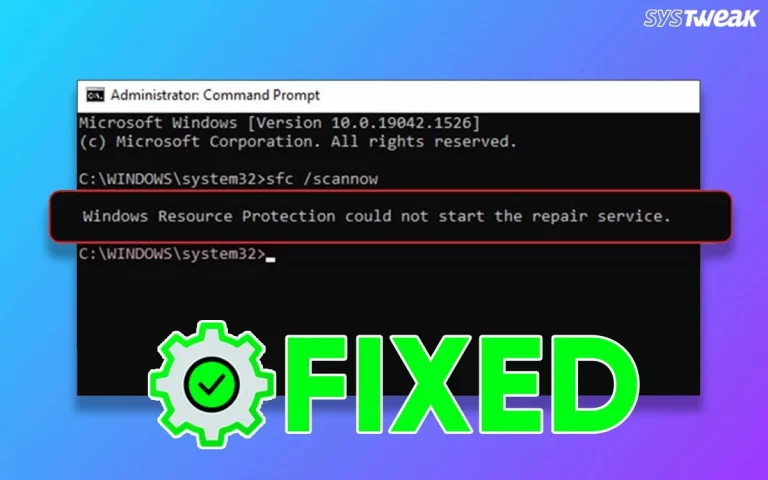
Method 5: Run System File Checker (SFC) And DISM
If the above Windows update troubleshooting does not help, then there could be a problem with the system files. Fortunately, Windows OD has two utilities to check and repair the system files. Here is what you need to do.
1. Press the Windows button on your keyboard and type “CMD”.

2. The Command Prompt tool will be highlighted under Best Match. Click on the Run As Administrator option.
3. Copy and paste the following command, followed by the Enter key.
sfc /scannow
4. After the execution is complete, copy and paste the next command.
DISM /Online /Cleanup-Image /RestoreHealth
5. Press the Enter key to execute this command.
6. Restart the PC after both commands have been successfully completed.
Method 6: Manually Install The Update
Some experts have recommended to manually install the update if you can identify the update that is causing the issue. Here is what you need to do.
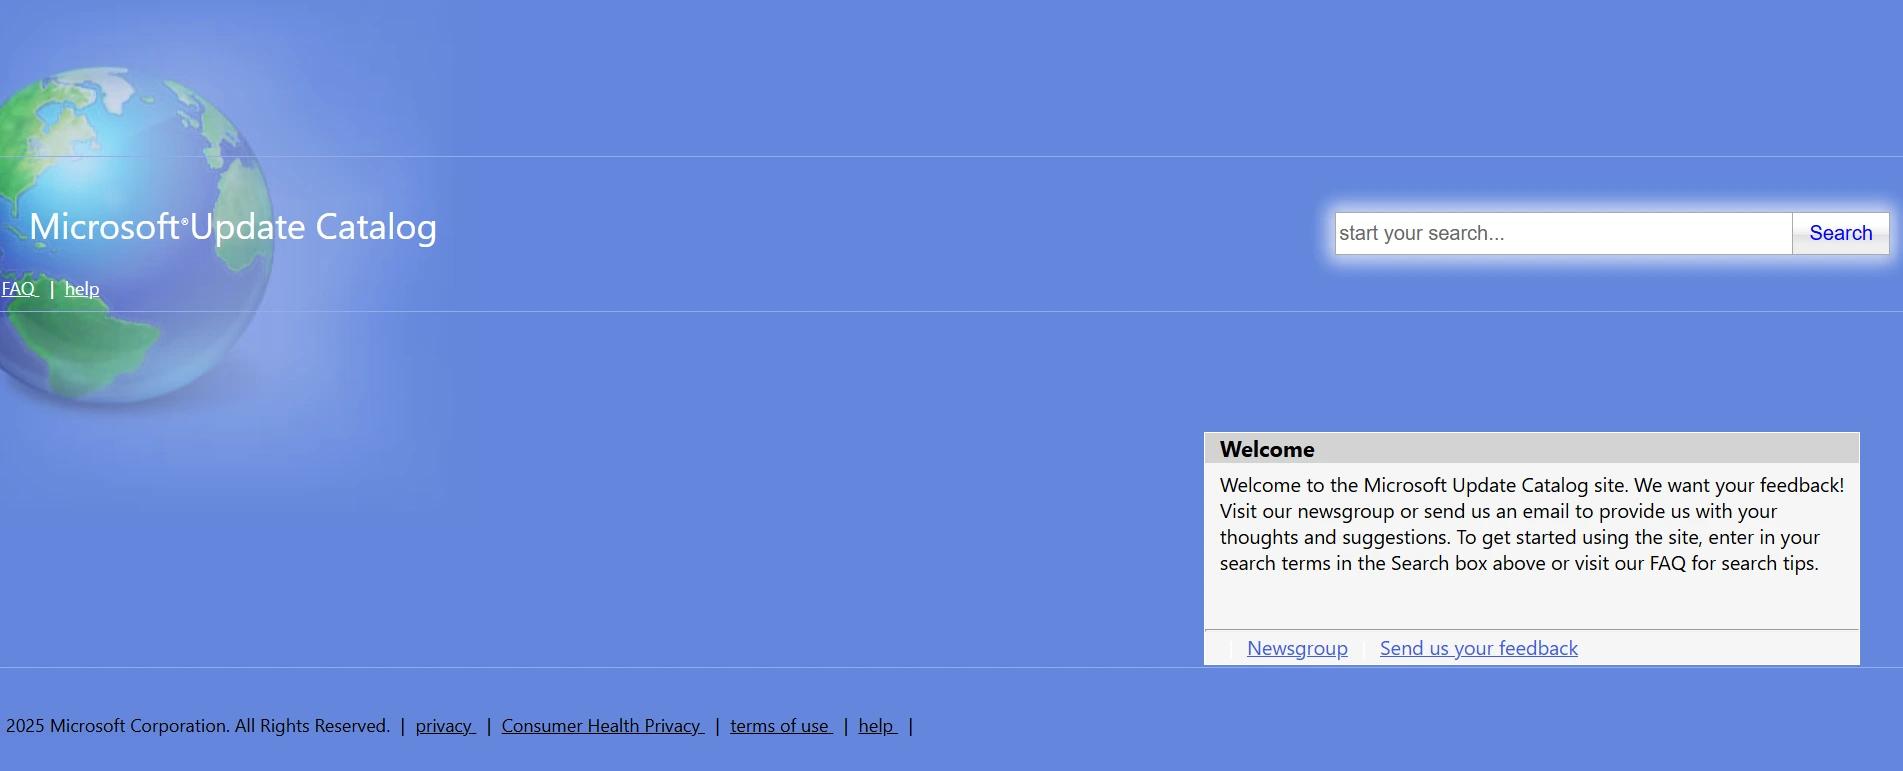
1. Go to Microsoft Update Catalog.
2. Search for the specific KB update number that failed.
3. Download and install it manually.
Method 7: Update The Driver From Other Sources
The last step is to update the driver that is causing the Windows Update Error 0x80070103. If you update the driver to its latest version, then Windows Update might recognize it and skip re-updating it from the Microsoft Server. There are two ways to update the driver – the Manual approach and the Automatic approach.
a.) Manual Approach Using OEM Website
The hardware manufacturers maintain a website to provide resources to their users. This website includes a lot of resources like user manuals, drivers, apps, etc. You can update drivers by navigating to these websites, searching for drivers related to your hardware, and downloading/installing them. If it seems too technical to you, then we recommend you try the next method.
b.) Automatic Approach Using Advanced Driver Updater
Advanced Driver Updater is a third-party software that automatically detects your hardware and drivers installed on your PC. It then looks for newer updated versions of your drivers and installs them for you. The entire process can be completed with a few mouse clicks. Here are the steps to update your drivers with ease.
1. Download & Install Advanced Driver Updater on your PC.

2. Open the app and click on the Start Scan Now button.

3. Wait for the scan to complete, and click on the Update button next to the GPU driver.

5. Follow the onscreen instructions and reboot your PC.
Method 8: Use the Windows Update Assistant
If you suspect a partially failed update:
1. Visit Microsoft’s Windows 11 Download page (or Windows 10 equivalent)
2. Click Windows 11 Installation Assistant
3. Run it and follow the prompts to update Windows without driver conflicts
Summary: Have You Fixed The Error?
The above methods have been tried and tested by our team of experts and will definitely help to fix the Windows Update Install Error 0x80070103 in Windows 11/10. You need to try each method successfully and then check if the issue persists. When the issue has been resolved, you can update your Windows and ignore the remaining methods. Remember to press CTRL + D while reading this page to bookmark it for future reference.
We would love to hear about your experience while troubleshooting this issue, especially which method fixed the error for you, in the comments section below.
Recommended : How To Fix “Please Wait While Windows Install A System Update” Error