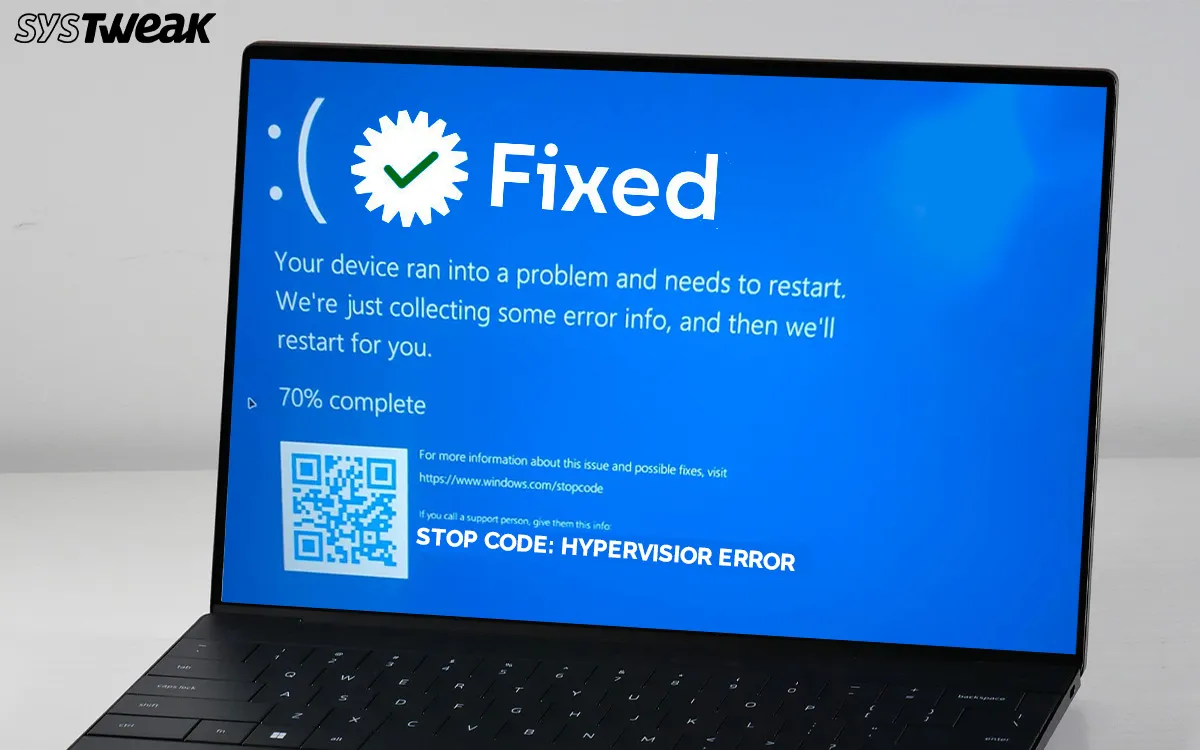
Are you facing the Hypervisor Error BSOD on Windows 11/10? You are not alone! There have been many reports across the globe where Windows users are facing a Blue Screen error with the Stop code Hypervisor Error on startup. This is an issue with the virtualization that can be fixed with the help of the troubleshooting methods listed in this guide.
What is the Hypervisor Error?
The Hypervisor Error is a Blue Screen of Death (BSOD) on Windows 10/11 that shows up with the stop code – HYPERVISOR_ERROR. This means that Windows OS is facing issues with virtualization while using software like Hyper-V, VMware, and VirtualBox. The Hypervisor acts as a middleman between the hardware and the operating system.
What Causes the Hypervisor Error BSOD in Windows 11/10?
The Hypervisor error in Windows can arise due to many reasons. We have listed the most common ones here.
- Outdated, missing, corrupted, and incompatible drivers may cause this issue.
- It can happen due to internal conflicts with multiple virtualization software like Hyper-V, VMware, VirtualBox, etc.
- The Windows System files have been corrupted.
- Misconfigured BIOS and Firmware settings.
- Overclocking of CPU or GPU.
- Hardware faults like unstable RAM, disk issues, etc.
- Incomplete Windows Updates.
Best Methods To Fix Stop Code Hypervisor Error BSOD on Windows 11/10
Fix 1 – Disable Hyper-V
The first method to fix this problem is simple, provided you do not need the Virtualization feature or do not use tools like Hyper-V or VMware. Here are the steps to turn off Hyper-V.
1)Press Win + R to open the RUN box, and type “optionalfeatures”, followed by Enter.
2)In the box that opens, Uncheck the following features.
- Hyper-V
- Windows Hypervisor Platform
- Virtual Machine Platform
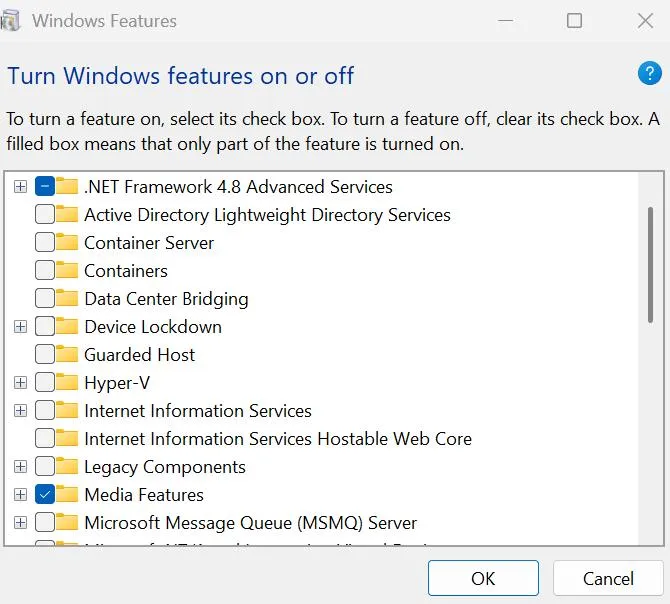
- Reboot your computer.
Fix 2 – Verify Virtualization Settings in BIOS
If you want to use the virtualization feature, then you must check if it is properly enabled in the BIOS. Here is how to do that.
- Restart your PC
- Enter the BIOS by pressing the relevant key as specified by your manufacturer. (usually Del, F2, or F10).
- Ensure Intel VT-x or AMD-V (SVM Mode) is enabled.
- Save and exit.
Fix 3 – Run System File Checker & DISM
You can use the System File Checker (SFC) tool and the Deployment Imaging Service and Management Tool (DISM) to repair system files. Here is what you need to do –
- Press Win + S to open the Search bar.
- Type cmd or Command Prompt.
- Right-click on Command Prompt in the search results and select Run as administrator.
- If prompted by the User Account Control (UAC), click Yes.
- In the Command Prompt window, type the following command:
sfc /scannow
- Press Enter to execute the command.
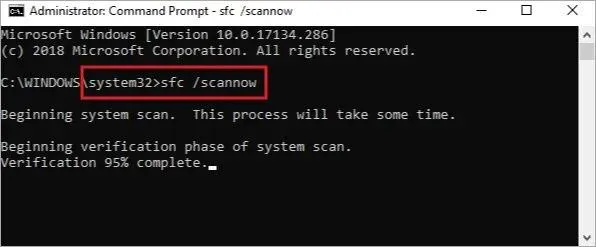
- The System File Checker will start scanning your system for corrupted or missing files.
- Wait for the scan to finish. The tool will attempt to fix any issues it finds automatically.
- Reboot your PC to ensure that the changes made take effect.
After the SFC scan completes, run DISM to repair any issues with the system image:
- Open Command Prompt as Administrator
- If prompted by the User Account Control (UAC), click Yes.
- In the Command Prompt window, type the following command.
DISM /Online /Cleanup-Image /RestoreHealth
- Press Enter to execute the command.
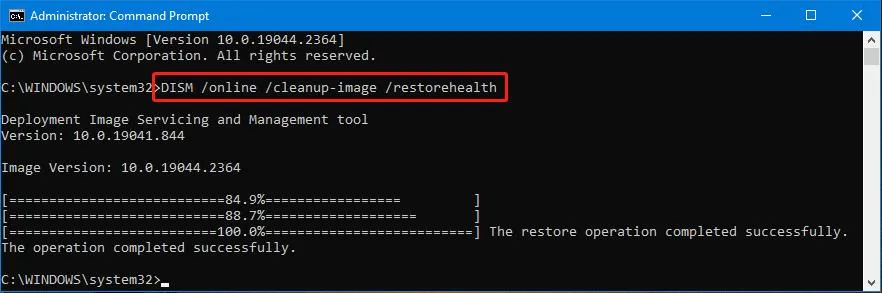
- You will see progress information on the screen as DISM works to repair the system image.
- Restart your computer to apply any changes.
Fix 4 – Check For Hard Disk Errors
- Press Win + R to open the RUN box, and type CMD.
- Press Ctrl + Shift + Enter to open the Command Prompt in Admin mode.
- Once the Command Prompt window opens in elevated mode, copy and paste the following command, followed by the Enter key.
chkdsk C: /f /r /x
Note – If you want to scan any other drive, then replace “C” with the corresponding drive letter.
* `/f` – Fixes any errors it finds.
* `/r` – Locates bad sectors and recovers readable data.
* `/x` – Forces the drive to dismount before checking (if Use tools like MemTest86 for RAM.).
- When you run the CHKDSK command on drive C, you will get the following prompt –
“CHKDSK cannot run because the volume is in use by another process. Would you like to schedule this volume to be checked the next time the system restarts? (Y/N)”
- Type “Y” and then hit the Enter key.
- Reboot your PC and wait for the process to finish.
Note – The time taken for the CHKDSK process to complete will depend on the size and health of your hard disk.
Editor’s Tip – You can also use CrystalDiskInfo to check SSD/HDD health.
- After the system restarts, you will find a summary on your desktop. If not, then you can check the Even Viewer logs.
- Press Win + X to open the Power menu and choose Event Viewer.
- Next, navigate to Windows Logs, followed by Application.
- Look for Wininit or Chkdsk entries.
Fix 5 – Check For RAM Errors
The Memory Diagnostic tool is a built-in utility that helps scan the memory for errors. Here is what you need to do:
- Press the Windows keys, type “Windows Memory Diagnostic” and click the result with the same name.
- A new dialog box will open, and click “Restart Now…”.
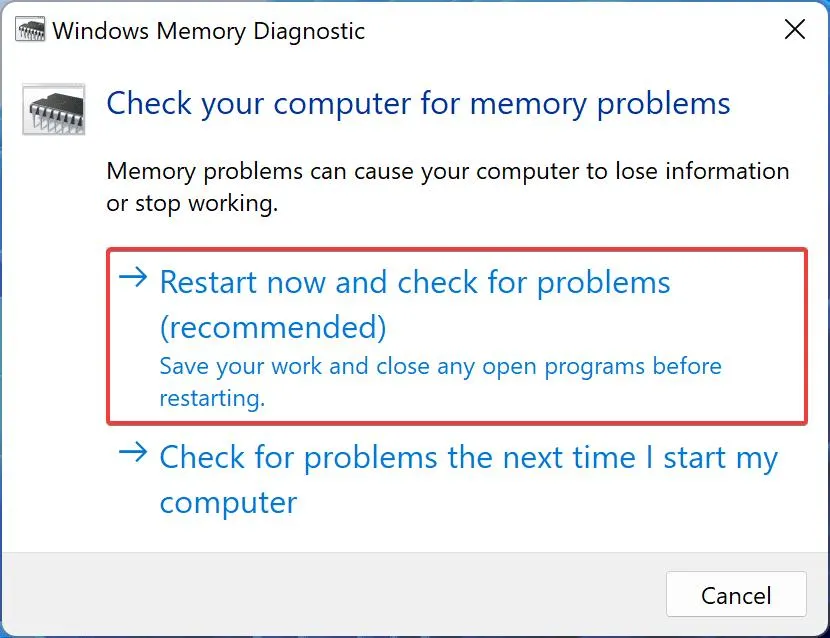
- Follow the instructions, and the tool will check and fix memory-related errors.
Note – You can initiate this tool by pressing Win + R, typing mdsched.exe, and clicking on the OK button.
Editor’s Tip – You can also use tools like MemTest86 for RAM.
Fix 6 – Update Windows
Windows Updates are magical and may fix most minor issues and some major issues with ease. All you have to do is update your Windows OS completely. This can be done by following these steps.
- Press Win + I to open the Windows Settings box.
- Click on the Windows Updates tab in the left panel.
- In the right section, click on the Check For Updates button.
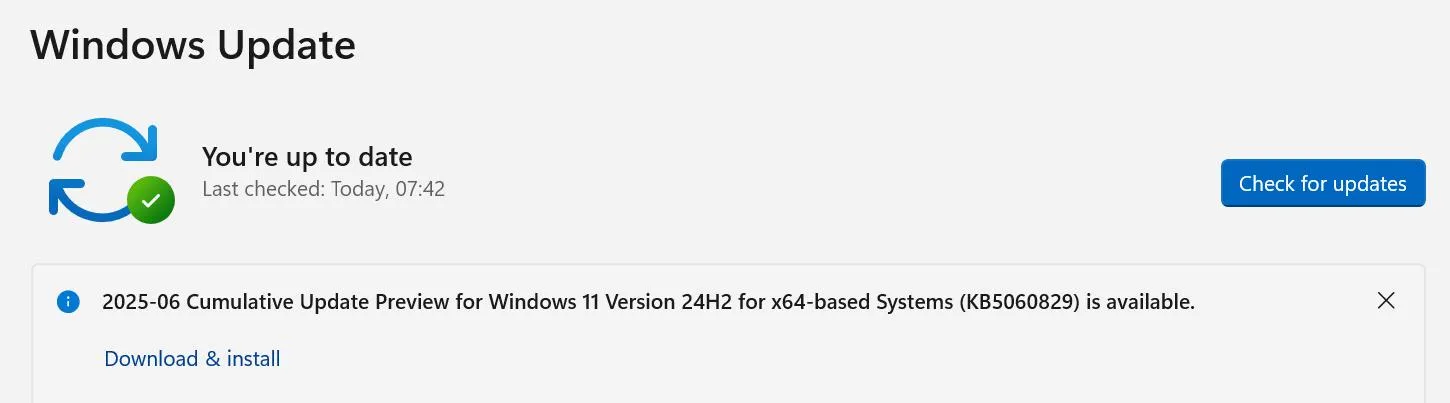
- Wait for Windows to connect to the Microsoft server and download/install updates for you.
- After the update process is complete, press the Check for Updates button a couple of times to check if any pending updates were not done in the first round.
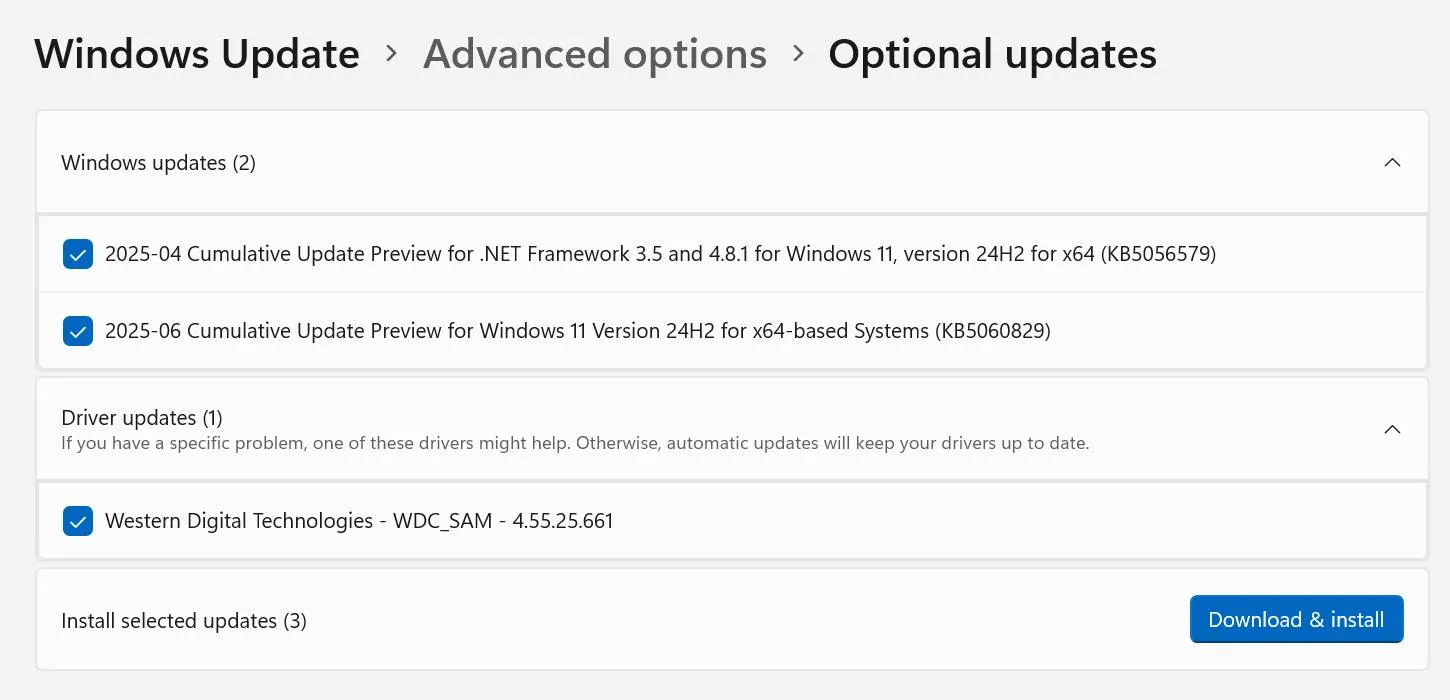
- Next, click on Advanced Options and then on Optional Updates.

- Select all the updates displayed here and click on the Download & Install button.
- Wait for all the updates to complete and reboot your PC.
Fix 7 – Update Drivers
Drivers help establish the communication between hardware and software. In order for the hardware to receive commands from any software, it is necessary to keep your drivers updated at all times. Here are two different ways to do that.
Update Via Device Manager.
Device Manager is an inbuilt tool that helps users update drivers. Here are the steps to run this tool.
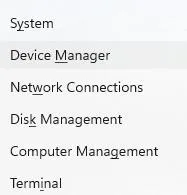
- Open the Device Manager by pressing Win + X and selecting Device Manager.
- Expand the sections that display the yellow exclamation mark.
- Right-click on these drivers one by one to view the context menu.
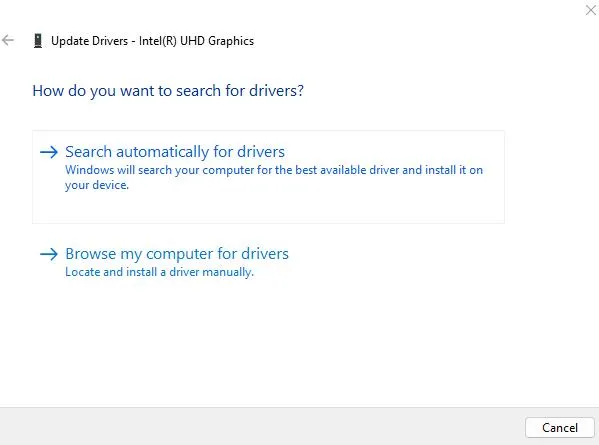
- Select Update Driver and choose Search automatically for updated driver software.
Use The Advanced Driver Updater
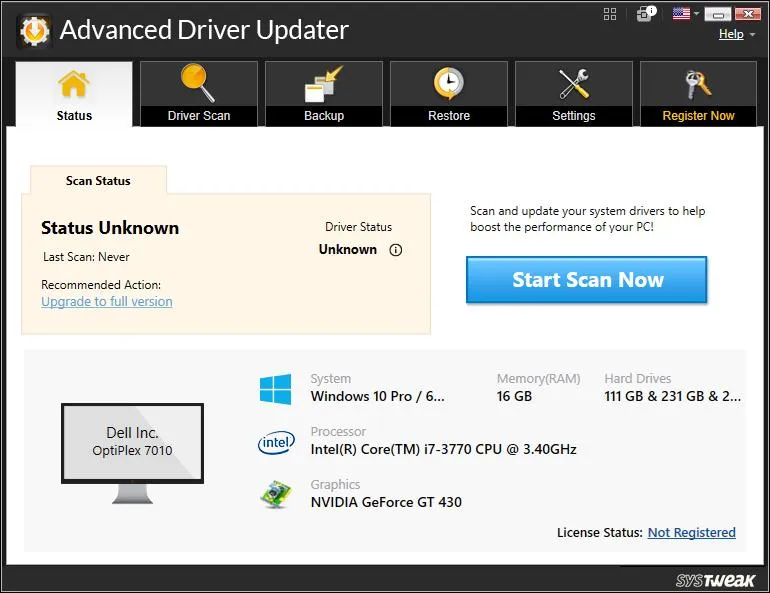
The second way to update drivers is to use the Advanced Driver Updater app, which can detect outdated, corrupted, and missing drivers on your PC and download/install the most compatible drivers with a few mouse clicks. Here is what you need to do.
- Download and install Advanced Driver Updater.

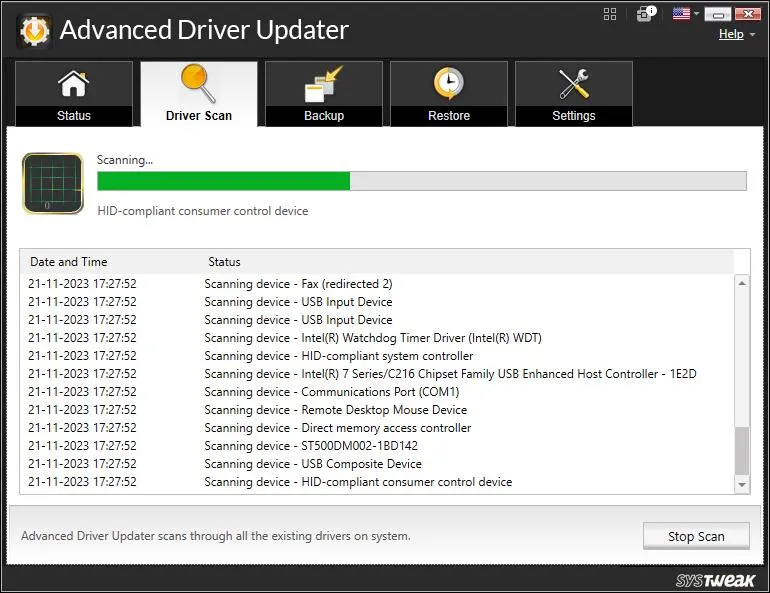
- Launch the app and click the Start Scan Now button.
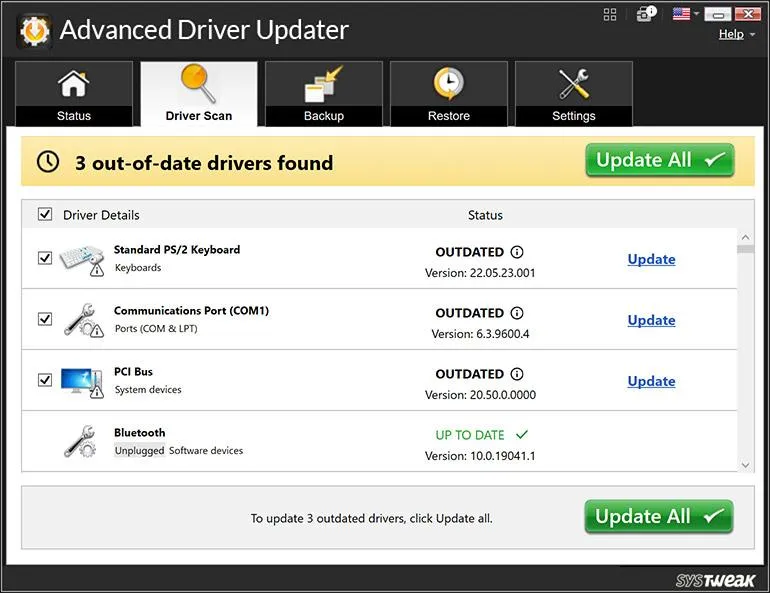
- A list of driver issues will appear on the screen.
- Locate the outdated drivers among the list and click on the update link next to them.
- The update process will now begin. Restart your computer once the update is completed.
Editor’s Tip – If the BSOD started after a Windows update or new driver, roll it back:
Device Manager > Driver > Roll Back. You can also uninstall the problematic update via Settings > Update history.
Fix 8 – Uninstall Problematic Virtualization Apps
If you use VirtualBox, VMware, Docker, or Android emulators:
- Update to the latest version.
- Or uninstall them temporarily to see if BSODs stop.
Fix 9 – Stop Overclocking
Many experts and Tech experts have stated on forums that disabling/uninstalling third-party overclocking software like MSI Afterburner, Intel XTU, etc., has fixed the issue with HYPERVISOR ERROR BSOD.
Fix 10 – Clean Boot PC
A clean boot helps disable all third-party services, which means if any service is causing this error, it will be detected now. Here are the steps to clean boot the PC.
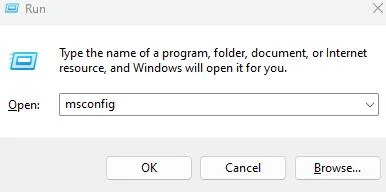
- Press Win + R to launch the Run dialog box, type “msconfig,” and click OK.
- Navigate to the “Services” tab in the new box.
- Check the box that says “Hide all Microsoft services“.

- Click the “Disable all” button.
- Click on Apply, followed by OK, and reboot the PC.
Fix 11 – Reset Windows
- Open the Start menu and search for ‘Reset this PC.’ Then, select the appropriate option from the search results.

- Click on “Reset PC.”
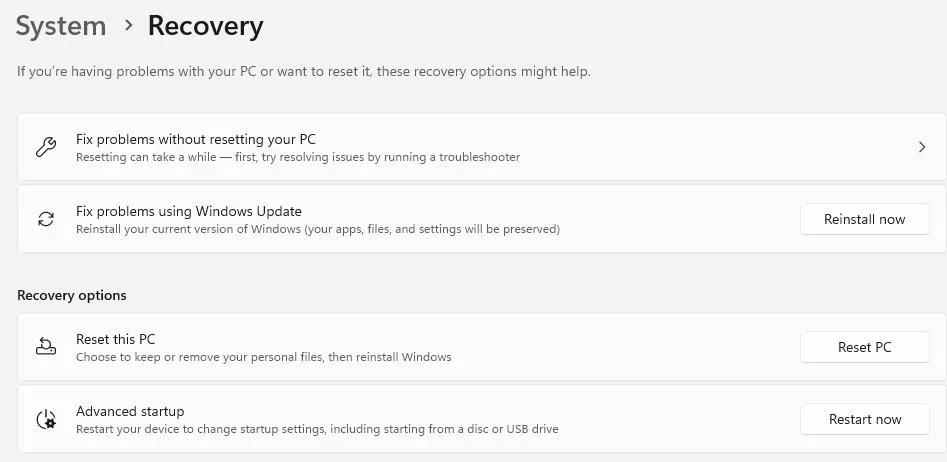
- Select “Keep my files.”
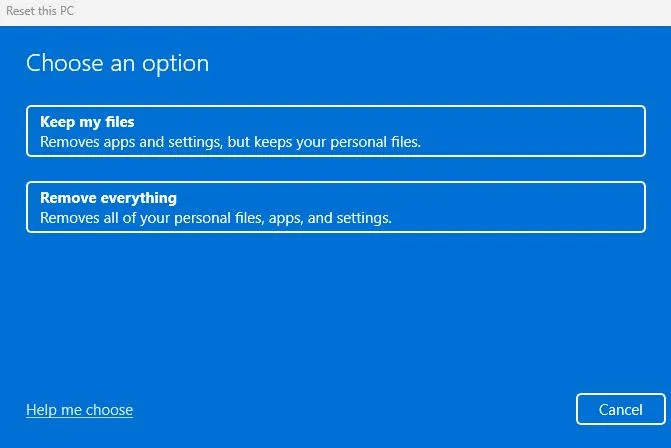
- Follow the on-screen instructions to start the reset process for your Windows computer.
Note: Although Windows provides an option to keep your data during the reset, it is recommended to manually back up your files externally to prevent any potential data loss.
Have You Fixed The Hypervisor Error On Startup?
We hope that the above methods have helped you fix the Hypervisor Error BSOD in Windows 11/10. We would love to hear all about your experience in the comments section below and how you fixed the issue.
Frequently Asked Questions
Recommended :
How to Fix Usbhub.sys Blue Screen Errors (BSOD) On Windows 11/10