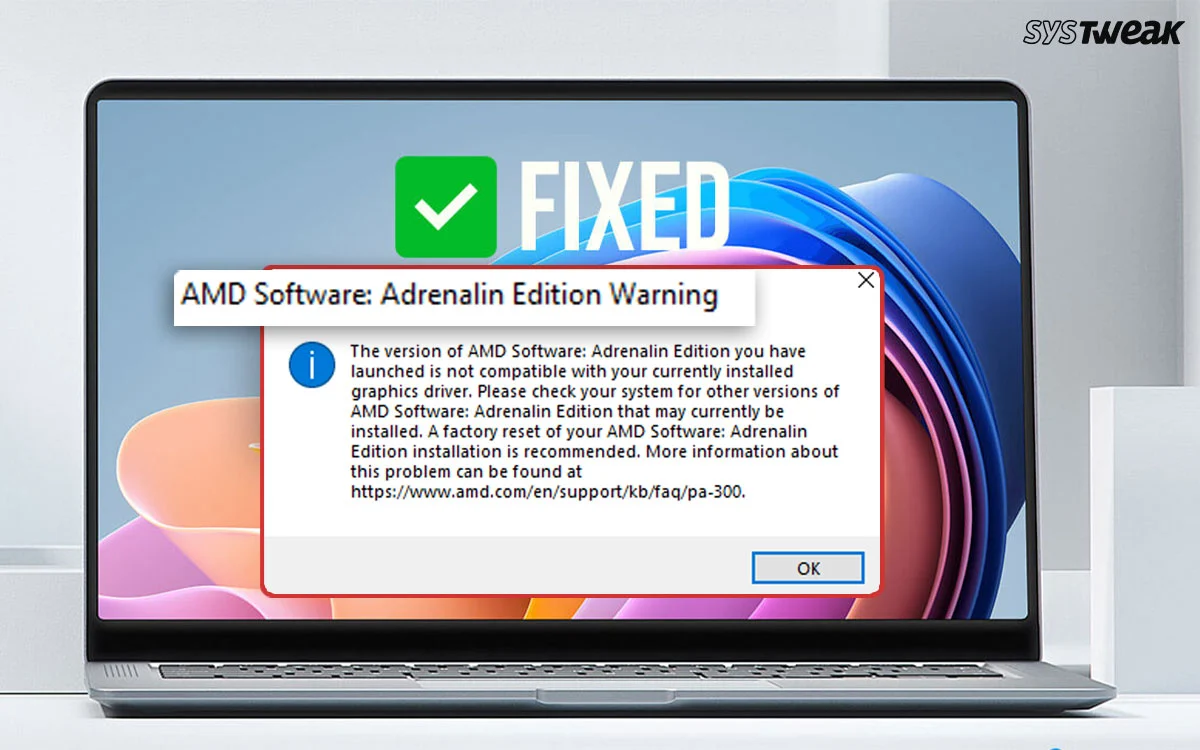
The AMD Software: Adrenalin Edition warning is a general term that refers to any error, alert, or conflict that pops up when using AMD’s GPU driver and control software, officially called AMD Software: Adrenalin Edition. It can appear in different forms depending on what’s going wrong. Commonly, users get this message – The version of AMD Software you have launched is not compatible with your currently installed AMD graphics driver. We have listed all the ways you can fix this error on your PC.
What Are Different Types Of AMD Adrenalin Edition Warning?
The most common AMD Adrenalin Edition Warning includes –
1. “Warning: The version of AMD Software installed is not compatible with your currently installed AMD graphics driver”
This warning implies that there is an anomaly between the Adrenalin software version and the installed drivers on your PC. This mismatch happens if Windows Update replaces your driver on the PC.
2. “Windows Update may have replaced your AMD graphics driver”
Windows Update might have installed an outdated or basic driver, which might result in AMD Adrenalin not functioning correctly or opening at all.
3. “Driver Version Mismatch”
If the display driver installed on your computer does not match the required version of the Adrenalin software if there were partial installs due to manual changes.
4. “AMD Software has stopped working” or won’t launch
When there are driver conflicts on your system due to corrupted, missing, or outdated drivers, then you will get this issue.
5. Adrenalin Installs But No Control Panel Appears
The Adrenalin software UI is not found because of a driver/software mismatch or installation issues
12 Ways to Fix AMD Software: Adrenalin Edition Warning
If you’re encountering a warning or error with AMD Software: Adrenalin Edition, here are some steps to troubleshoot and fix the issue. We recommend you first try to run Adrenalin as an administrator by right-clicking on the shortcut and choosing Run as administrator.
Fix 1. Restart Your System
Sometimes, a simple restart can resolve temporary software glitches.
Fix 2. Update AMD Adrenalin Software
1. Launch AMD Adrenalin Software.
2. Go to the Settings > System > Software Update.
3. If an update is available, download and install it.
Fix 3. Reinstall AMD Drivers
1. Download the latest driver from AMD’s official website.
2. Run the installer, and select Factory Reset.
3. Follow the on-screen instructions and restart your PC.
Fix 4. Use DDU (Display Driver Uninstaller) for a Clean Removal
1. Download DDU from Wagnardsoft.
2. Boot into Safe Mode by pressing Shift + Restart.
3. Run DDU, select AMD GPU, and click on Clean and restart.
4. Install the latest AMD drivers afterward.
Fix 5. Disable Conflicting Software
Some programs (like RivaTuner, MSI Afterburner, or antivirus) can interfere with AMD software. Disable them temporarily and check if the warning persists.
Fix 6. Check Windows Updates
Windows updates have resulted in fixing many minor and major PC errors. It is recommended by experts to keep the pc updated at all times. Here are the steps to update your Windows OS.
1. Press Win + I to open the Windows Settings box.
2. Click on the Windows Updates tab in the left panel.
3. In the right section, click on the Check For Updates button.

4. Wait for Windows to connect to the Microsoft server and download/install updates for you.
5. After the update process is complete, press the Check for Updates button a couple of times to check if any pending updates were not done in the first round.
6. Next, click on Advanced Options and then on Optional Updates.

7. Select all the updates displayed here and click on the Download & Install button.

8. Wait for all the updates to complete and reboot your PC.
Fix 7. Reset AMD Software Settings
1. Launch AMD Software.
2. Click on the Settings represented by a gear icon.
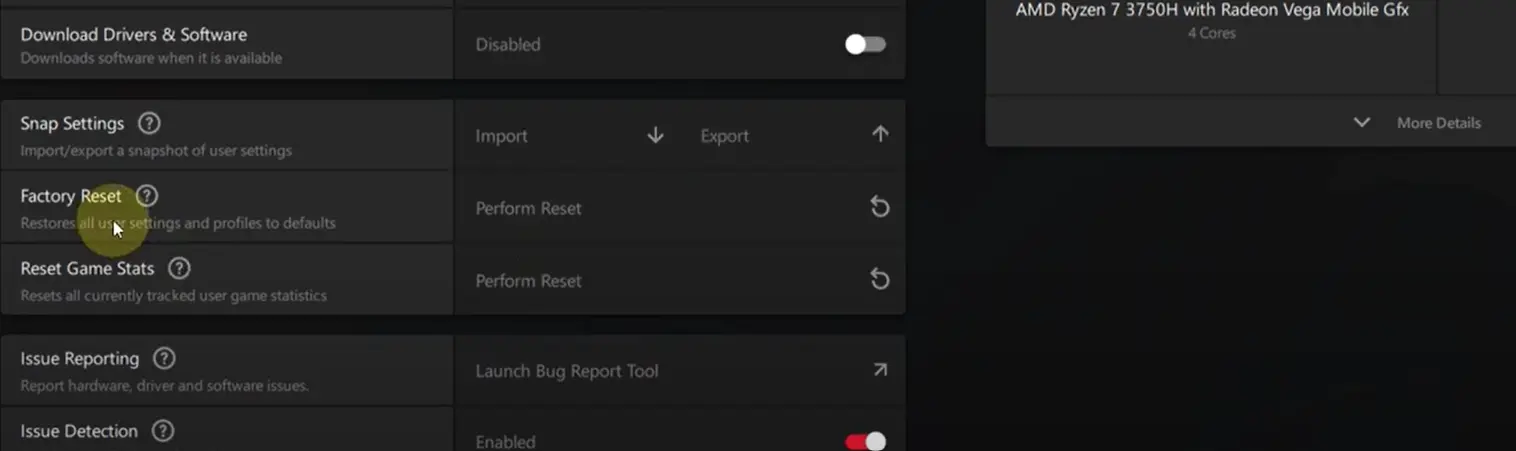
3. Click on Reset, followed by Restore Factory Default.
Fix 8. Run Windows System File Checker (SFC)
1. Open Command Prompt as Admin.
2. Copy and paste the following command and press Enter.
sfc /scannow

3. Wait for the process to complete.
4. Restart after completion.
Fix 9. Reinstall Microsoft Visual C++ Redistributables
One of the advanced troubleshooting steps that can be undertaken to fix this issue is to reinstall Microsoft Visual C++ Redistributable Packages. These packages are developed by Microsoft and are required by most apps to run.
1. Press Win + R to open the RUN dialog box and type Control.
2. Press the OK button to launch the Control Panel.
3. Now, click on Programs and Features, and a list of apps installed on your PC will appear on the screen.

4. Locate Microsoft Visual C++ Redistributable Packages installed and right-click on each one to choose Uninstall.

5. After all the packages have been removed, navigate to the Microsoft official page to download the packages again.
Note : It is important to reinstall all Visual C++ Redistributables (2010–2022). Please check if your PC uses a 32-bit architecture, then use the x86 version. If your PC is 64-bit, then you must install the x64 version. To identify your architecture, Press the Windows key and type “System Information”. Click on the result with the same name and look for System Type in the new box.
Fix 10. Update Driver
The next fix, recommended by text experts to fix the DISM host servicing process on Windows 10/11, is to update drivers. There are two ways to update drivers on a Windows PC.
Update Via Device Manager
Device Manager is an inbuilt tool that helps users update drivers. Here are the steps to run this tool.
1.Open the Device Manager by pressing Win + X and selecting Device Manager.
2. Expand the sections that display the yellow exclamation mark.
3. Right-click on these drivers one by one to view the context menu.
4. Select Update Driver and choose Search automatically for updated driver software.
Use The Advanced Driver Updater
The second way to update drivers is to use the Advanced Driver Updater app, which can detect outdated, corrupted, and missing drivers on your PC and download/install the most compatible drivers with a few mouse clicks. Here is what you need to do.
1. Download and install Advanced Driver Updater.

2. Launch the app and click the Start Scan Now button.

3. A list of driver issues will appear on the screen.

4. Locate the outdated drivers in the list and click on the update link next to them.

5. The update process will now begin. Restart your computer once the update is completed.
Read Also : ‘Warning: Known Issues with Graphics Driver’ | How to Fix
Fix 11. Check for Hardware Issues
Ensure your GPU is properly seated in the PCIe slot. Test with another GPU (if possible) to rule out hardware failure. If you are not comfortable with handling your PC hardware then you may seek the help of a technician.
Fix 12. Disable Driver Enforcement
Sometimes, after Windows updates, AMD drivers might get flagged. Here are the steps.
1. Open Start > type cmd, right-click, and select Run as administrator.
2. Run this command:
bcdedit /set nointegritychecks on
3. Reboot your system.
Note : This lowers driver security enforcement; use it temporarily for troubleshooting.
Conclusion
We hope that the above-mentioned troubleshooting steps help you fix issues like the AMD Adrenalin Edition warning error. We recommend that you try each step and check the result. This will save time and help you skip the remaining steps. Do write to us about your troubleshooting experience and which method helped to fix the issue in the comments section below.