Are you an ardent gamer who loves playing Call of Duty? This is a very popular game across the globe that has a record of 25 billion hours of playing time. However, some gamers are facing the “Call of Duty servers are down today” error while attempting to connect to the game. If the issue is to genuine server down issue, then there is nothing anyone can do about it. However, if your friends are able to play while you receive the error, then this guide is just for you.
Why Does the Call of Duty Server Down?
- COD Server is down for maintenance.
- Caches and cookies cause temporary conflicts.
- PC DNS issues.
- The Antivirus or Firewall may have blocked the game.
- The VPN or Proxy Server may not connect to the required game server.
Prerequisites Before Troubleshooting the Issue
1.Visit the official support / server-status page of Activision (or the “Call of Duty Server Status” page) to see whether servers are down or under maintenance.
2. You can also check the official Twitter account of the Call of Duty Game, which is @CallofDuty on X.
3. Run the game with administrator privileges by right-clicking the shortcut and selecting “Run As Administrator”.
4. Look at real-time outage reports as third-party trackers (or community forums / social media) catch outages before the official site. Some examples are Downdetector, IsTheServiceDown, and Steam Status.
If status shows servers are down: there’s nothing you can do — you’ll need to wait until Activision restores service.
If status shows servers are up, but you still can’t connect: try the fixes below.
Methods to Fix Call of Duty Servers are Down Today
Method 1: Power Cycle Modem/Router
Power cycling your network equipment (modem, router, both, or a combination of both) can reset and re-establish your Internet connection, hopefully resolving Call of Duty is down issues. Here are the steps on how to do that.
1. Turn off the PC, the modem, and the router.
2. Unplug and/or turn off the modem and router.
3. Allow the modem and router to sit unplugged for 60 seconds.
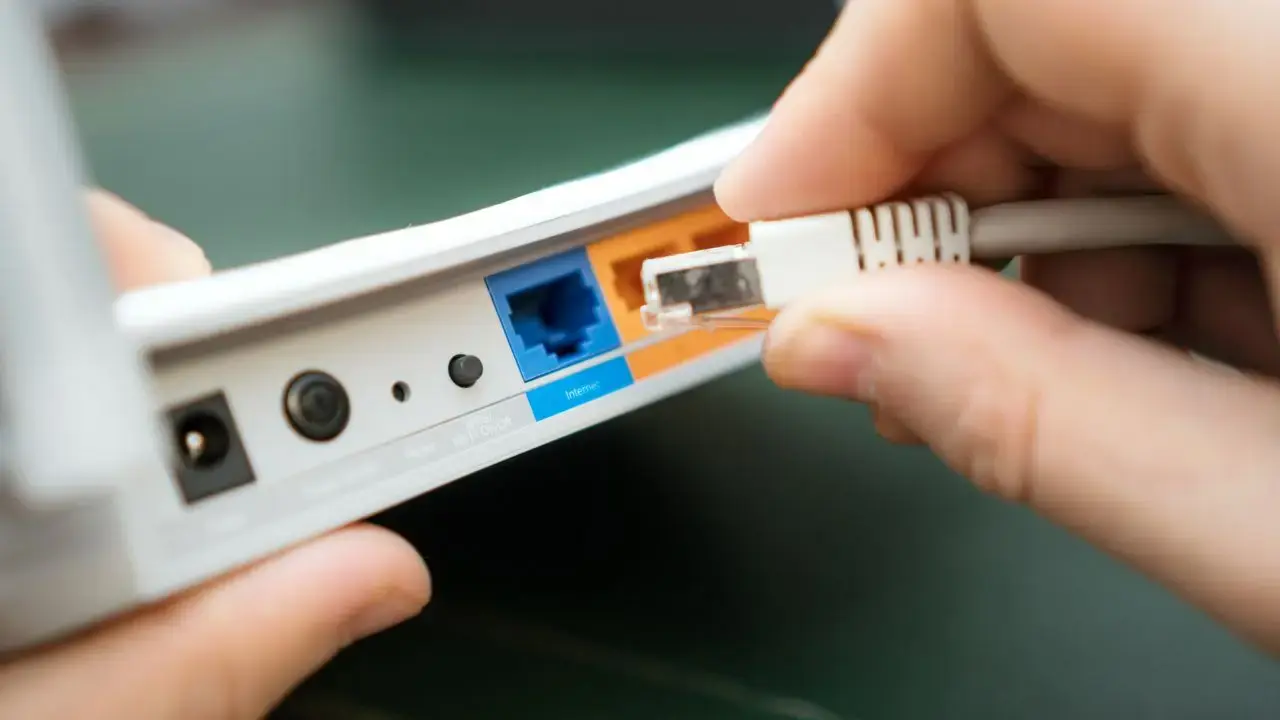
4. Turn on the modem and router after plugging them in, and wait for them to fully start up until the front panel connection lights on the modem display a stable connection.
5. Restart the computer and let it finish booting up.
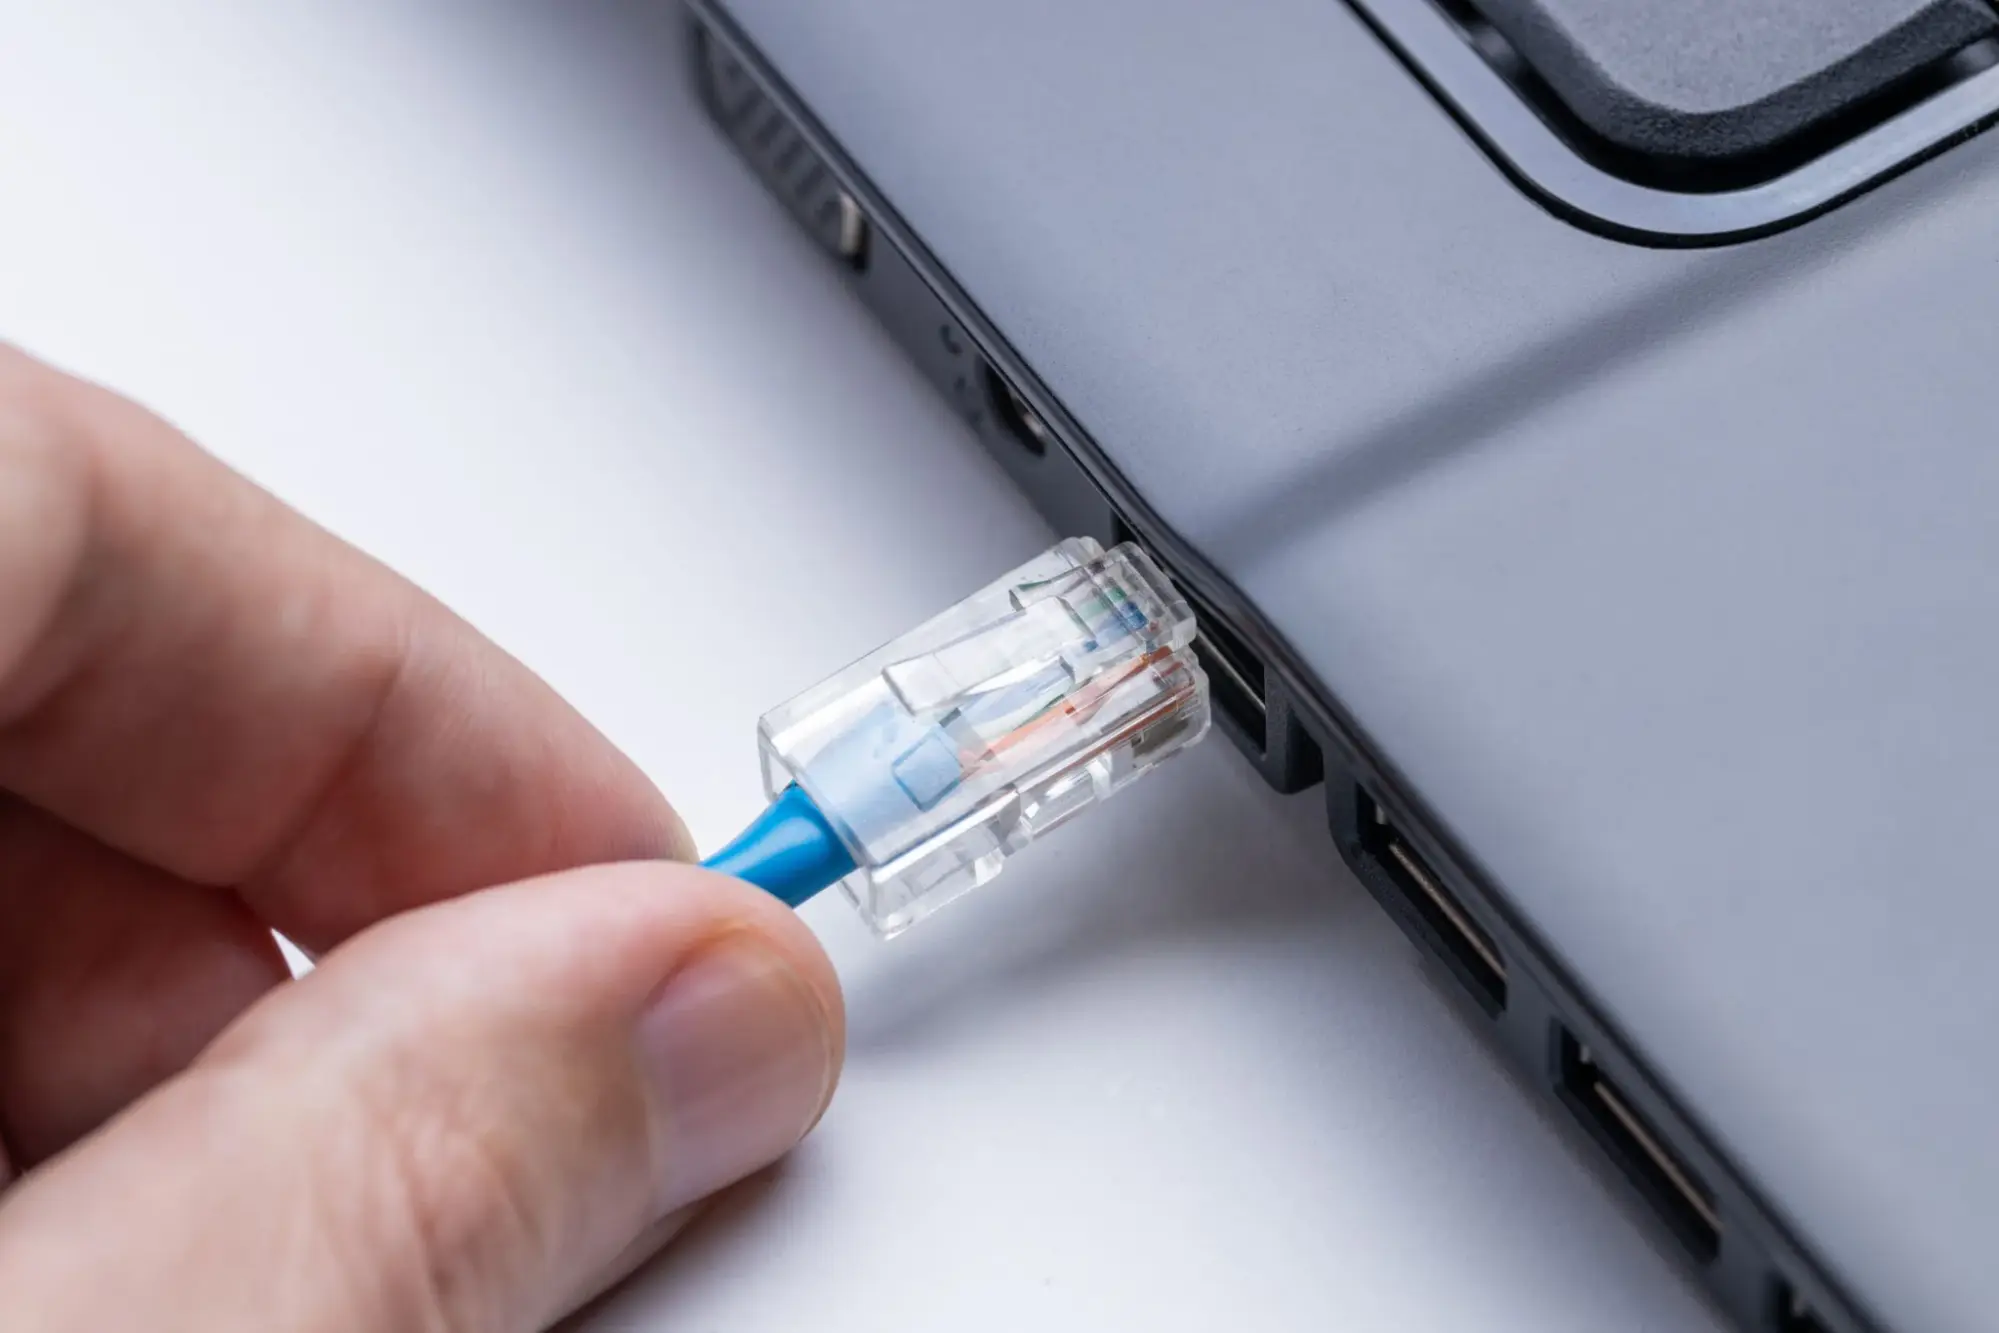
Method 2 – Use A Wired Connection
Some experts recommend using an Ethernet cable connection when playing high-end games like Call of Duty. The Ethernet connection is more stable than Wi-Fi and offers lower latency.
Method 3 – Disable VPN / Proxy (if any)
VPNs or proxies can sometimes cause region mismatch or connection failure. Disable them temporarily and try to play the game.
Method 4 – Disable Firewall/Antivirus Temporarily And Check
You can try to disable the antivirus and firewall to check if these apps are not preventing the COD game from connecting to the server. Here is what you need to do.
Read Also : How To Fix Call Of Duty(COD) Not Updating?
a.) Disable the Windows Security Antivirus
1. Press the Win key and type Windows Security.
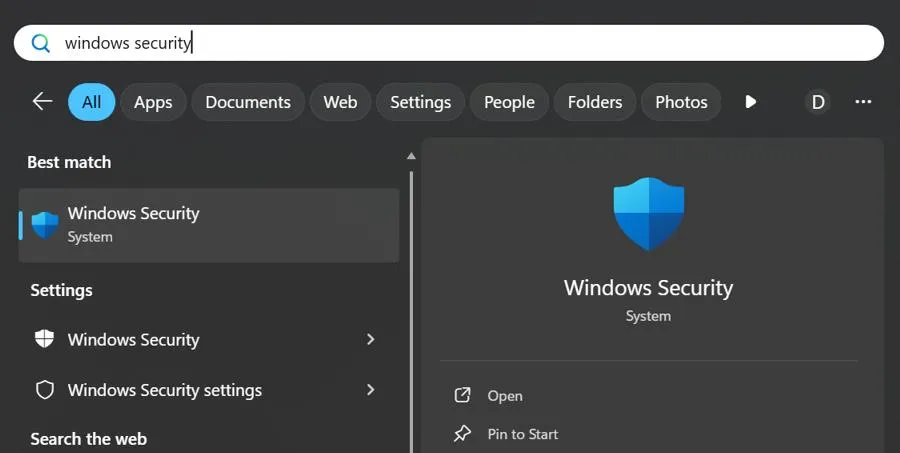
2. Click on the relevant result under Best Match.
3. Next, click on Virus & Threat Protection.
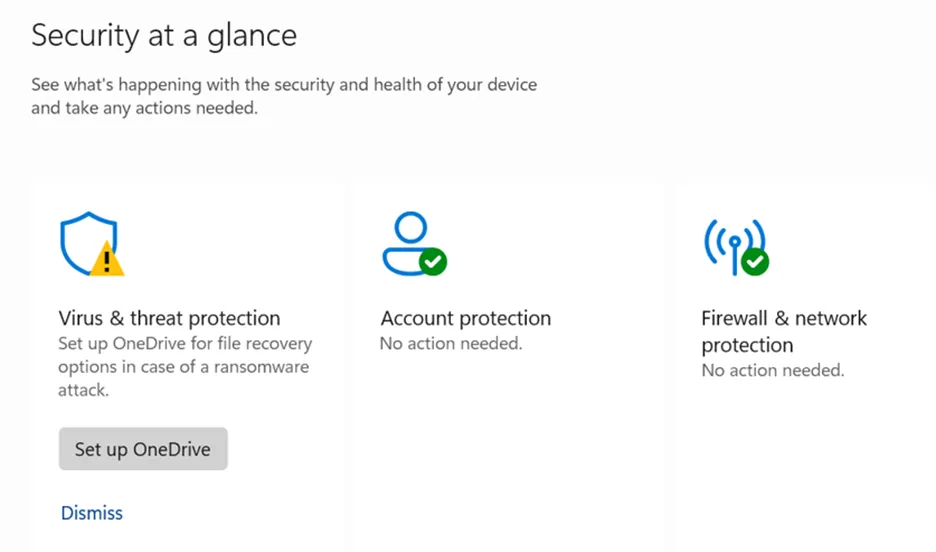
4. Click on Manage Settings.

5. Slide the toggle button under Real-Time Protection towards the left to disable it.
b.) Disable the Windows Firewall
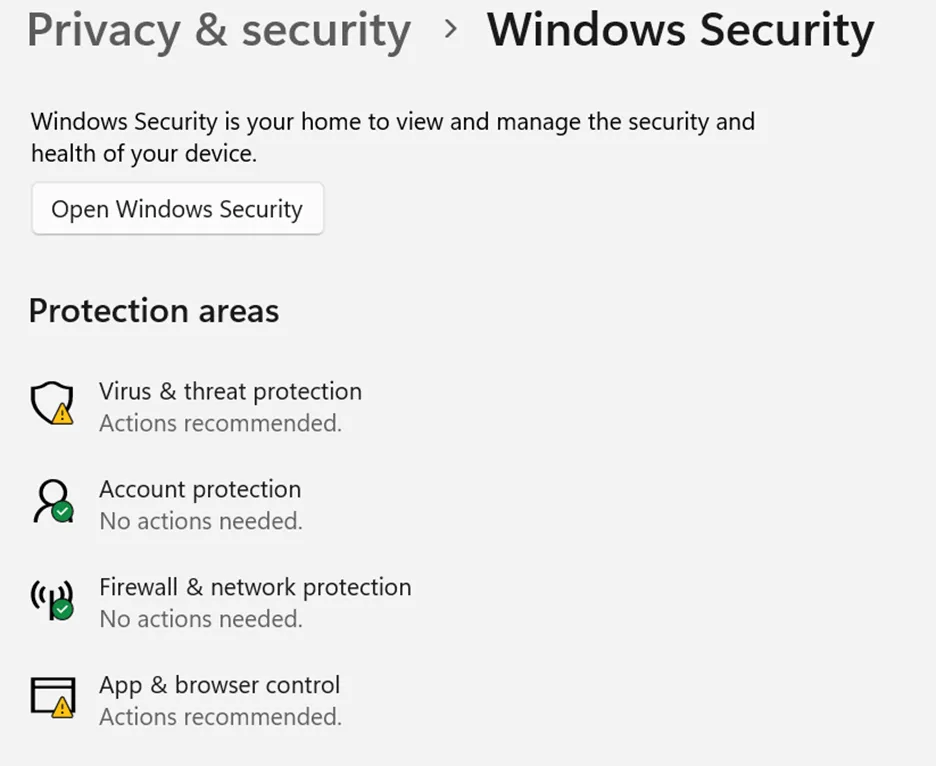
1. Press Win + I to open Settings.
2. Navigate to Privacy & Security > Windows Security > Firewall & network protection.
3. Click on all network profiles (Domain, Private, or Public) one by one.
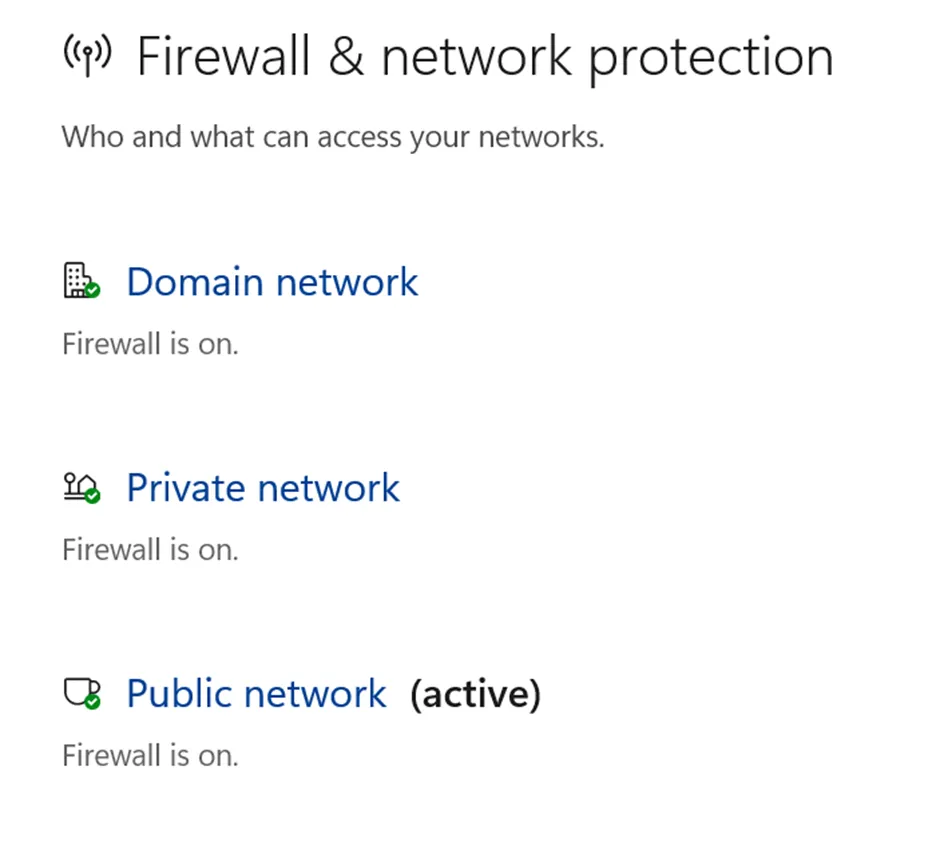
4. Under Microsoft Defender Firewall, toggle the switch to Off.
Method 5 – Flush DNS
1. Press Win + S to open the search bar and type cmd.
2. Right-click Command Prompt in the search results and select Run as administrator. This will open the Command Prompt with elevated privileges.
3. In the Command Prompt window, type the following command and press Enter key.
ipconfig /flushdns

4. You should see a message indicating that the DNS Resolver Cache has been successfully flushed.
5. After you see the confirmation message, you can close the Command Prompt window.
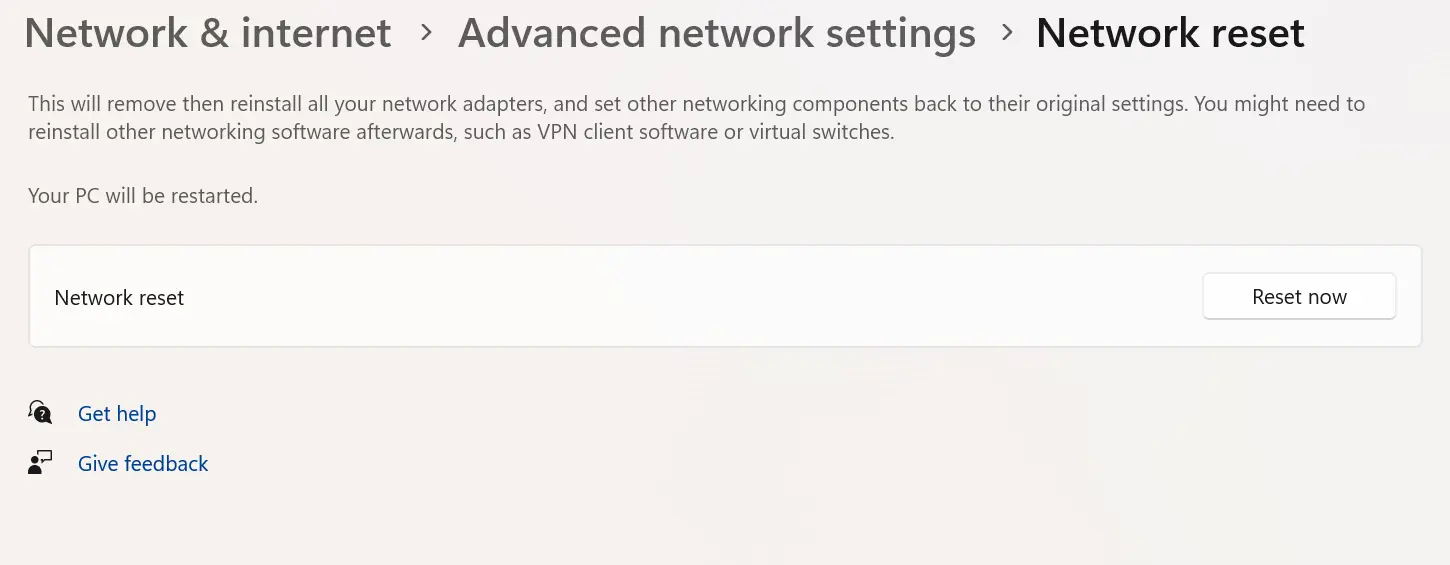
Method 6 – Reset Your Network Settings
To reset the network settings in Windows, open the Settings app, go to Network & Internet > Advanced network settings > Network reset, and click Reset now.
Method 7 – Change DNS Servers
1. Press Win + R to open the RUN box.
2. Type “Control” and press the OK button.
3. The Control Panel window will now open. Here, click on Network and Sharing Center.
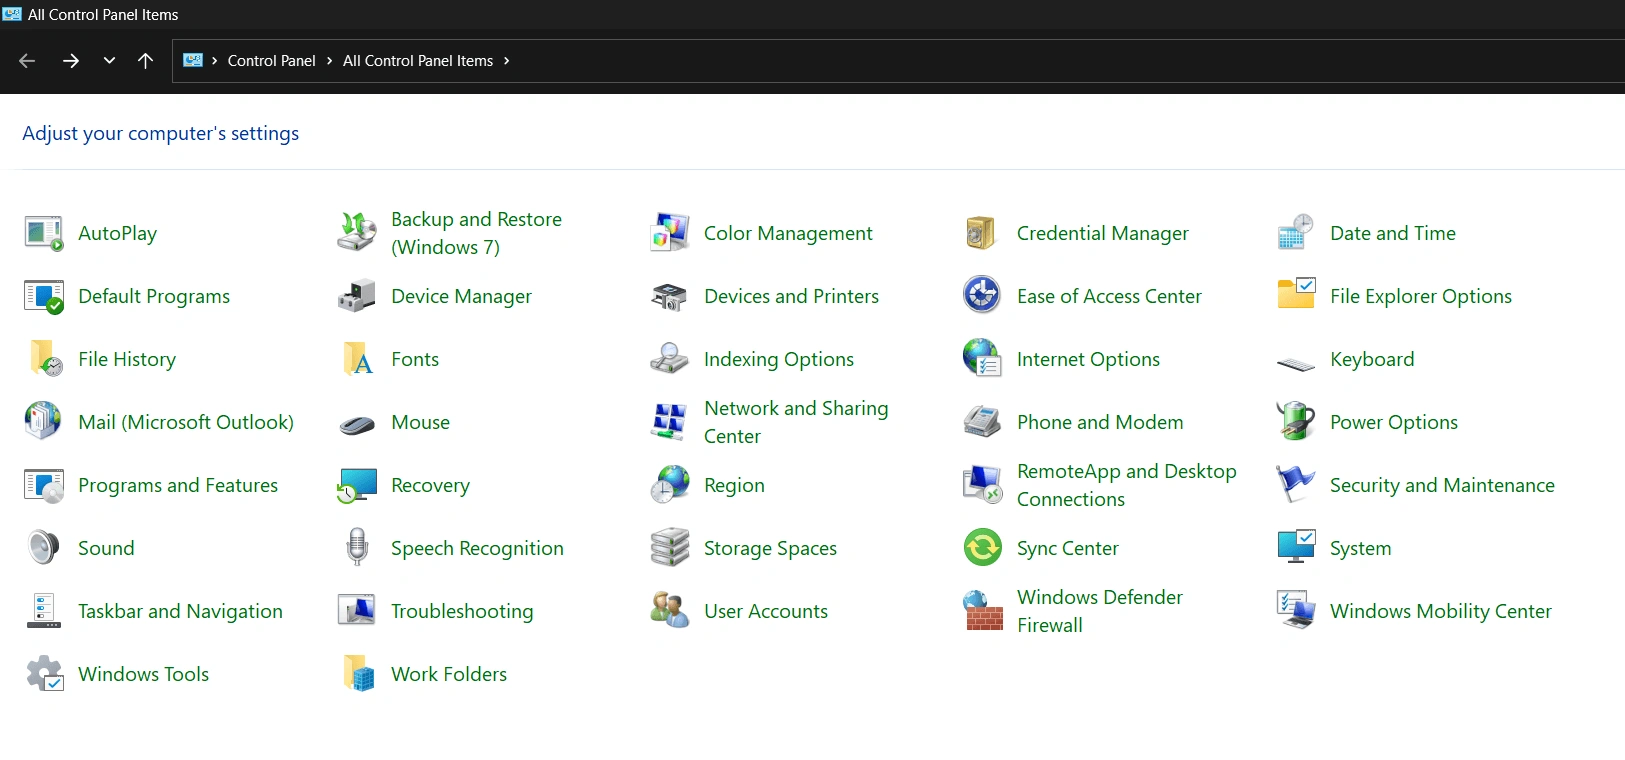
4. Next, click on Change Adapter Settings in the left panel.

5. Make a right click on your internet connection and choose Properties.

6. A new box will open, select Internet Protocol Version 4 (TCP/IPv4), and then click on the Properties button.

7. Click the radio button next to “Use the following DNS server addresses” and then type the following numbers to use the Google DNS server.

Preferred DNS Server – 8.8.8.8
Alternate DNS Server – 8.8.4.4
8. Click OK and exit all the windows.
Method 8 – Update Network Drivers
a.) Method 1 – Update Drivers Via The Manufacturer’s Website
All OEM manufacturers maintain a website to provide resources to all their customers. You need to identify the model and make of the motherboard you are using, and visit the official website to download the latest drivers for your PC. After downloading them, you can install them by a simple double-click on the file and follow the onscreen instructions. You will always get the most updated drivers on these websites. If you have a standalone network card, then you follow the same steps and visit the OEM website of the network card adapter.
Read Also : How to Fix No Drives Found Error During Windows Installation
b.) Method 2 – Update Drivers Via Device Manager
The Device Manager is a tool provided by Microsoft to all Windows users to update drivers from within the PC. However, this tool can only connect to Microsoft Servers for the latest drivers. This means you may not always get the most update drivers from here. However, it is worth a try and following these steps.
1. Press Win + X and choose Device Manager.
2. Click on Network Adapters to view all the network cards.
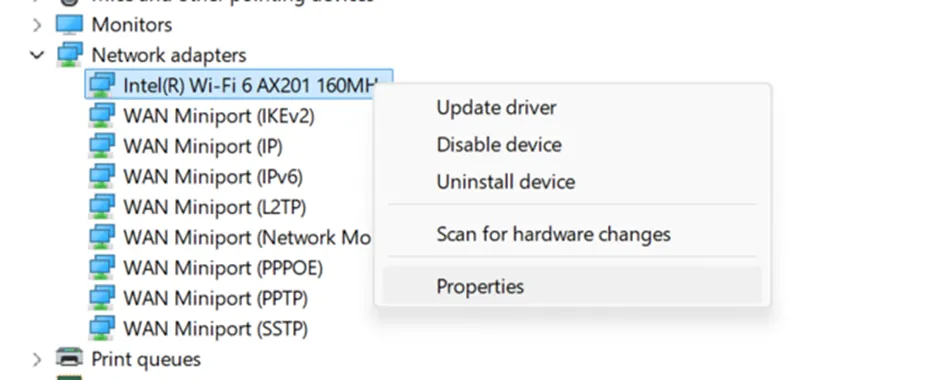
3. Right-click on the network adapter installed on your PC and select Update Driver.
Method 3 – Update Drivers Via Advanced Driver Updater
The Advanced Driver Updater is a third-party software that can update drivers on your PC with a few mouse clicks. This is the most effective method of all and is simple to follow. Here is what you need to do.
1. Download & Install Advanced Driver Updater.

2. Open the software and click on Start Scan Now button.

3. A list of driver issues will be available on the screen. Click on the update link next to the network driver.

4. Restart your computer after the update process is complete..
Conclusion – Have You Fixed COD Servers Down Today?
We hope that the above methods have helped you fix the “Call of Duty servers are down today” error. We want to hear all about your experience and how you fixed the issues in the comments section below.
Recommended : How to Fix Call of Duty Modern Warfare 2 Crashing on Windows